You need Amiga Forever even if you plan to run AmigaOS 3.2. This is because AmigaOS 3.2 is installed as an upgrade after the initial installation of AmiKit XE.
I have covered the
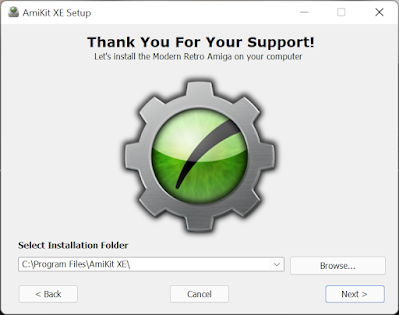
Windows installation in detail previously, and it doesn't vary much from then so I won't bore you with repeating all the steps again. the installation process is extremely well documented in the very helpful installation guide included.
After the initial installation completes and relaunch AmiKit XE, you set the screen resolution to 1080p as per the instructions:
All done, ready to reboot into the new AmiKit XE environment:
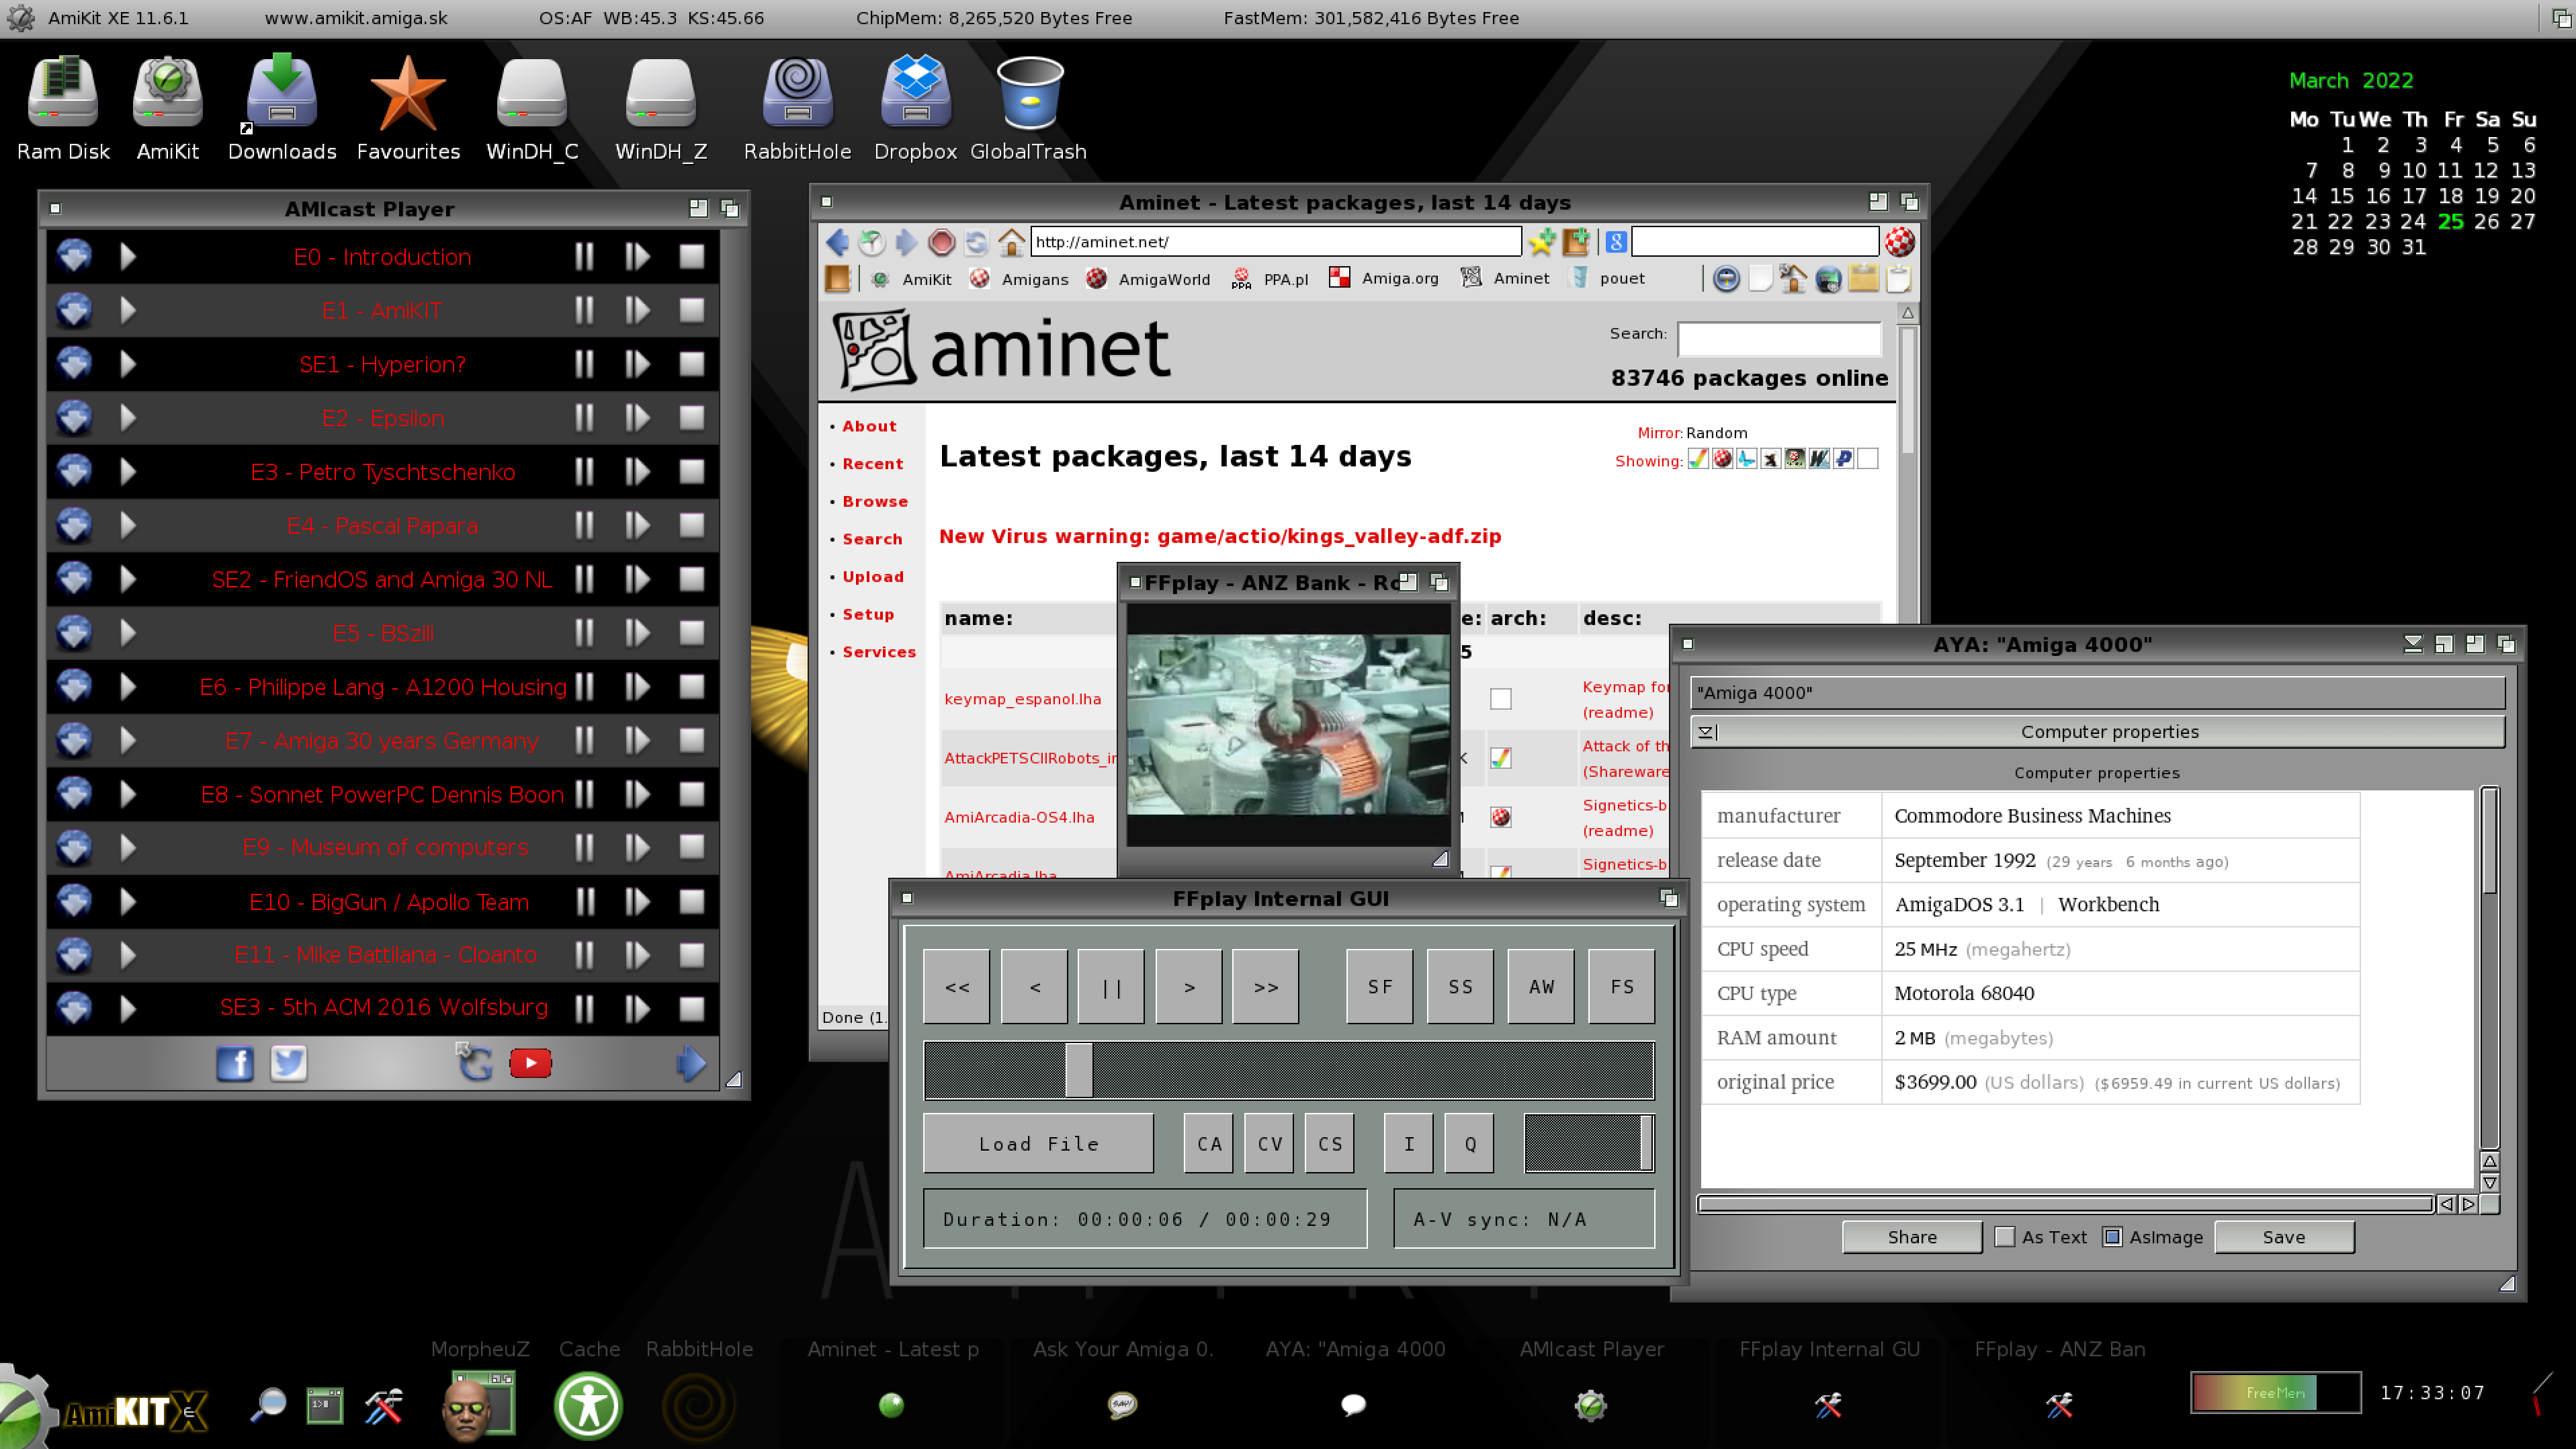
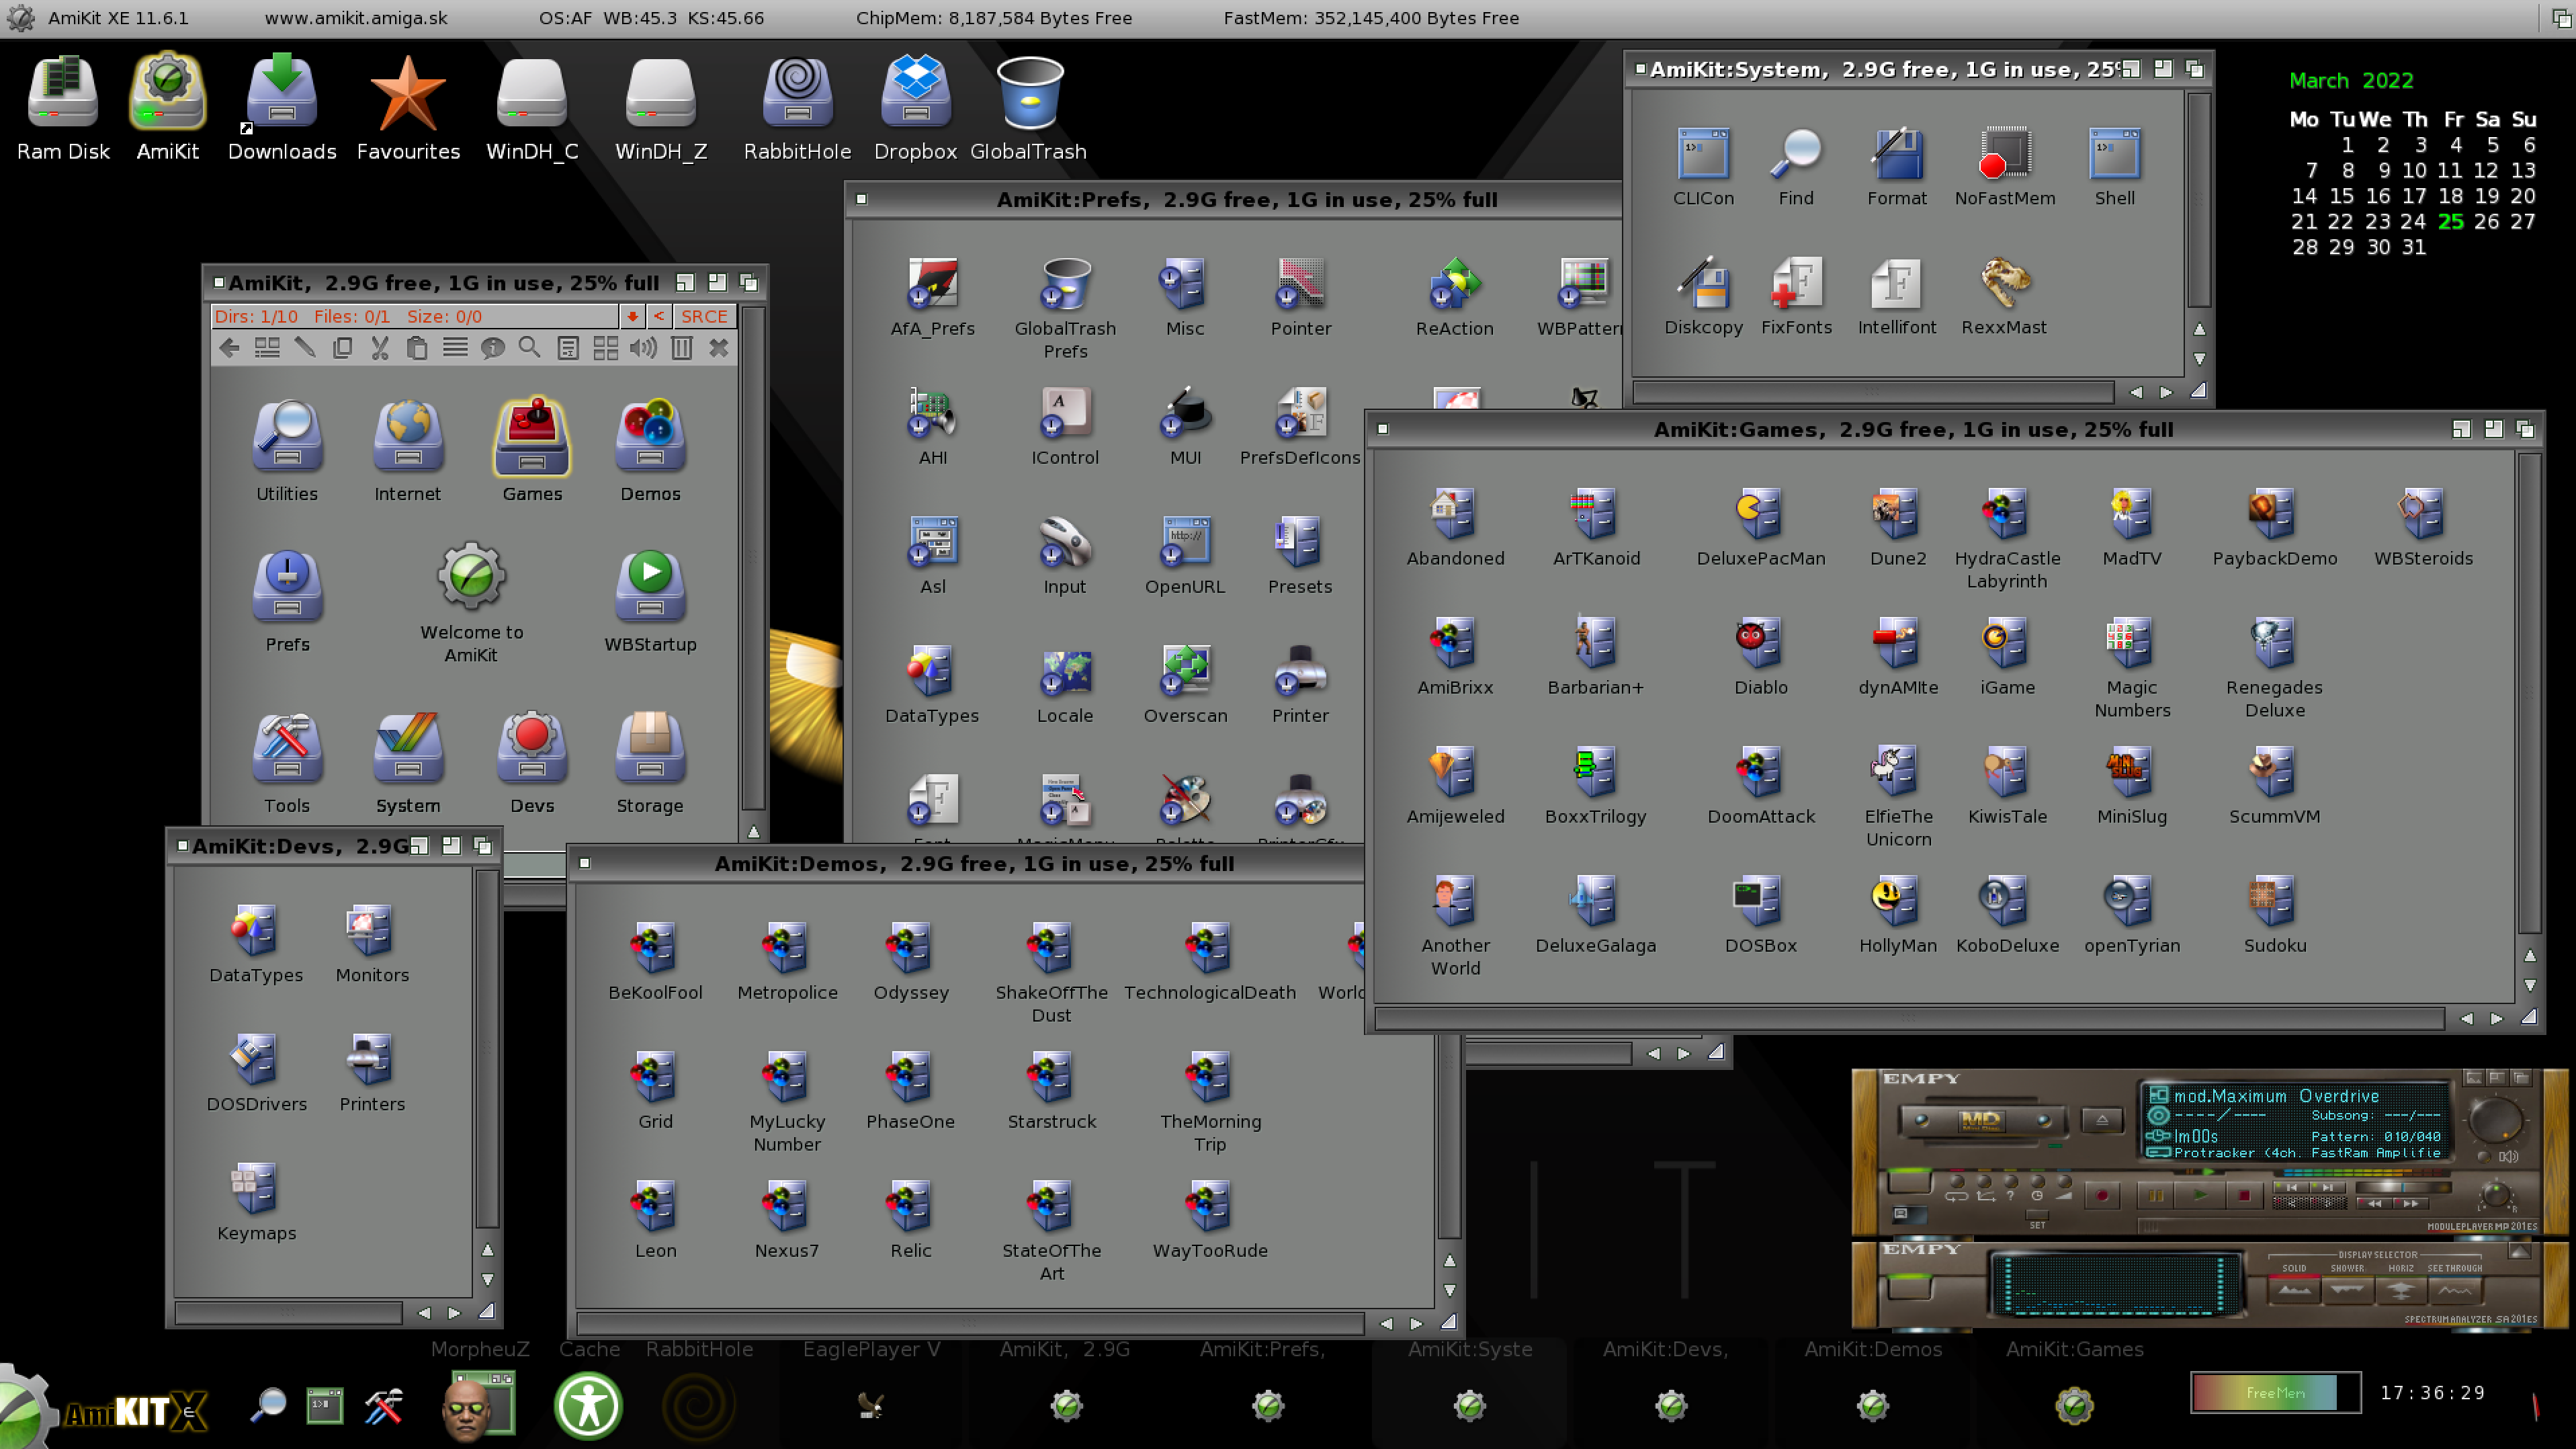
The AmiKit XE environment opens, and looks very cool.
It is hard to express how fantastic it is to have all the hard work of customising Classic AmigaOS (to look as good as this) is all done for you, ready to use!
The dark theme in AmiKit XE looks great and gives AmigaOS a more modern appearance.
Running live update reveals the new AmiKit XE 11.6.1 update and the AmigaOS 3.2 support included in it.
As with all the AmiKit XE updates, the 11.6.1 update is painless and easy to do!
After rebooting, and booting into AmiKit XE environment again, I need to copy the AmigaOS 3.2 ADF files and the AmigaOS 3.2.1 update archive file into the RabbitHole directory in Windows. This folder is located under C:\Program Files > AmiKit XE > RabbitHole in Windows 11 on my machine.
I add the folder to my Quick Access bar to make it quicker to access in the future, but it must be stressed you can access it from AmiKit XE environment also, so it is not technically needed to use Windows to copy the files across.
I made a mistake and copied the ADF folder from the AmigaOS 3.2 CD into the RabbitHole folder.
Don't do this! You need to copy all the ADF files in the ADF folder directly into the RabbitHole folder.
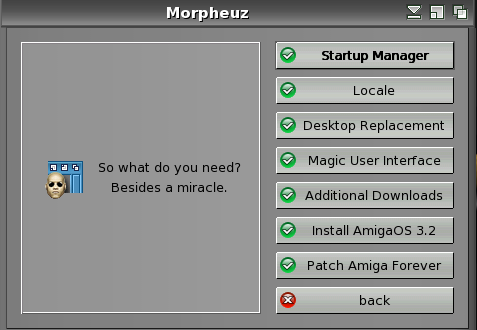
With that done, I run Morpheuz and select the Install AmigaOS 3.2 option.
As you can see, at the moment the AmiKit XE 11.6.1 environment is using the older kickstart 45.66 version:
Plenty of warnings about backing up the AmiKit XE folder first - I did do this to make sure I had a backup in case something didn't go to plan.
The installer finds the ADF files in RabbitHole and proceed with the installation:
Upgrade done, ready for restarting AmiKit XE environment:
On re-launch, AmiKit XE 11.6.1 now shows the latest AmigaOS 3.2.1 kickstart version (47.102), so we upgraded successfully!
It is nice to be using the latest AmigaOS 3.2.1 under AmiKit XE 11.6.1:
Having the newer Prefs functionality is great:
If you don't like the default dark mode theme, you can of course easily change it via Morpheuz:
A reboot is needed for the theme change to take effect:
Here are the green and blue themes:
Personally, I like the blue theme - I use it on my Amiga 4000T AmiKit Real environment, and also it is the same theme used on the Next Generation AmigaOne systems running AmigaOS 4.1 Final Edition Update 2.
You can change the backdrop to you own personal preferences via the Directory Opus Environment settings in the title bar.
In addition to Windows, the new AmiKit 11.6.1 is also available on MacOS and Linux versions. These versions utilise Wine to run WinUAE under MacOS and Linux (not tested).
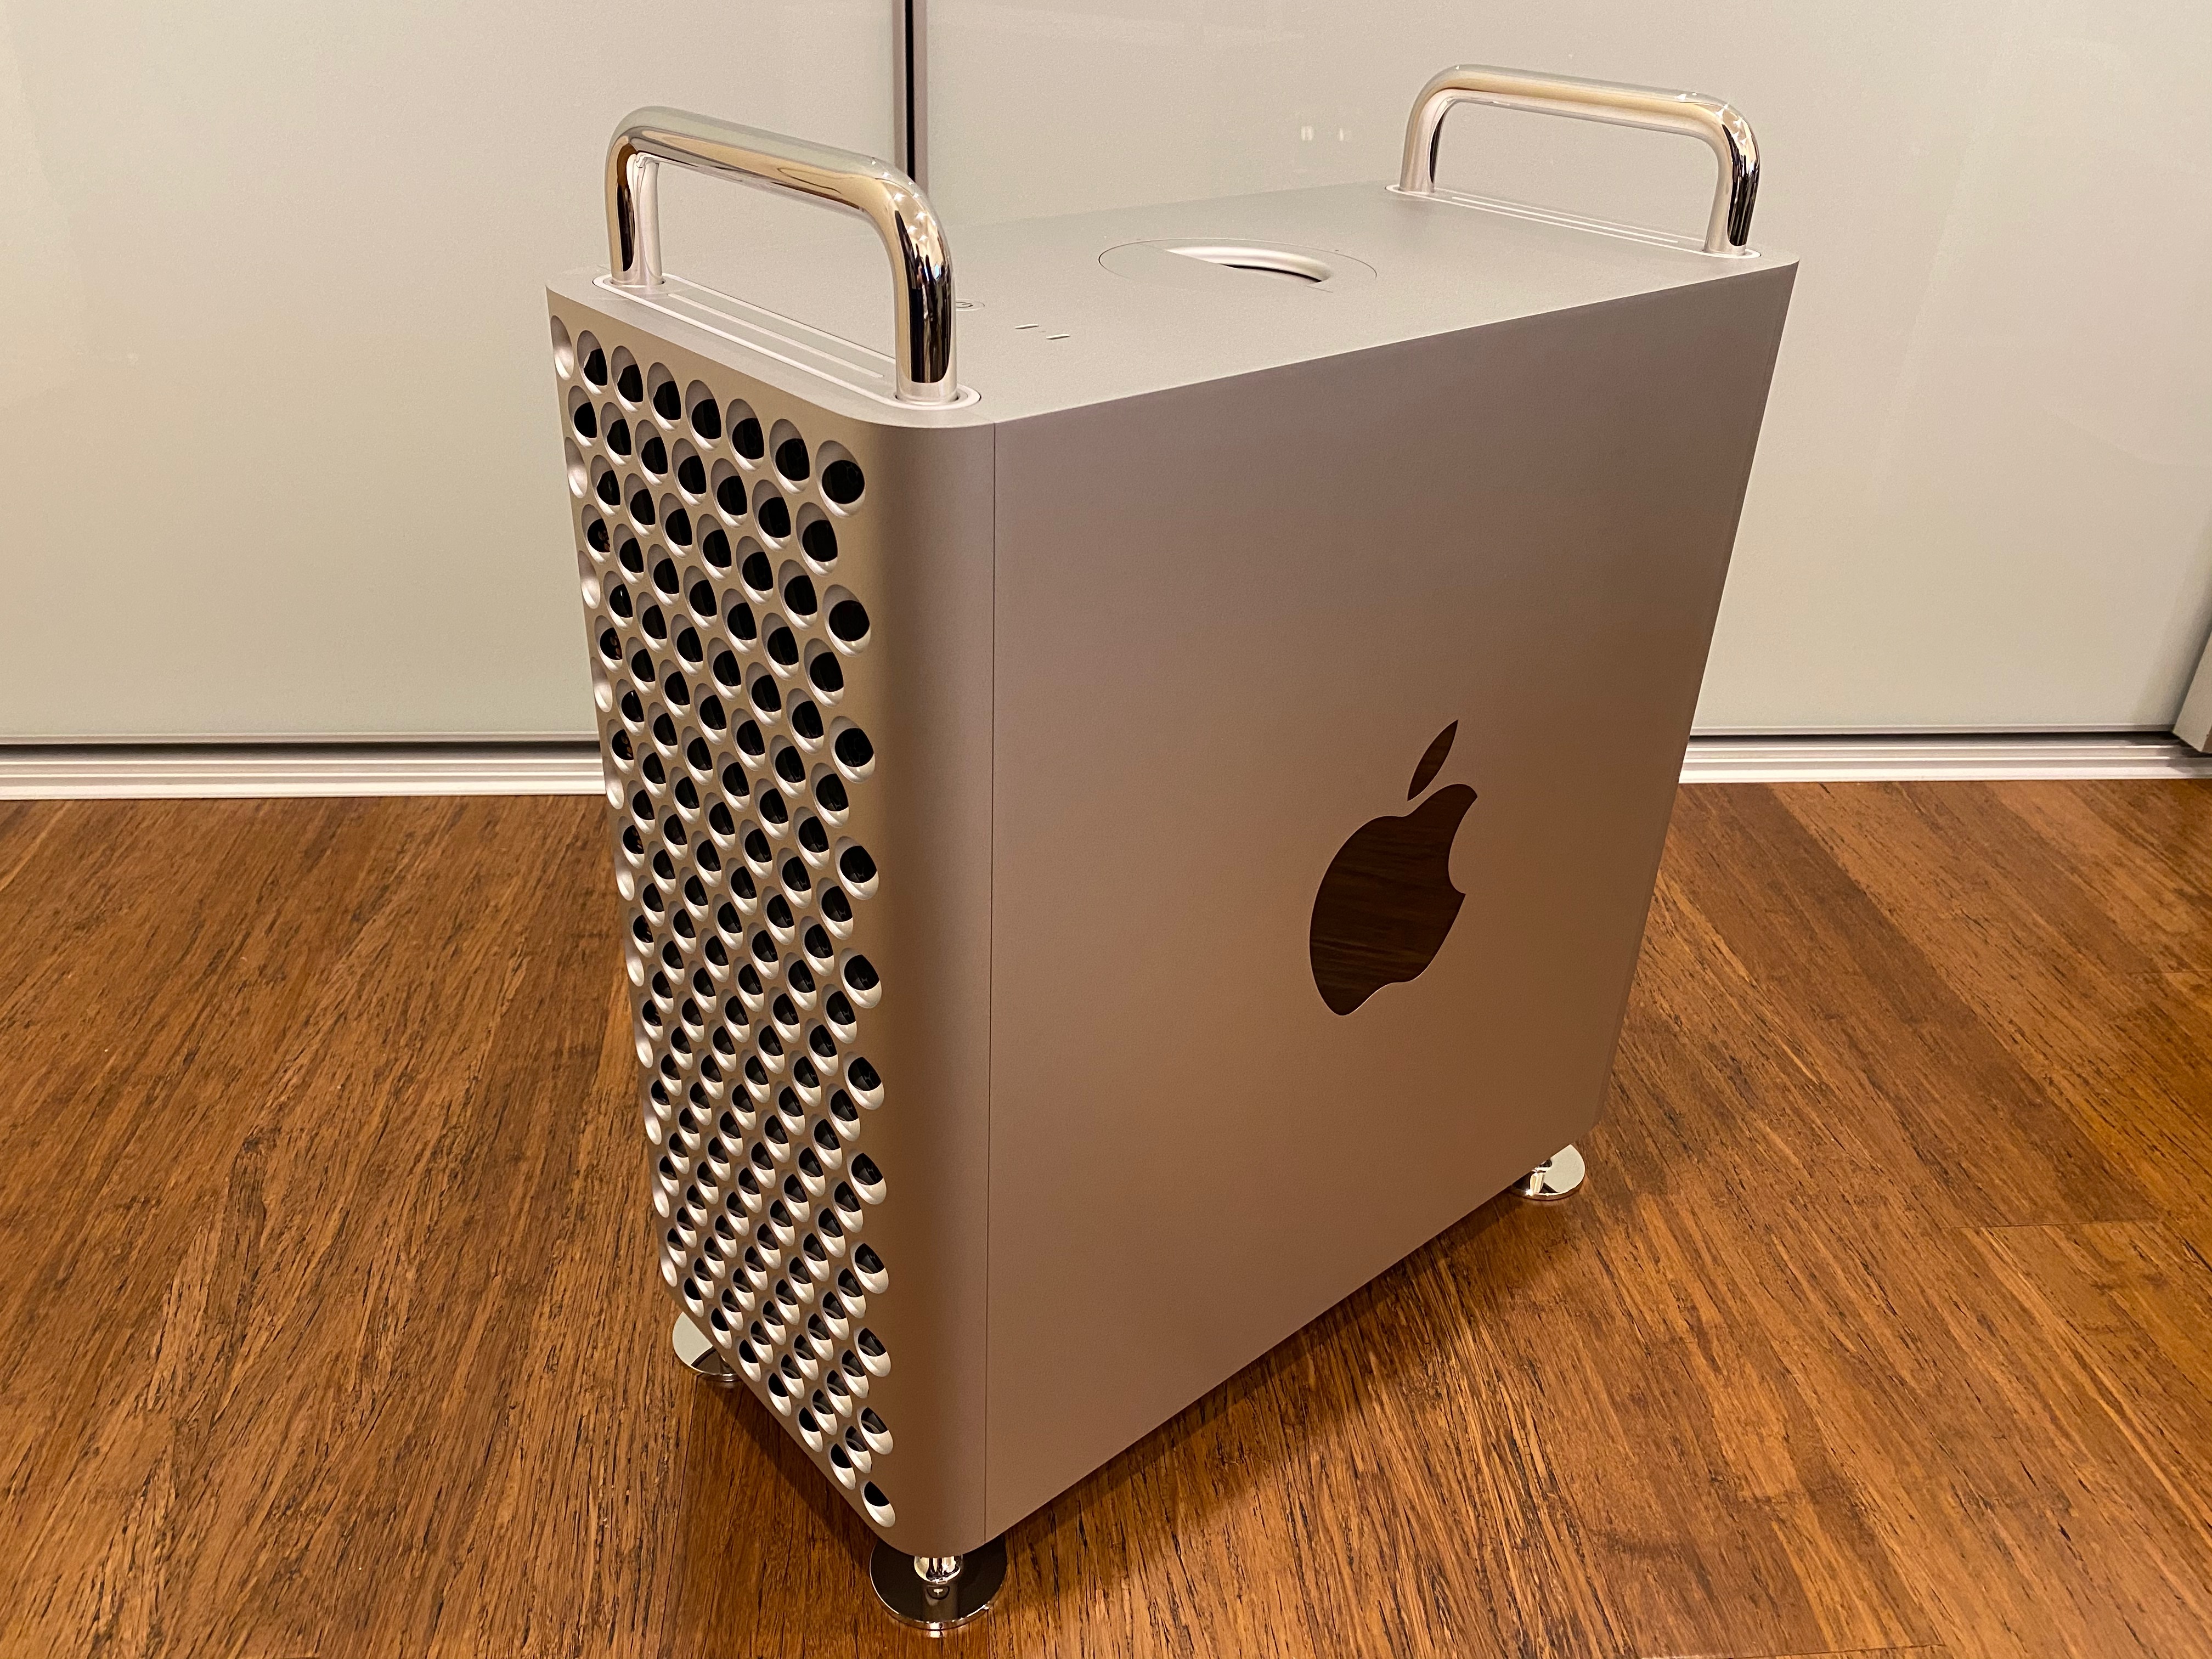
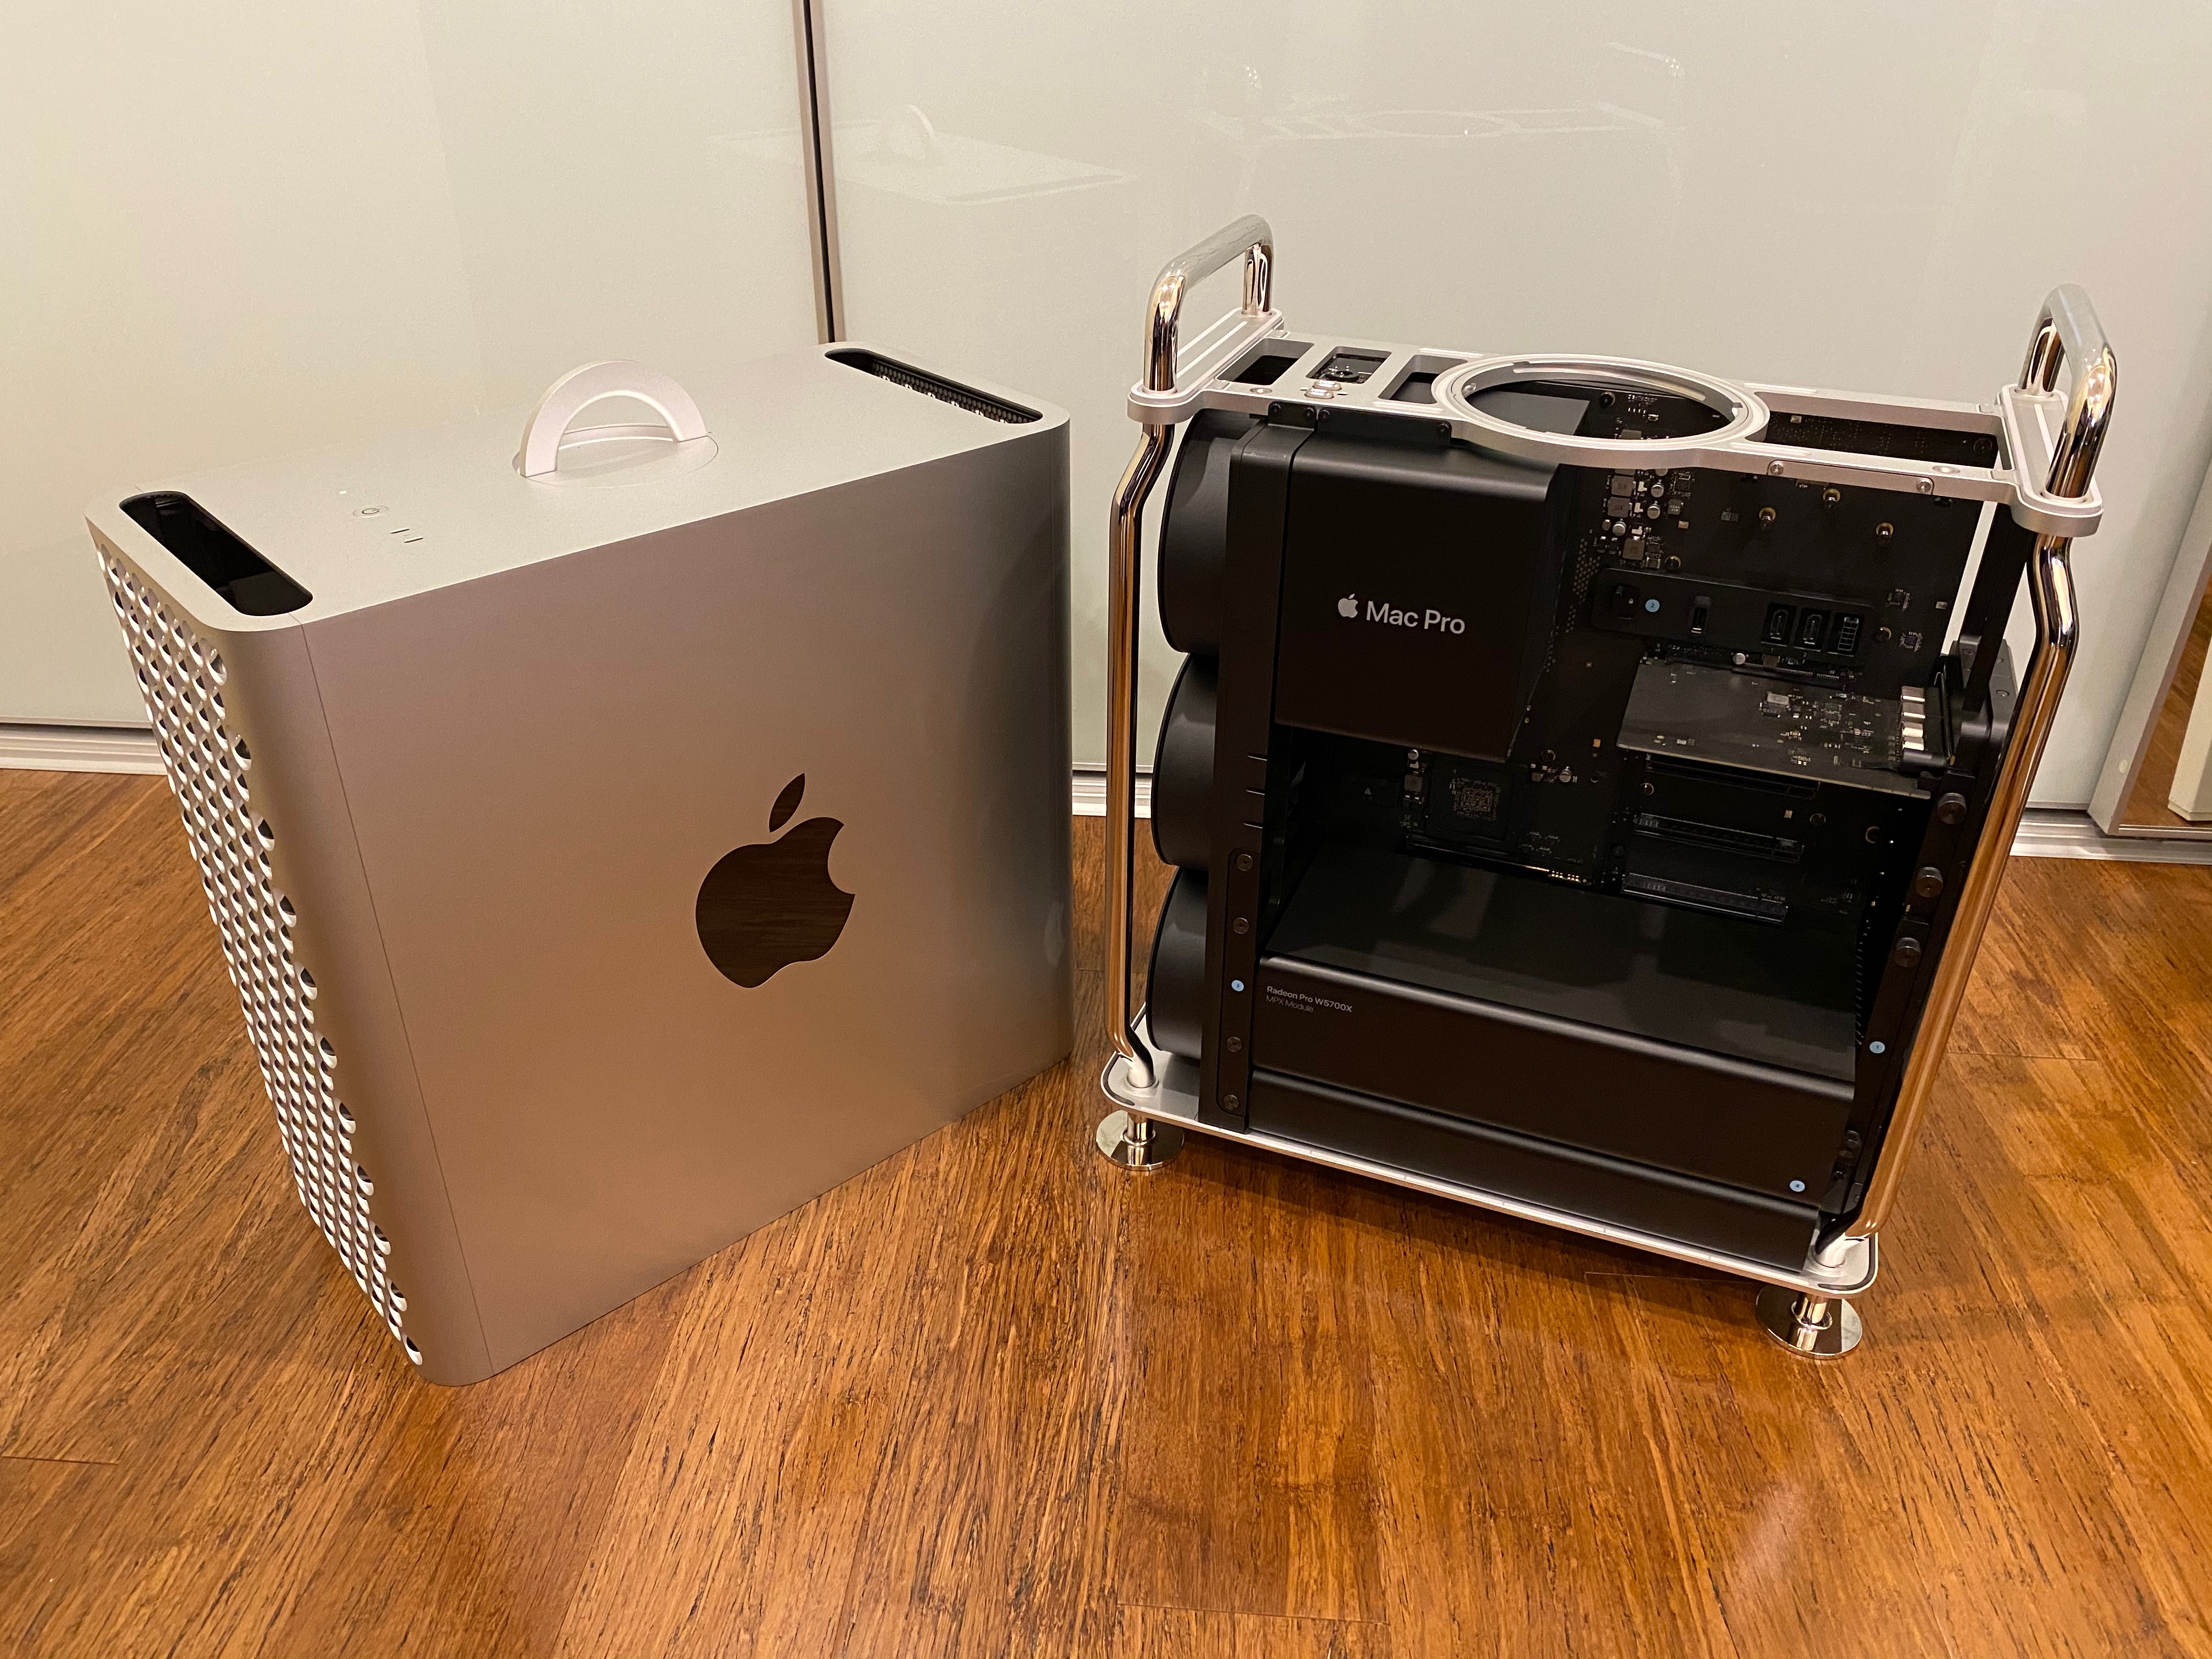
I decided to install AmiKit XE 11.6.1 on my daily workhorse Mac Pro I bought back in 2020 with my hard earned cash saved over many years and redundancy money from my previous job. This Mac Pro is running the latest MacOS Monterey as well.
As an aside, it feels like an end of an era that the upcoming replacement Mac Pro is using Apple's M2(?) CPU in place of Intel. It means that this 2020 Mac Pro is the last and fastest Intel based Mac ever made.
It is a shame this expensive computer is the only Mac Apple makes with this expandability.
That said, I am glad to have it and the Pro Display XDR - the 2020 Mac Pro is a stunning machine and amazingly well built.
I understand this latest AmiKit XE release supports Intel and M1 Macs, but I only tested on my Intel Mac Pro as I don't have a newer M1 Mac to try it on.
Drag and drop the program from the downloaded DMG (once mounted) into the Application folder to install - MacOS is just great for easily installing stuff compared to Windows and Linux.
Once again, a useful Quick install guide is included.
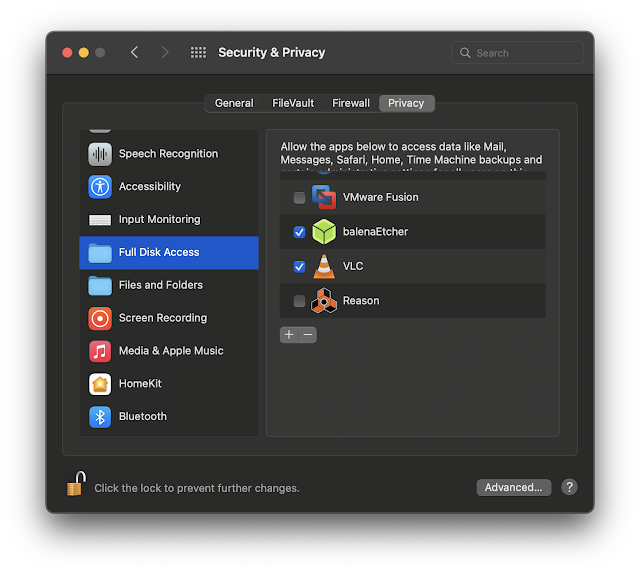
Read the Quick Install guide before installing, as it includes some troubleshooting tips for Mac specifically, as the security changes in recent MacOS mean you have to enable AmiKit XE access to your disks as below:
On initial launch you will get this prompt, as per the install guide:
Go into
Security & Privacy settings and Select the
Open Anyway option to open AmiKit XE
MacOS then makes sure you really want to do this - click Open to proceed.
On initial run of AmiKit XE on MacOS I had to install a Gecko package twice for it to start up - I hit install twice and it proceeded as expected:
The AmiKit launch menu then appears, the same as the Windows version:
I then hit Launch to start the setup:
At this point, following the instructions, I mounted the Amiga Forever ISO file in the WinUAE settings under CD & Hard Drives:
With that done, I could click on OK to proceed.
The installation then detects Amiga Forever and installs the required files and proceeds with the installation as per the Windows version I showed earlier:
The initial installs completes, and reboots the emulation to set the Amiga screen mode.
I set the screen mode as recommended to 1920x1080 32bit - I will probably increase it to 4K later on - I am using a Pro Display XDR screen on my Mac Pro, so 1080p is pretty small:
The install completes, and ready to restart into AmiKit XE:
The initial environment appears, the usual downloading of files and updates is then done, the 11.6.1 update being the key one.
With the updates installed, I now have AmiKit XE 11.6.1 up and running on my Mac Pro.
One thing to note is that the Mac version, like the windows version, maps the Host system hard disk onto the AmigaOS Workbench desktop for easy access within the emulation.
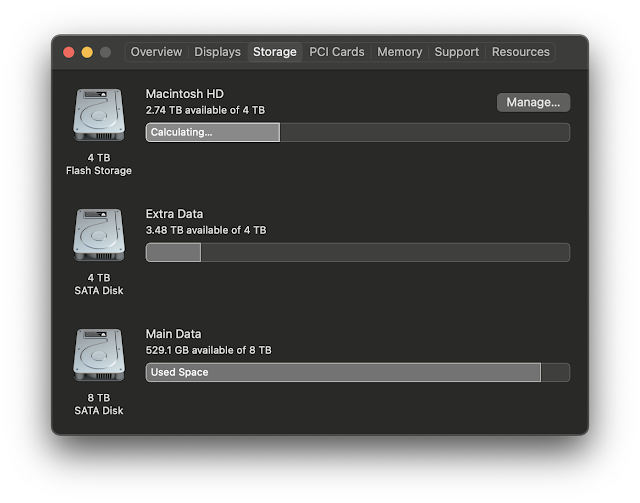
If you have multiple disks on a Mac, unlike in Windows, it will only map the System drive from / as below (the other drives mapped are the host C:\ drive from Wine, and the DMG drive I mounted earlier for the installation):
On my Mac Pro, in addition to the main System drive, I have two additional hard disks which contain my Amiga files:
I wanted to have them available on the desktop, so I navigated to the /Volumes drawer WinDH_Z under AmigaOS Workbench and then "left out" the two hard disk folders (Main Data / Extra Data) on the desktop to make it quicker to access them, as below:
Playing around with the included applications, games and demos is great, and you can easily add more thanks to the mapping of the host operating system drives into the emulation, and internet connectivity within the emulation to download files from AmiNet and other internet sites directly into the emulation.
As mentioned before, the icons in the drawers look great:
Of course, being an emulation running on fast hardware with no speed limits applied to the default AmiKit XE setup, it runs very fast, as shown in SysInfo:
Testing it with some demos shows AmiKit XE 11.6.1 works well on my Mac Pro, even with the more taxing later TBL demos like Starstruck.
You can of course load ADF files into WinUAE to load your favourite games with a customised Amiga 500 setup in WinUAE rather than using the AmiKit XE workbench setup, or alternatively download and install WHDLoad games runnable from the AmiKit XE workbench.
If you go down the customised A500 setup in WinUAE route, it runs very well indeed in testing on my Mac Pro. Here are the settings I used if you are interested - I wanted this for running demos and games that needed the original A500 system setup to work correctly. I think including this Amiga 500 configuration in the future versions of AmiKit XE might be a good idea to consider to save users having to create it themselves:
Moving back to AmiKit XE, I then did some playing around with the Native display filter settings to run AmiKit in full screen on my Mac Pro.
It can look pretty cool like this on the Mac, even with native mode having to scale so much to fill the huge Pro XDR display!
Using the filters to auto resize and keep aspect ratio is better of course, as it keeps the games and demos in the right 4:3 proportions, even if it doesn't fill the screen - here is the very excellent "Technological Death" demo by Mad Elks from 1993: