Today, I continue onto Part 3 of the Amiga 500 build. You can click on Part 1 and Part 2 blog entries to get up to speed on the considerable work already done!
I am focused now on the setup of a AmigaOS 1.3/3.1/3.2.2 switchable configuration, and getting the Amiga 500 online with the ACA500 Ethernet module (X-Surf 500).

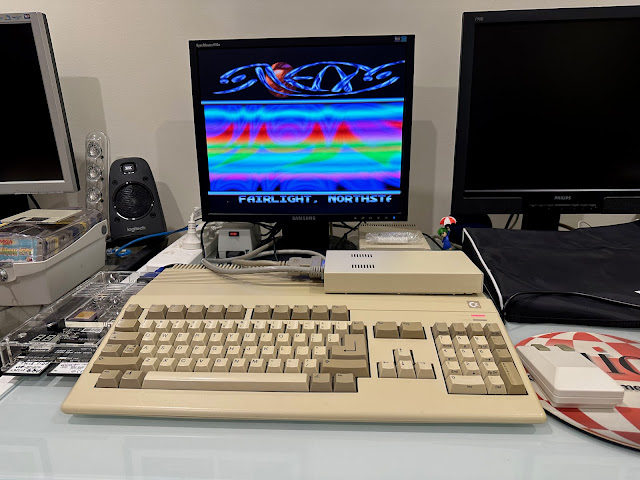
Running AmigaOS 3.2.2 is a definite goal of this build, but not at the loss of Workbench 1.3 compatibility to run older demos like this classic - do you know it?
Also, AmigaOS 3.1 is supported out of the box by the ACA500 Plus solution I am using, so I want to have 3.1 setup as well! Fired up a more recent e255 ECS demo from Bomb to pass the time while unpacking the box my new roms came in.

Given the ACA500 supports soft kicking into AmigaOS 3.1 and 1.3 environments itself in it's firmware, it means the physical rom in the Amiga 500 can be upgraded to the latest 2023 AmigaOS 3.2.2 rom chip! As mentioned at the end in Part 2, I did get a few of them...

I opened up the Amiga 500 to get started with installing the new Kickstart rom chip.


I powered on the A500 without any Amiga CF card installed to make sure the rom works before proceeding any further.


With AmigaOS 3.1/3.9 and some patches you can use the 32GB CF capacity, but it is a pain. The system partition has to be within the first 4GB on the CF card, and 2GB partitions are needed. I know you can create larger ones afterwards with adding other file systems like PFS, SFS, etc, in the RDB using hdtoolbox and then partitioning, setting the correct file system flags in Hex, etc, but it is a lot of mucking around. I have done on the A4000T and other Amigas in the past too.
Using 3.2.2 roms and AmigaOS 3.2.2 I have support to see and address the full 32GB straight away and can partition it however I want to. In short, I am lazy and want it to be easier in 2023. :-)
I then turned on the Amiga 500 and Press F10 on the ACA500 plus initial menu screen to prepare Profile #1 to be used with the AmigaOS 3.2.2 rom and required configuration. That way, I press '1' at the ACA menu on power on to boot into AmigaOS 3.2.2!
Currently Profile 1 on the ACA500 plus is set to use the onboard rom in a 1.3 setup, which was when I had the 1.3 physical rom installed. The * next to the profile means I have made changes that are not saved yet.


Next, I booted from the AmigaOS 3.2 install disk and ran HDToolbox to review the partitions.
The 32GB CF card was used previously on my Amiga 1200 when mucking around with AmiKit Real 9 (covered that build here if you want to see how). I formatted the AmiKit partition (2GB) and labelled it as AmigaOS32 to use with AmigaOS 3.2.2.
I didn't use the updated Fast File System's long filenames feature, as I like to leave the file system backwardly compatible to plug into my other Amigas for data transfers. I should really try it out though - the truncating longer file names copied from my Mac and PC is annoying!

I left the rest of the partitions (2GB backup partition, and multiple 4GB partitions) and drive contents intact, since it already has my games, demos and music installed.
Copying the data again is a time consuming process! I could have formatted them as one partition to make things simpler, but copying 28GB of files again takes so long. I know, first world problems...anyway.

Note to vendors - please add an option to buy a complete AmigaOS 3.2.2 floppy disk set, or at least add an option to buy a complete set of professional disk labels ready to attach. Yes, I know the labels are on the CD but I don't want to have to find the right size labels to print them on and cut to size for each one...happy to pay for it for that fresh out of the package experience.
Yes, I know I could copy the adf files from CD on another Amiga to the hard disk and mount virtually, and yes, I know I could copy the installed AmigaOS 3.2 partition from one of my other Amigas. Indeed I did install AmigaOS 3.2 from CD before too. It works great.
I could also install using gotek floppy disk emulator via USB stick which would be much faster, but I don't have one hooked up to this Amiga though.
But...I want to use the floppy disks and a fresh install. I prefer to install from them this time - No great reason for that given the quicker options available I know, but I just want to, ok?


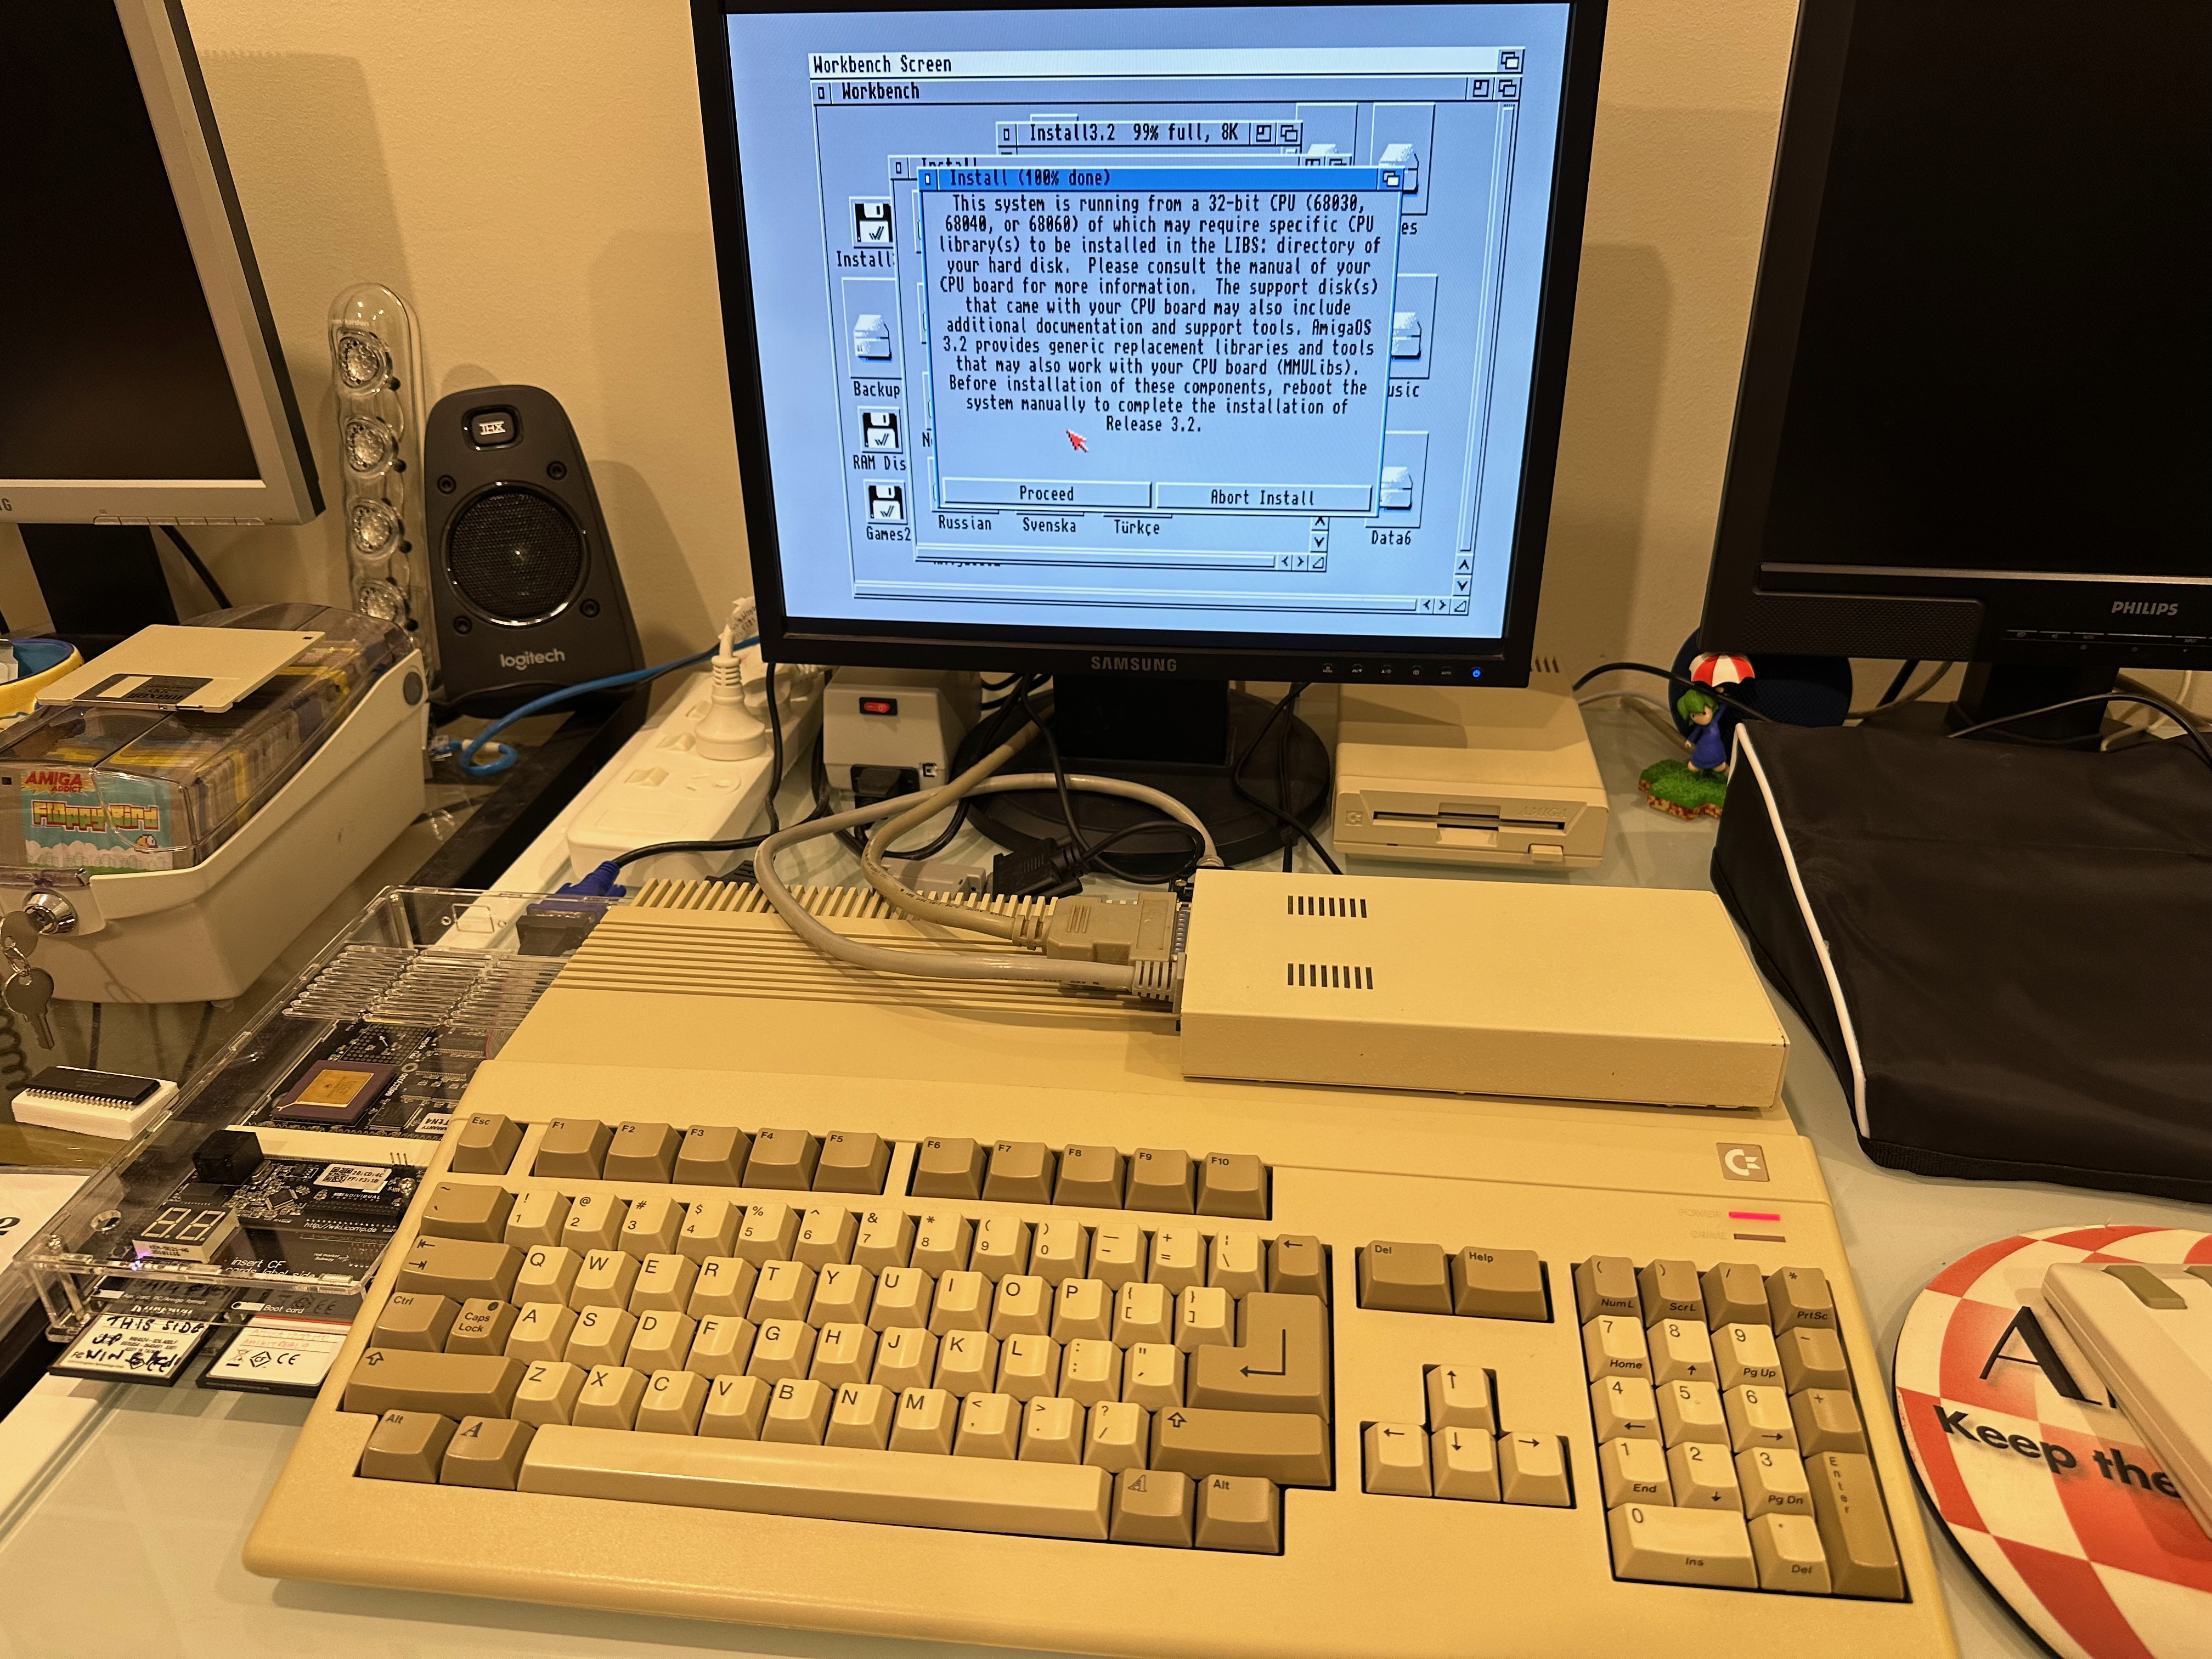


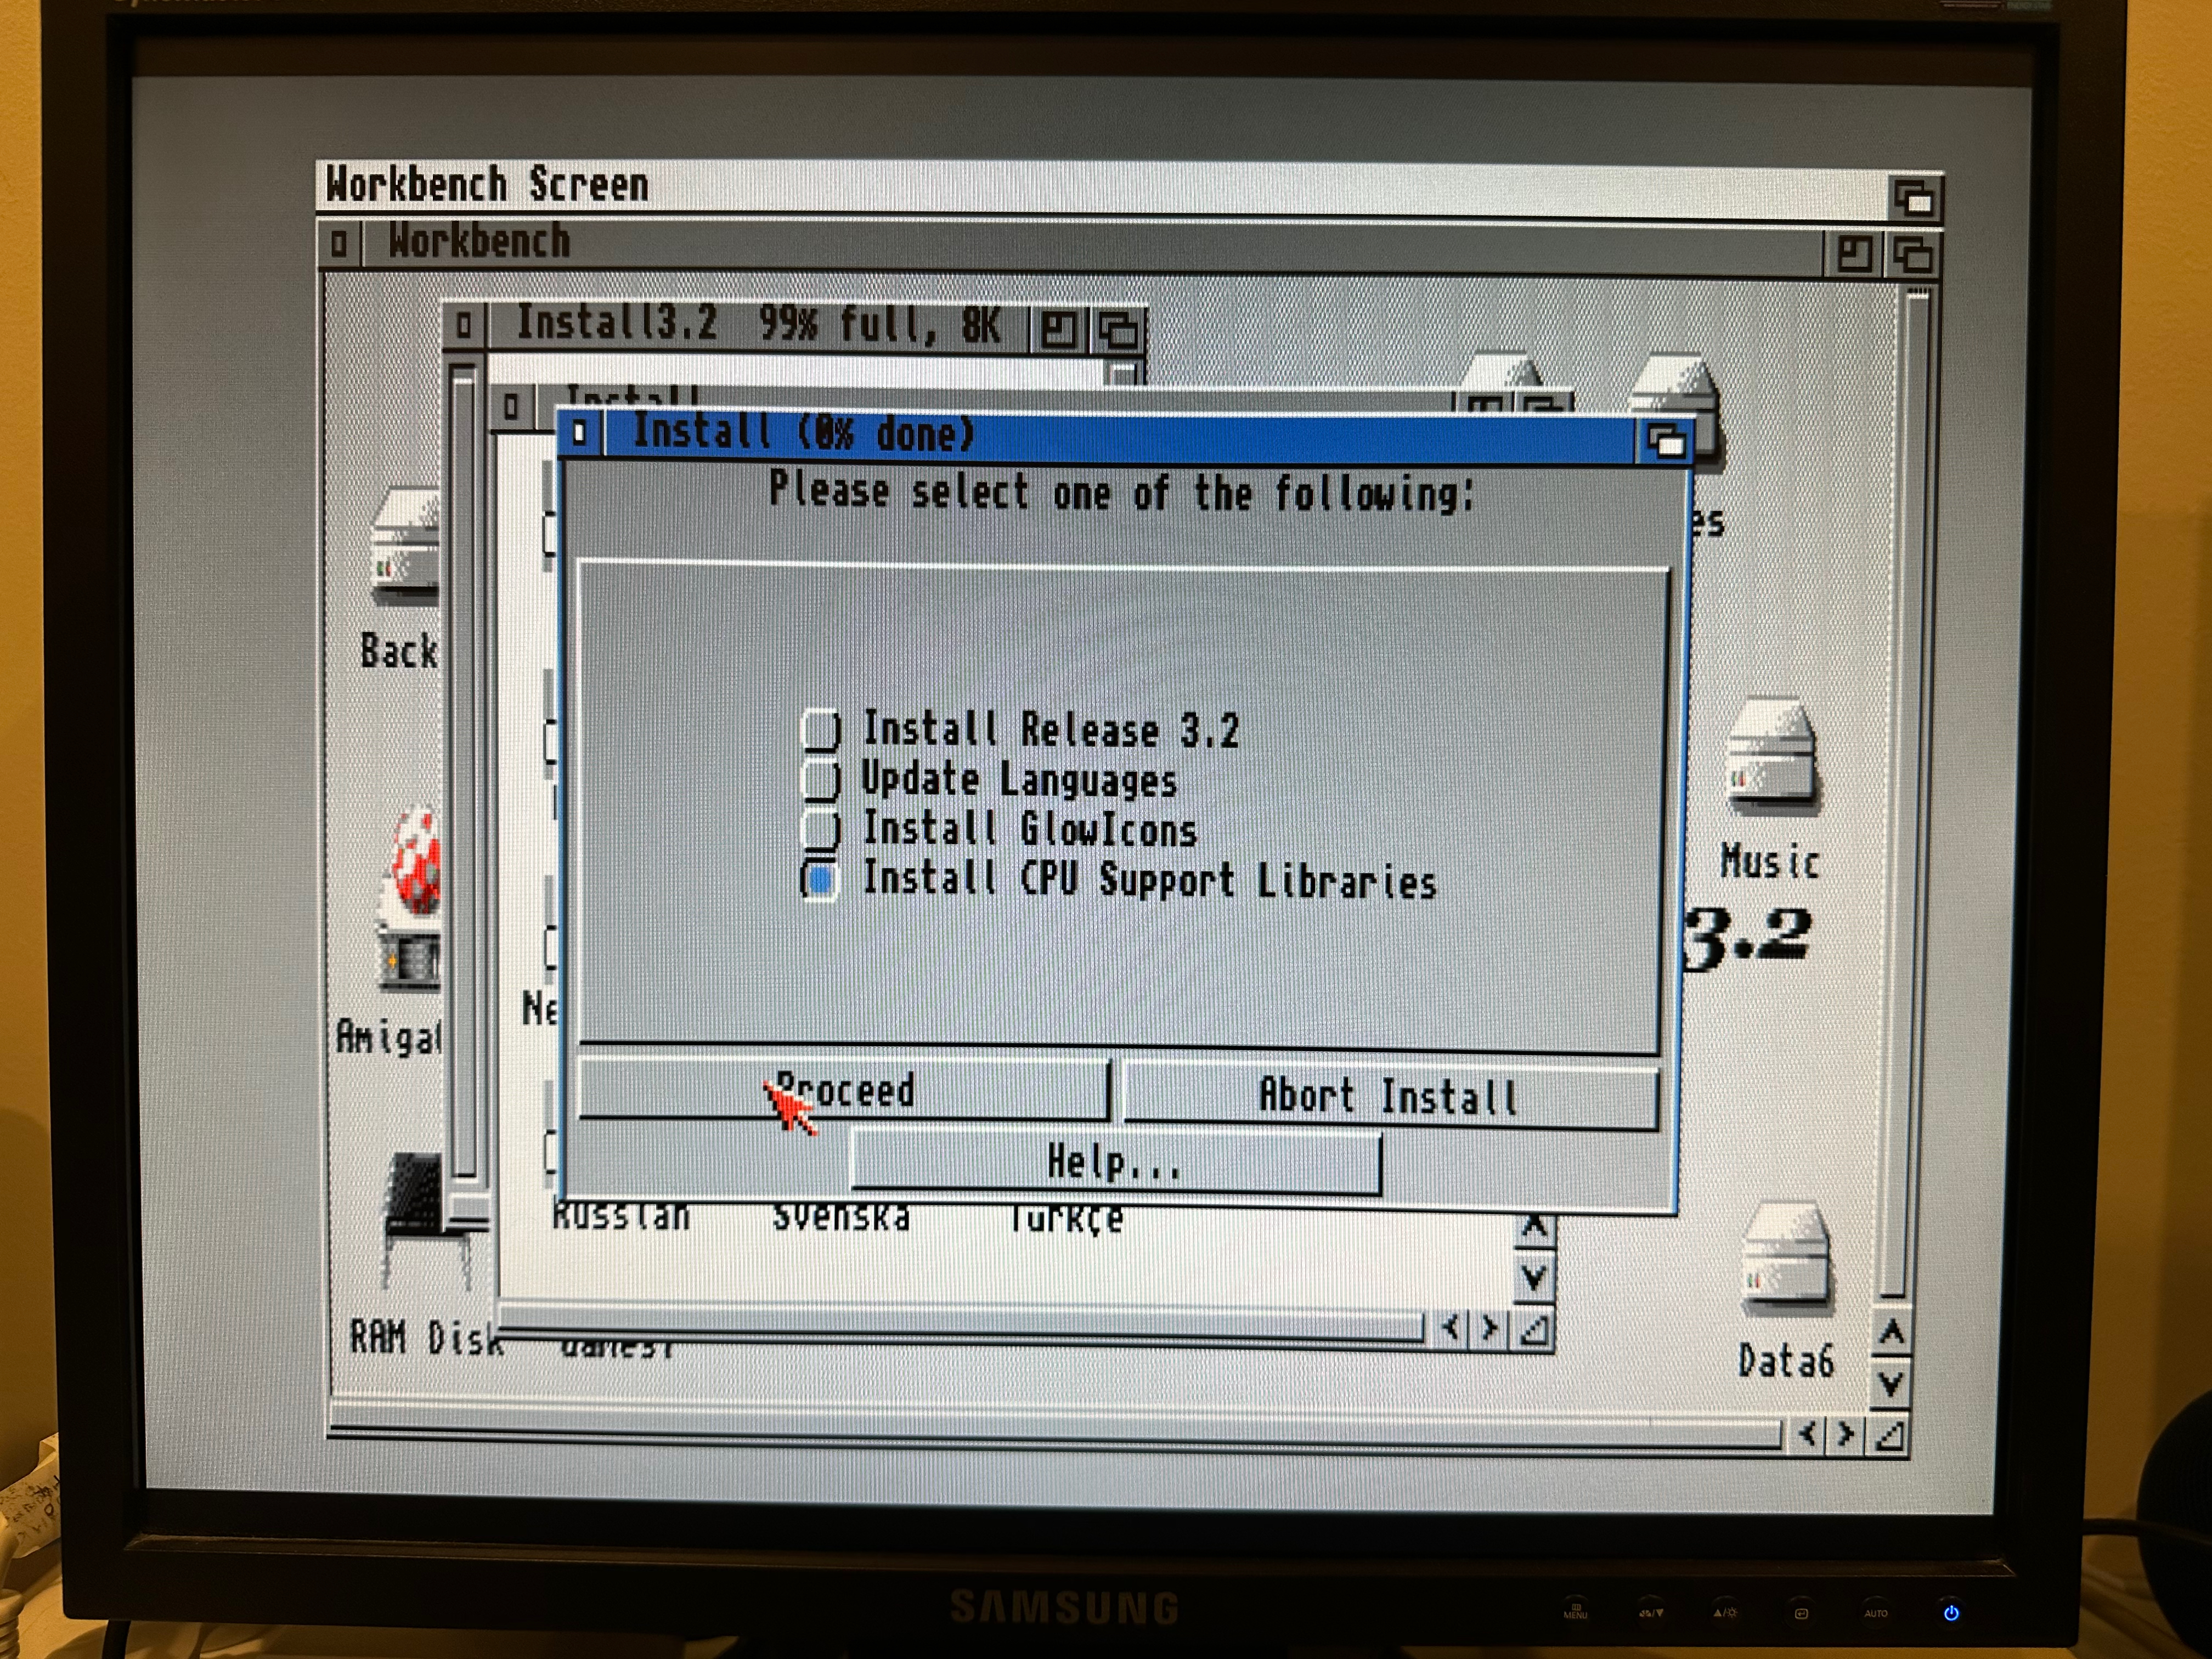
To do this, I rerun the setup from the AmigaOS 3.2 install disk. I change the installer initial screen option to the Install CPU Support Libraries option.


Next, I put the 32GB CF Card on a USB to CF adapter into my Amiga 3000's Rapid road USB (mounted on x-surf 100 ethernet card) to copy across the 3.2.1 and 3.2.2 AmigaOS 3.2 update archives across as they are ~16MB each.
I also labelled my CF card again, since it is now AmigaOS 3.2.2 and I need to tell the difference between the cards when swapping them out of the ACA500 plus:

One lesson I learned is the ACA500 plus AUX CF card slot is supposedly hot swappable. It *IS* hot swappable if you are using a pc FAT formatted cf card. If you plug an Amiga formatted cf card into it with multiple partitions, I found you need to power off before swapping and again when you finished.


As you do, you have to test it works, so errr, I got a little distracted with Mean Arenas.


There was some more essential testing needed with Apidya also, which arrived in the post while I was testing Mean Arenas.


I got further distracted because at that moment I also got a package with the latest 2023 issue Amiga Addict magazine and some cleaning disks I ordered to use on my Amigas and Commodore 64 5.25 floppy drives! Busy post day!

Definitely have to try out the cleaning disks later on. I already have the correct fluid to put on the cleaning disks.


A game I bought recently and tried on the C64 recently dropped something on the floppy drive heads and now the 1541-II won't read any disks. Hence the purchase! Hopefully this will fix it.
As an aside, while installing Final Writer 97 using the built in ADF virtual disk mount functionality in AmigaOS 3.2.2, I discovered something I didn't know - you can unmount virtual disks from the workbench title bar menu using the Eject disk function! I was using the Shell commands up until now...heh. Learn something everyday.

Final Writer 97 installed fine from ADF, and works great on the Amiga 500 under AmigaOS 3.2.2.

Next, I set to work checking the Workbench 1.3 profile I did earlier.
Or so I thought - as it turns out, the ACA500 Plus has a lot more functionality compared to the old ACA500 I use on the Amiga 1000.
ACA500 plus now has a menu for A500 built-in profiles accessed with F3 from the main menu, which allows soft kick of Kickstart 1.3, with different Chip and fast memory combinations to choose from:

This is incredibly useful for older Amiga demos and games that are picky and need these configurations.
I can even soft kick Kickstart 1.2, select PAL/NTSC, CPU speed, floppy drives on/off, redirect Df1: as the boot drive, and activate the Action Replay function. This is very cool.

I tried out the Kickstart 1.3 with 1MB chip configuration , which works as the Agnus chip version in the Amiga 500 is new enough to support it. Here is the screen showing the status of the soft kick and other configuration prep after selecting the configuration.

And, voila, I get a Workbench 1.3 insert disk screen. no hard disk, and ready to load floppy disks.

Of course, I want to be able to boot Workbench 1.3 from hard disk too. Fortunately I already prepared a Workbench 1.3 2GB CF card for the Amiga 1000 to use with the older ACA500 card.
FYI that card is 4x512MB fast file system partitions, formatted Fast File System (no international support) prepared under Amiga 3000 via USB to CF converter with AmigaOS 3.1.4 HD Toolbox.
As part of this partition setup work, I remove the 3.1.4 FastFileSystem driver loaded in the RDB automatically, and substitute the older fast file system drive from the Workbench 1.3 floppy disk. It is important the filesystem type in the partitions matches the version in the RDB. This means hard disk is then usable under 1.3.
That 2GB CF card is already setup with my old Amiga 2000 Workbench 1.3 Hard disk setup copied across, including many applications, games, demos and mods. I decided to take the easy way and backup the CF card to an image file on my Windows 11 PC using win32Diskimager.
I then got a spare 4GB CF card and imaged it with the 2GB image file. I suppose I could add additional partitions in the future if I need them since there is another 2GB available now, but at the moment it is not needed so...I can just use it as is.

Fortunately, on the ACA500 plus there is a complete Kickstart ROM 1.3 configuration profile to select with F2 on the main menu, so I don't need to create custom profile for Workbench 1.3 hard disk booting.

I then removed the 32GB AmigaOS 3.2.2 CF card.
After inserting the 4GB CF card containing Workbench 1.3 hard disk into the ACA500 plus and selecting F2 from the main menu on power on, my Workbench 13 hard disk boots up straight away - fantastic!

While we are mentioning the ACA500 plus initial power on menu, you can also see the System Information screen with the tab key - a lot of information is available there:

Pretty cool that I can see the Accelerator, and X-Surf 500 module is installed, and it's mac address.

I like the idea of putting a kickstart 1.1 rom so I can run Archon on this machine - I should try it sometime, but not today.
This is because I want to get this Amiga 500 networked and connected to the internet, using the ACA500 Ethernet module (X-Surf 500) I installed. I am still waiting for the ethernet extender to extend the ethernet port on the X-Surf 500 to the rear plexiglass case port hole.
I am impatient to get it working though, so I temporarily routed a network cable to the port.

The ACA500 Plus includes a network installer option under the Installer Menu especially for the X-Surf 500 card.

The catch with the installer option is that it uses kickstart 3.1 soft kick configuration only, with no option to change which profile it uses so I can use AmigaOS 3.2.2.
Without that profile set to use the AmigaOS 3.2.2 kickstart rom, the Amiga won't boot from the hard disk at all.
So, enter the Kickstart 3.1 CF Card I had in this ACA500 plus at the beginning! I needed to relabel that one too so I did so.

With the 3.1 CF card installed, I could choose the network installer option from the Installer menu, using F5. I need the AUX CF card too, which is activated by default:

When I select F5, it highlights the option. I can then hit the return key to boot with that configuration.

As mentioned, it then boots into workbench 3.1 from the CF card, with the network install virtual disk mounted on the Workbench screen automatically.

This is not that useful yet, since I actually want to use this on AmigaOS 3.2.2. But I have a plan.
On the Workbench screen, I then open the AUX CF Card (PC0), and create a drawer called InstallNetwork:

I then copy the contents of the virtual disk to it.

That done, I power off and put the AmigaOS 3.2.2 CF card back in, and boot into the amigaOS 3.2.2 profile I setup on the ACA500 plus.
I then make an assign for the InstallNetwork virtual disk to the drawer on the Aux CF card (PC0) where I copied the files:

I can then run the Network installer Individual computers provided for the ACA500 Ethernet module.

The installer installs AmiTCP, which is configured for use with the X-surf 500. Similar idea to AmigaKit's wireless internet driver package I have used in the past.

I pick a location under SYS:Utilities for the AMITCP drawer and the install gets underway.

Interesting to note that there is a new program called "Network" installed in WBStartup to configure the ethernet settings for my setup here.

Install completed. Reboot time.

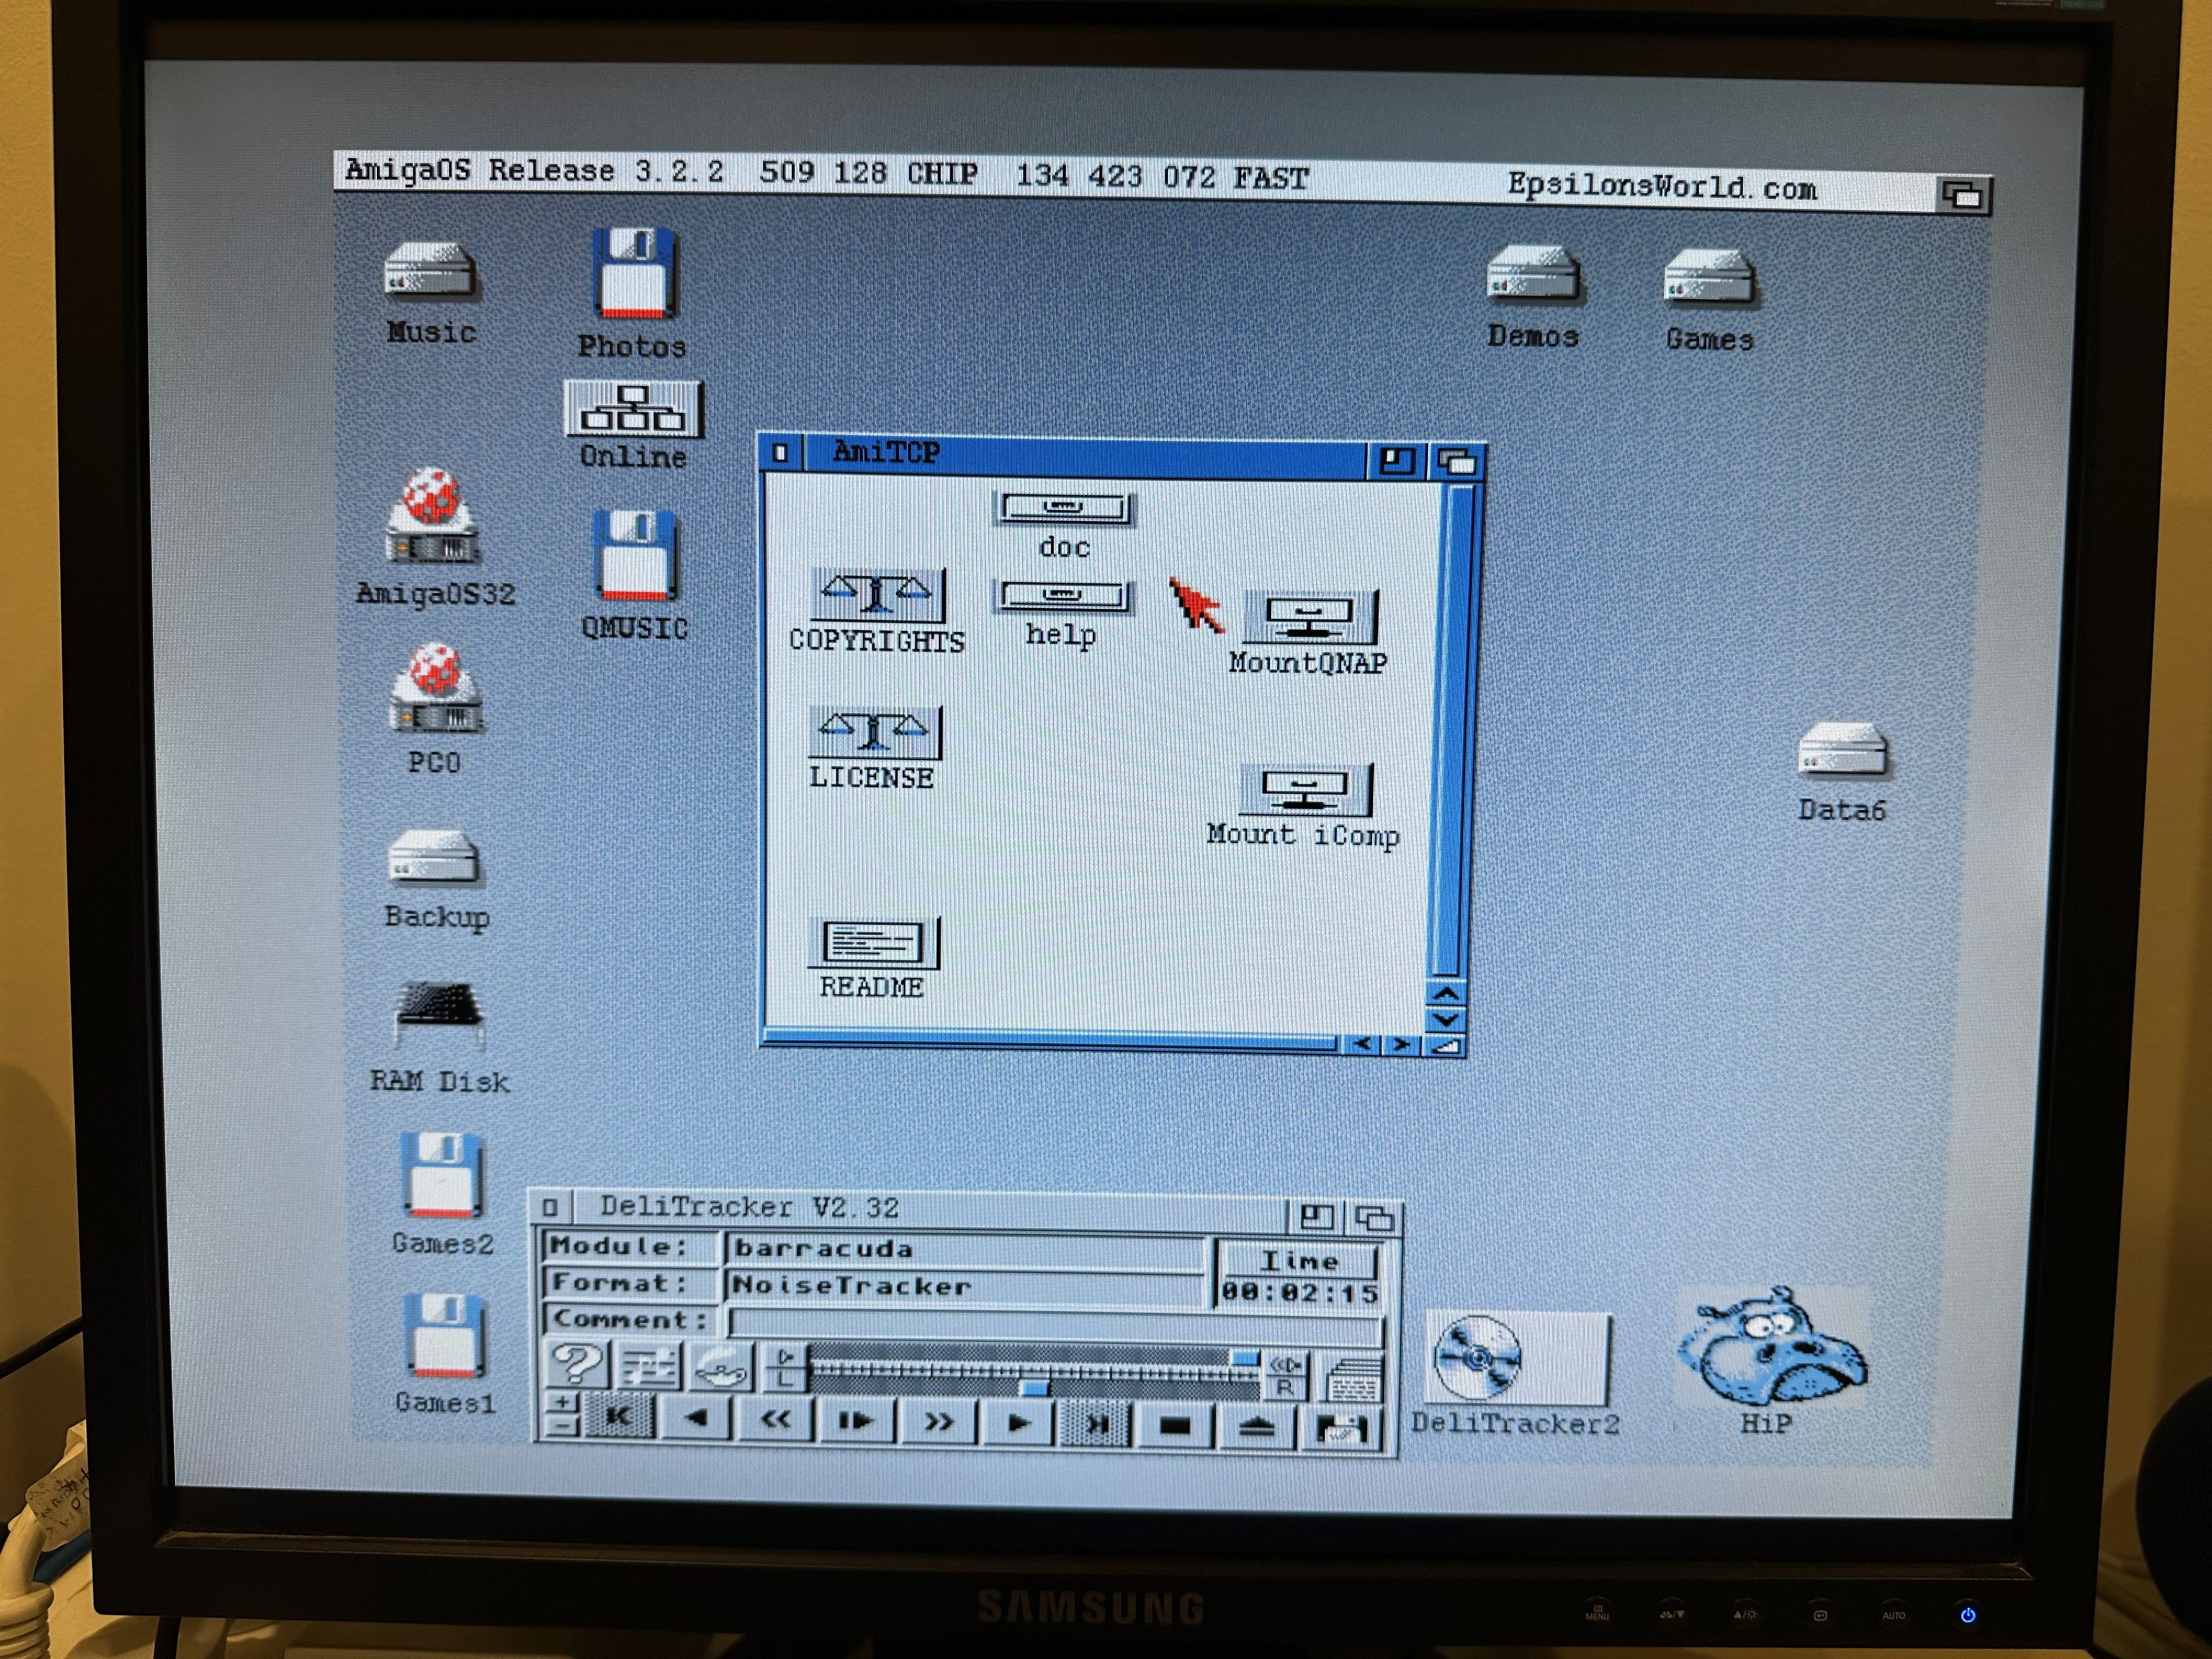
On the reboot I now get a wait/offline/online status icon on the AmigaOS 3.2.2 Workbench:


With DHCP set, I tried it and as expected it failed. Status still says Offline.

So I configured it manually with an available home lan static ip address, subnet mask, default gateway, DNS (local and internet). I clicked on Save and then start. It worked! status is online, as below.

In the AMITCP drawer, there is a program called Mount iComp.
Mount iComp allows you to connect over the internet directly to Individual Computers publicly available file repository to download drivers and software for my Individual computers hardware (Indivision, ACATune, X-Surf 500, X-surf 100, etc), without having to use a web browser. Very nice.
Except that it didn't work. When I double clicked I got this error:

I snooped around in the mount iComp script file to see what was happening. This script file is using SambaFS to connect to the public share over the internet. There is a line that starts the network first, but this is not needed as the network starts automatically on boot with the wbstartup program there. Hence the error.

Not sure why Individual Computers put that line in given the installer for x-surf 500 puts the network program in wbstartup to connect automatically.

I then ran the Mount iComp program again from its icon and it worked perfectly. I can now see the public share over the internet using my Amiga 500! Very cool. I see they put a disk.info icon on the share too so it has a nice icon on the Workbench screen - nice detail touch :-)

Behind the scenes in the shell, I took a look and I can see the iComp share is mounted as a SMBFS0 volume.

I set to work copying the files to my machine so I have the latest versions of the software drivers, since I own a lot of this hardware already.

This is great, but of course I want to be able to web browse too, so I wanted to install the commercial iBrowse 2.5.8 web browser for AmigaOS, which I bought boxed back in the 1990's (as below) and again recently with the restart of active development.
You can buy the latest version of iBrowse from here. You can use it a demo version for a short period to try it out too. Sadly you don't get the boxed version like below anymore, just the software and a license key. I like that a browser I used in the mid 1990's is still being developed in 2023.

With the end of development for Internet Explorer, how many browsers in 2023 on modern computers are actively developed that were available then? Popular browsers today like Firefox started in 2004, Edge in 2015, Safari in 2003 and Chrome in 2008.
I can only think of five web browsers still alive from the 1990's era, at the birth of the internet as we know it today:
- Lynx - a text based browser started in 1992. I remember using it at university on Sun Xterms to browse the internet! Lynx taught me to always include ALT tags in my HTML...
- w3m - started 1995 - never used it myself outside of emacs
- Arachne - started 1995, used in MSDOS at University and on my DOS pc today too
- Opera - started in 1995, for Windows, Mac, Linux and mobile devices.
- iBrowse - started on the Amiga in 1996, and is based on AMosaic, an Amiga port of the original NCSA Mosaic graphical web browser released in 1993. (used AMosaic on my A1200 and Mosaic on Sun Xterms at Uni)

Netscape Navigator was also developed from Mosaic (I used both of them at University), and Netscape ultimately morphed into Mozilla.org and the modern Firefox browser we know today.
I know you can also download and use one of the free Amiga browsers like AWeb, but there is not active development going on for that. Netsurf is another option which is being developed, but system requirements (060, graphics card) are too steep for this Amiga 500 to use it.
So why not buy iBrowse - a 2023 actively developed commercial Amiga web browser!
You need to install AmiSSL first though for the latest web certificates, so I started with that - available on Aminet here and at version 5.8 as I write this.

As I have a ACA1233n, it means I have an 68030 accelerator in this Amiga 500, so I can use AmiSSL:


Actually, this reminds me I have a A500 adapter for the zz9000 graphics card (Zorro 2 firmware) I got last year . Thinking about it more, it would need to be using my checkmate 1500 plus cased Amiga 500 as it doesn't fit in the A500 original case, and it already has a happy home in my Amiga 2000. Anyway, let's move on!
Install completed.


I was going to stop there originally, but then the Mount iComp sambafs setup for the x-surf 500 from earlier got me thinking - can I connect my Amiga 500 to shares on my local QNAP NAS?

The limitation here has always been that SambaFS on the Amiga only supported v1 samba connections, and the QNAP requires v2 as a minimum.
As fate would have it, as I was doing this blog post, this week saw the release of a new version of sambafs for AmigaOS 3, with support for Samba V2! I will need to try it out later!
Regardless, I found a way to enable v1 support on the QNAP by reading up online. I can set the lowest SMB (samba) functional level to v1 on the advanced options under Network & file services > Microsoft networking:

I then applied the change on the QNAP.
Going back to the Amiga 500, I made a copy of the Mount iComp script file and .info file as a start point using the Shell, calling it MountQNAP.

I then created a host file entry in AmiTCP for my QNAP, so I don't have to put the IP address everywhere. For privacy reasons I won't share the ip address. The text file is in the AmiTCP/bin drawer.

With the hostname set in the hosts file, I then went to the MountQNAP file I copied from Mount iComp file before to start to customise the samba connection for the QNAP.
I need to specify a valid QNAP user and password with access to the shared location, as set in the QNAP configuration. Basically like this:
run <>NIL: $mnt volume VOLNAME: User=username Password=password service //qnap/sharename
I set it to connect to the QNAP Music share first, mounted as QMUSIC to differentiate it from the Music partition I already have under AmigaOS 3.2.2 on this Amiga 500. For privacy reasons the username and password are obviously not the real ones.

It worked first time and the QMusic disk icon appears on my AmigaOS 3.2.2 workbench screen. How fantastic!

I can see the QNAP Music shared volume mounted as SMBFS0 via the Shell:

I fired up Delitracker and loaded some modules located directly on the QMusic shared folder volume and it loads and works great over the network!


You can see the MountQNAP icon I copied from the original Mount iComp icon earlier is now in the AMITCP drawer as below:
I decide to leave out the MountQNAP icon on the workbench desktop, so I can easily mount my QNAP volumes when I want them.
I also then modified the MountQNAP file to add two more network mounting lines to mount two other QNAP network shared - photos (QPHOTO) and videos (QVIDEO). So now I have three network shares available from my Amiga 500 with AmigaOS 3.2.2!

They mount as SMBFS0, SMBFS1 and SMBFS2 volumes, as shown in the Shell below.

There is more to do with the Amiga 500 build, but I think the ethernet setup with X-Surf 500 installed on the ACA500 plus wth the ACA1233n and AmigaOS 3.2.2 already makes this already a very usable system now.
Now I can also easily swap CF cards and profiles on the ACA500 plus menu to boot into Workbench 1.3 hard disk or AmigaOS3.1 hard disk setups too.
Next I will work on getting my MAS Player working for MP3 playback, so I can playback the MP3's on my QNAP music network share on the Amiga 500! I also want to setup the new AmigaOS 3.2 dock, Miracle Piano, MIDI, SambaFS V2, and some other things as well. Stay tuned for the next part of the build!