Saturday, March 26, 2022

AmiKit XE 11.6.1 on Windows 11 and MacOS Monterey

 As you may know, I previously covered the installation of AmiKit XE 11.5 on my Raspberry Pi 400. 

Now though, the Windows/Mac/Linux version of AmiKit XE has been caught up to the Raspberry Pi version, and now a little beyond too, with the support of AmigaOS 3.2.1 under AmiKit 11.6.1! Let's take a look!

With the purchase of my new Alienware R12 just prior to Xmas last year, it seems a great opportunity to install the latest AmiKit XE on my Windows 11 machine!

I should mention up front that I am a beta tester of AmiKit XE, and as such I now get access to newer versions from the author prior to release. To be clear I am not paid for this beta testing work or for doing these reviews, so I will still say what I really think in regards to AmiKit XE. 

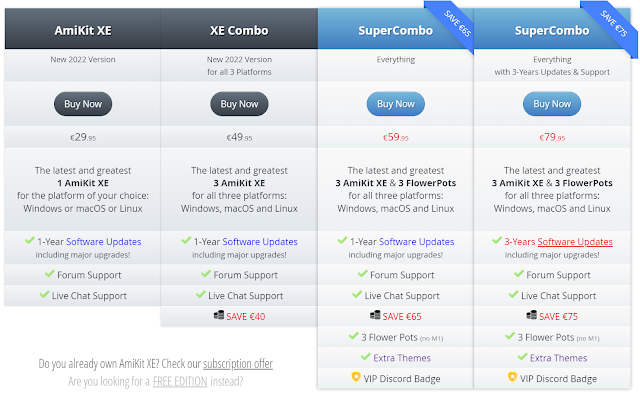
AmiKit XE is a commercial product, and if you want the latest version you need to purchase it. It is available in a number of purchasing options starting from EUR29.95, and all include the updates for the period of the subscription. 


If you run on more than one platform, the Combo editions are worth considering as they work out cheaper - you can also get FlowerPot, which allows you to easily install and run AmigaOS 4.1 final Edition Classic on your modern machine! I have looked at that on this blog previously here.

There is also a free edition version of AmiKit you can get which is a few years old. Please note that the free edition version won't be able to run AmigaOS 3.2 as we are going to be doing today with the latest version. 

The free edition version is a nice way to check out AmiKit and decide if you want to pay for the latest version - it is nice to pay a small amount to support the developer if you don't plan to upgrade to the latest subscription based version, and the suggested support options are presented on the page.

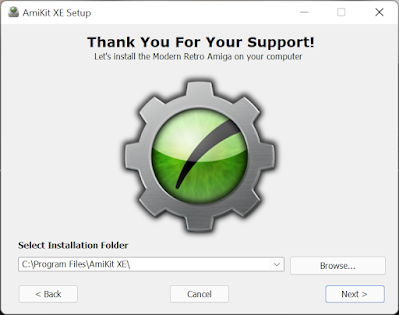
Moving back to the installer - let's get the AmiKit XE environment installed under Windows 11:


The installation process is painless, and easy to walk through. You do need a legal copy of Amiga Forever installed already (you can also provide the iso for Amiga Forever). 

You need Amiga Forever even if you plan to run AmigaOS 3.2. This is because AmigaOS 3.2 is installed as an upgrade after the initial installation of AmiKit XE.


I have covered the Windows installation in detail previously, and it doesn't vary much from then so I won't bore you with repeating all the steps again. the installation process is extremely well documented in the very helpful installation guide included.


After the initial installation completes and relaunch AmiKit XE, you set the screen resolution to 1080p as per the instructions:


All done, ready to reboot into the new AmiKit XE environment:


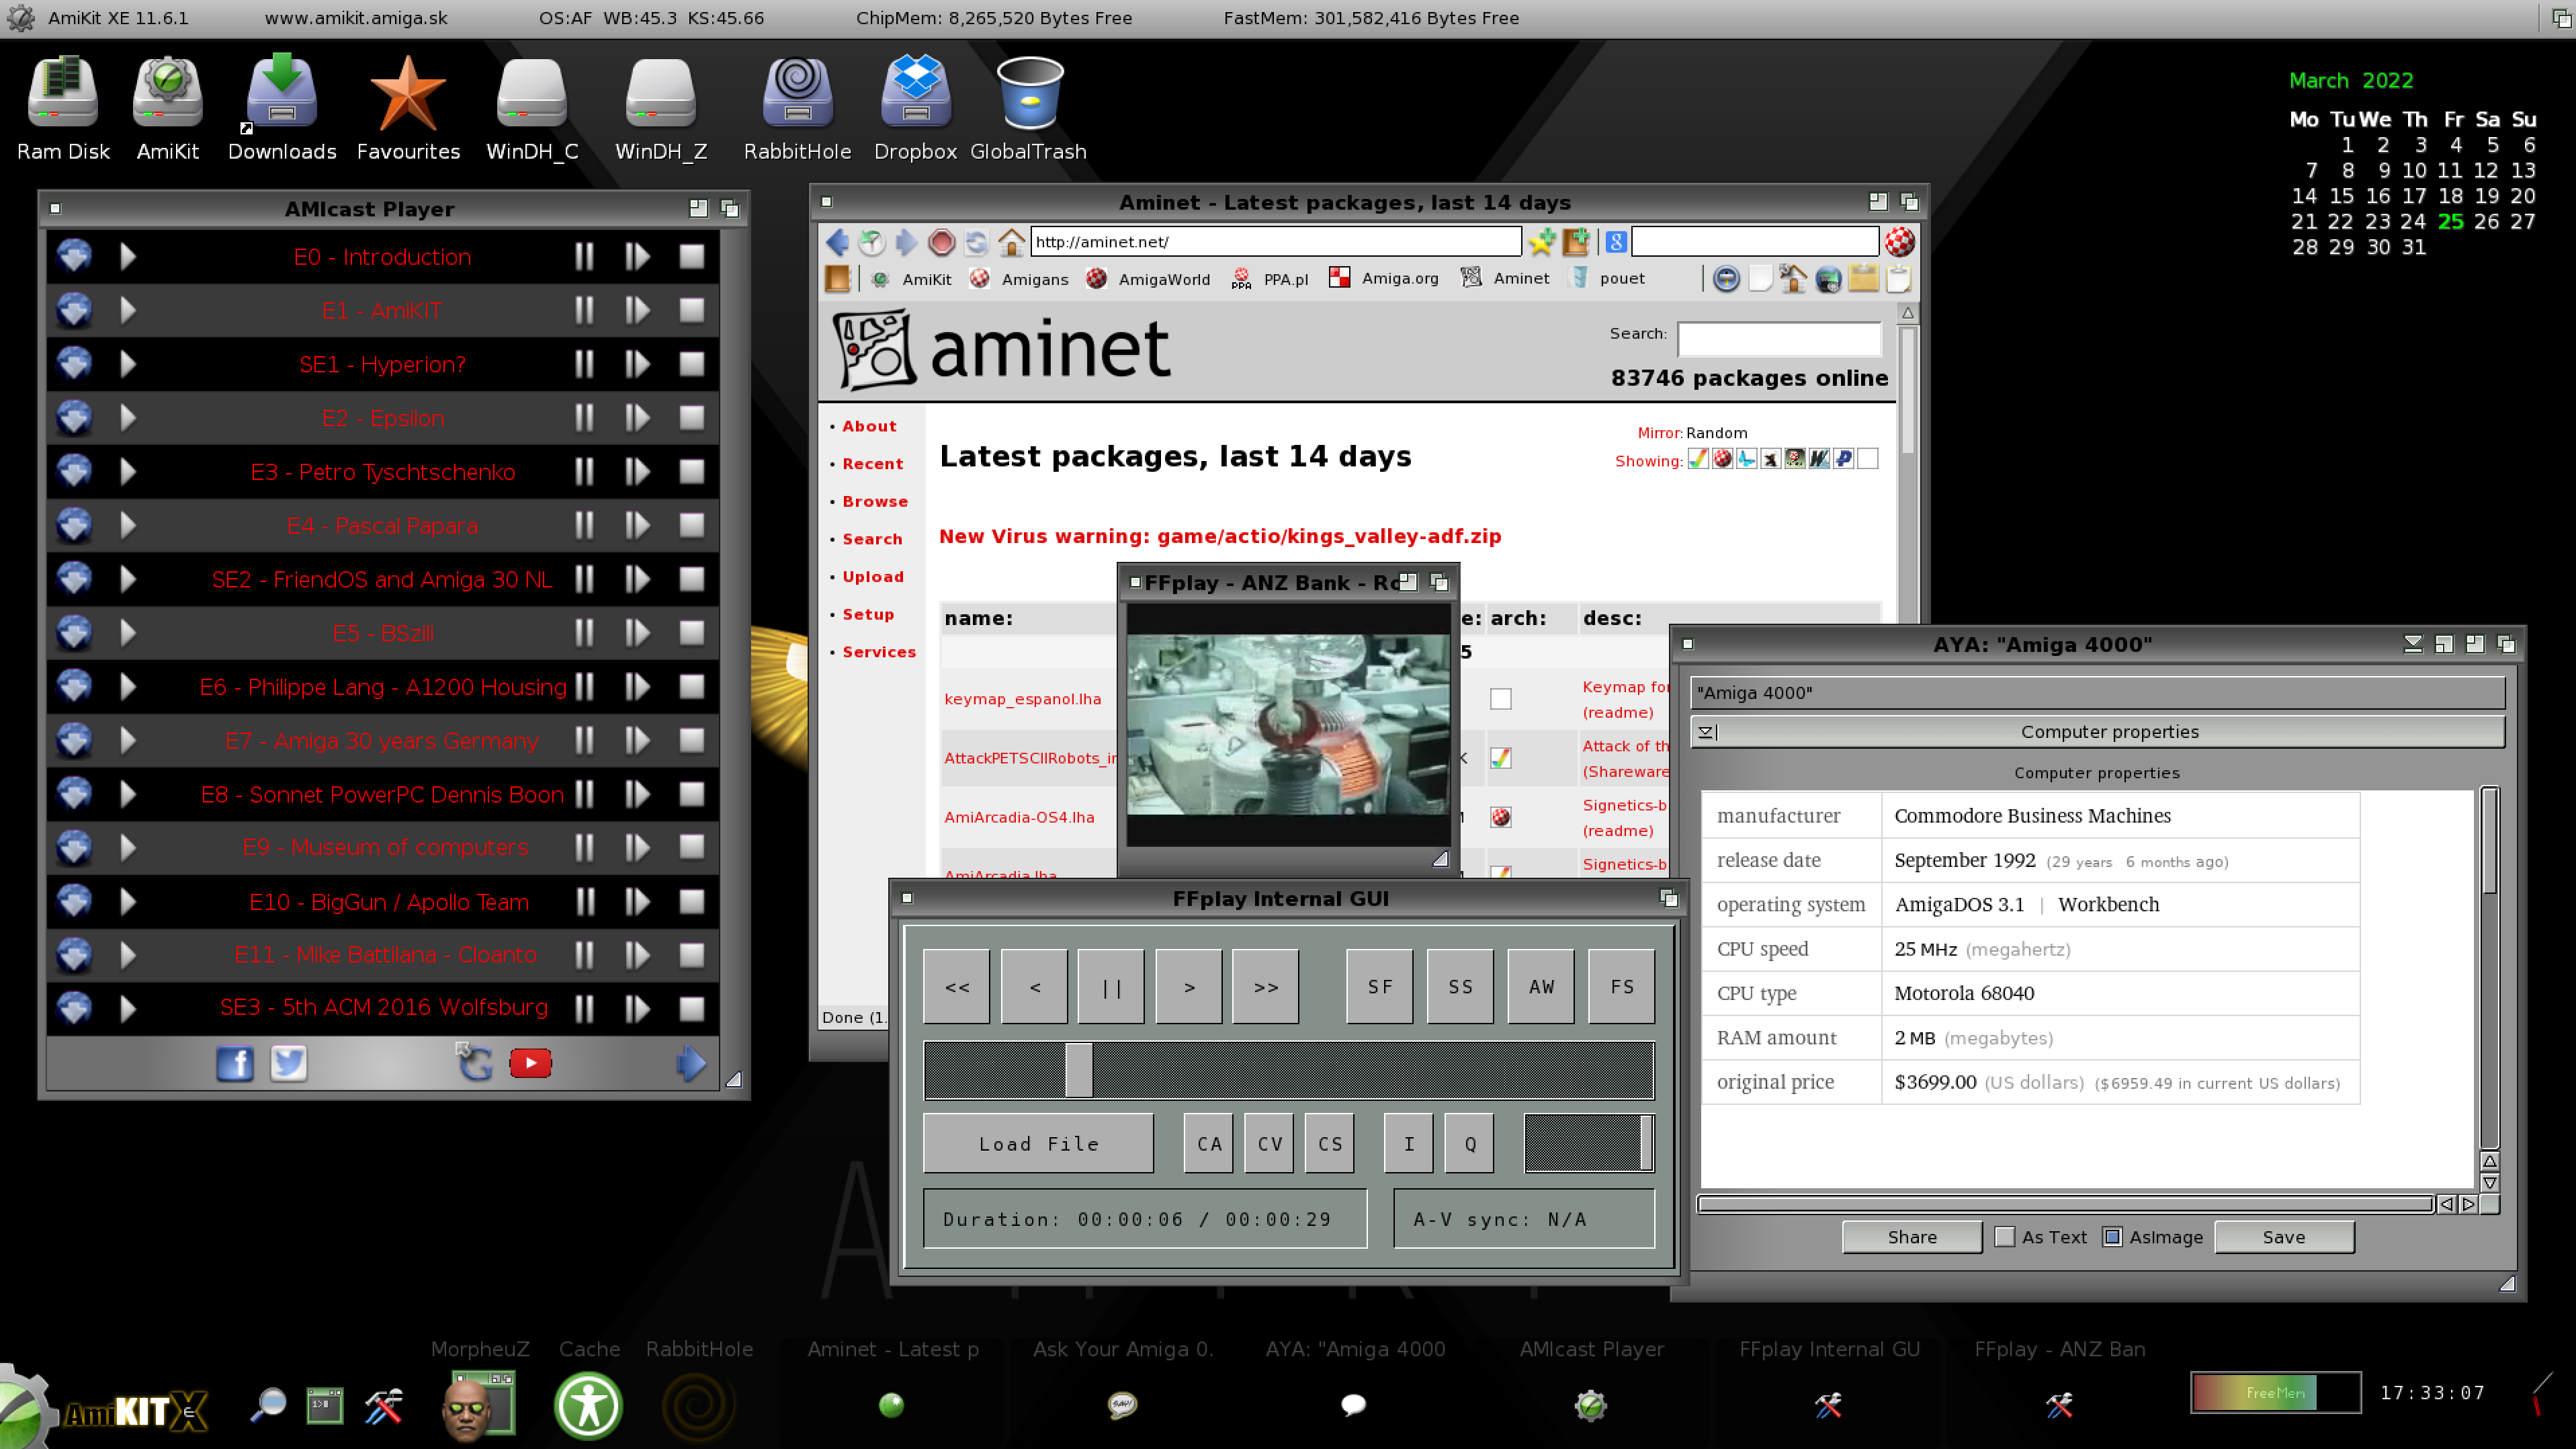
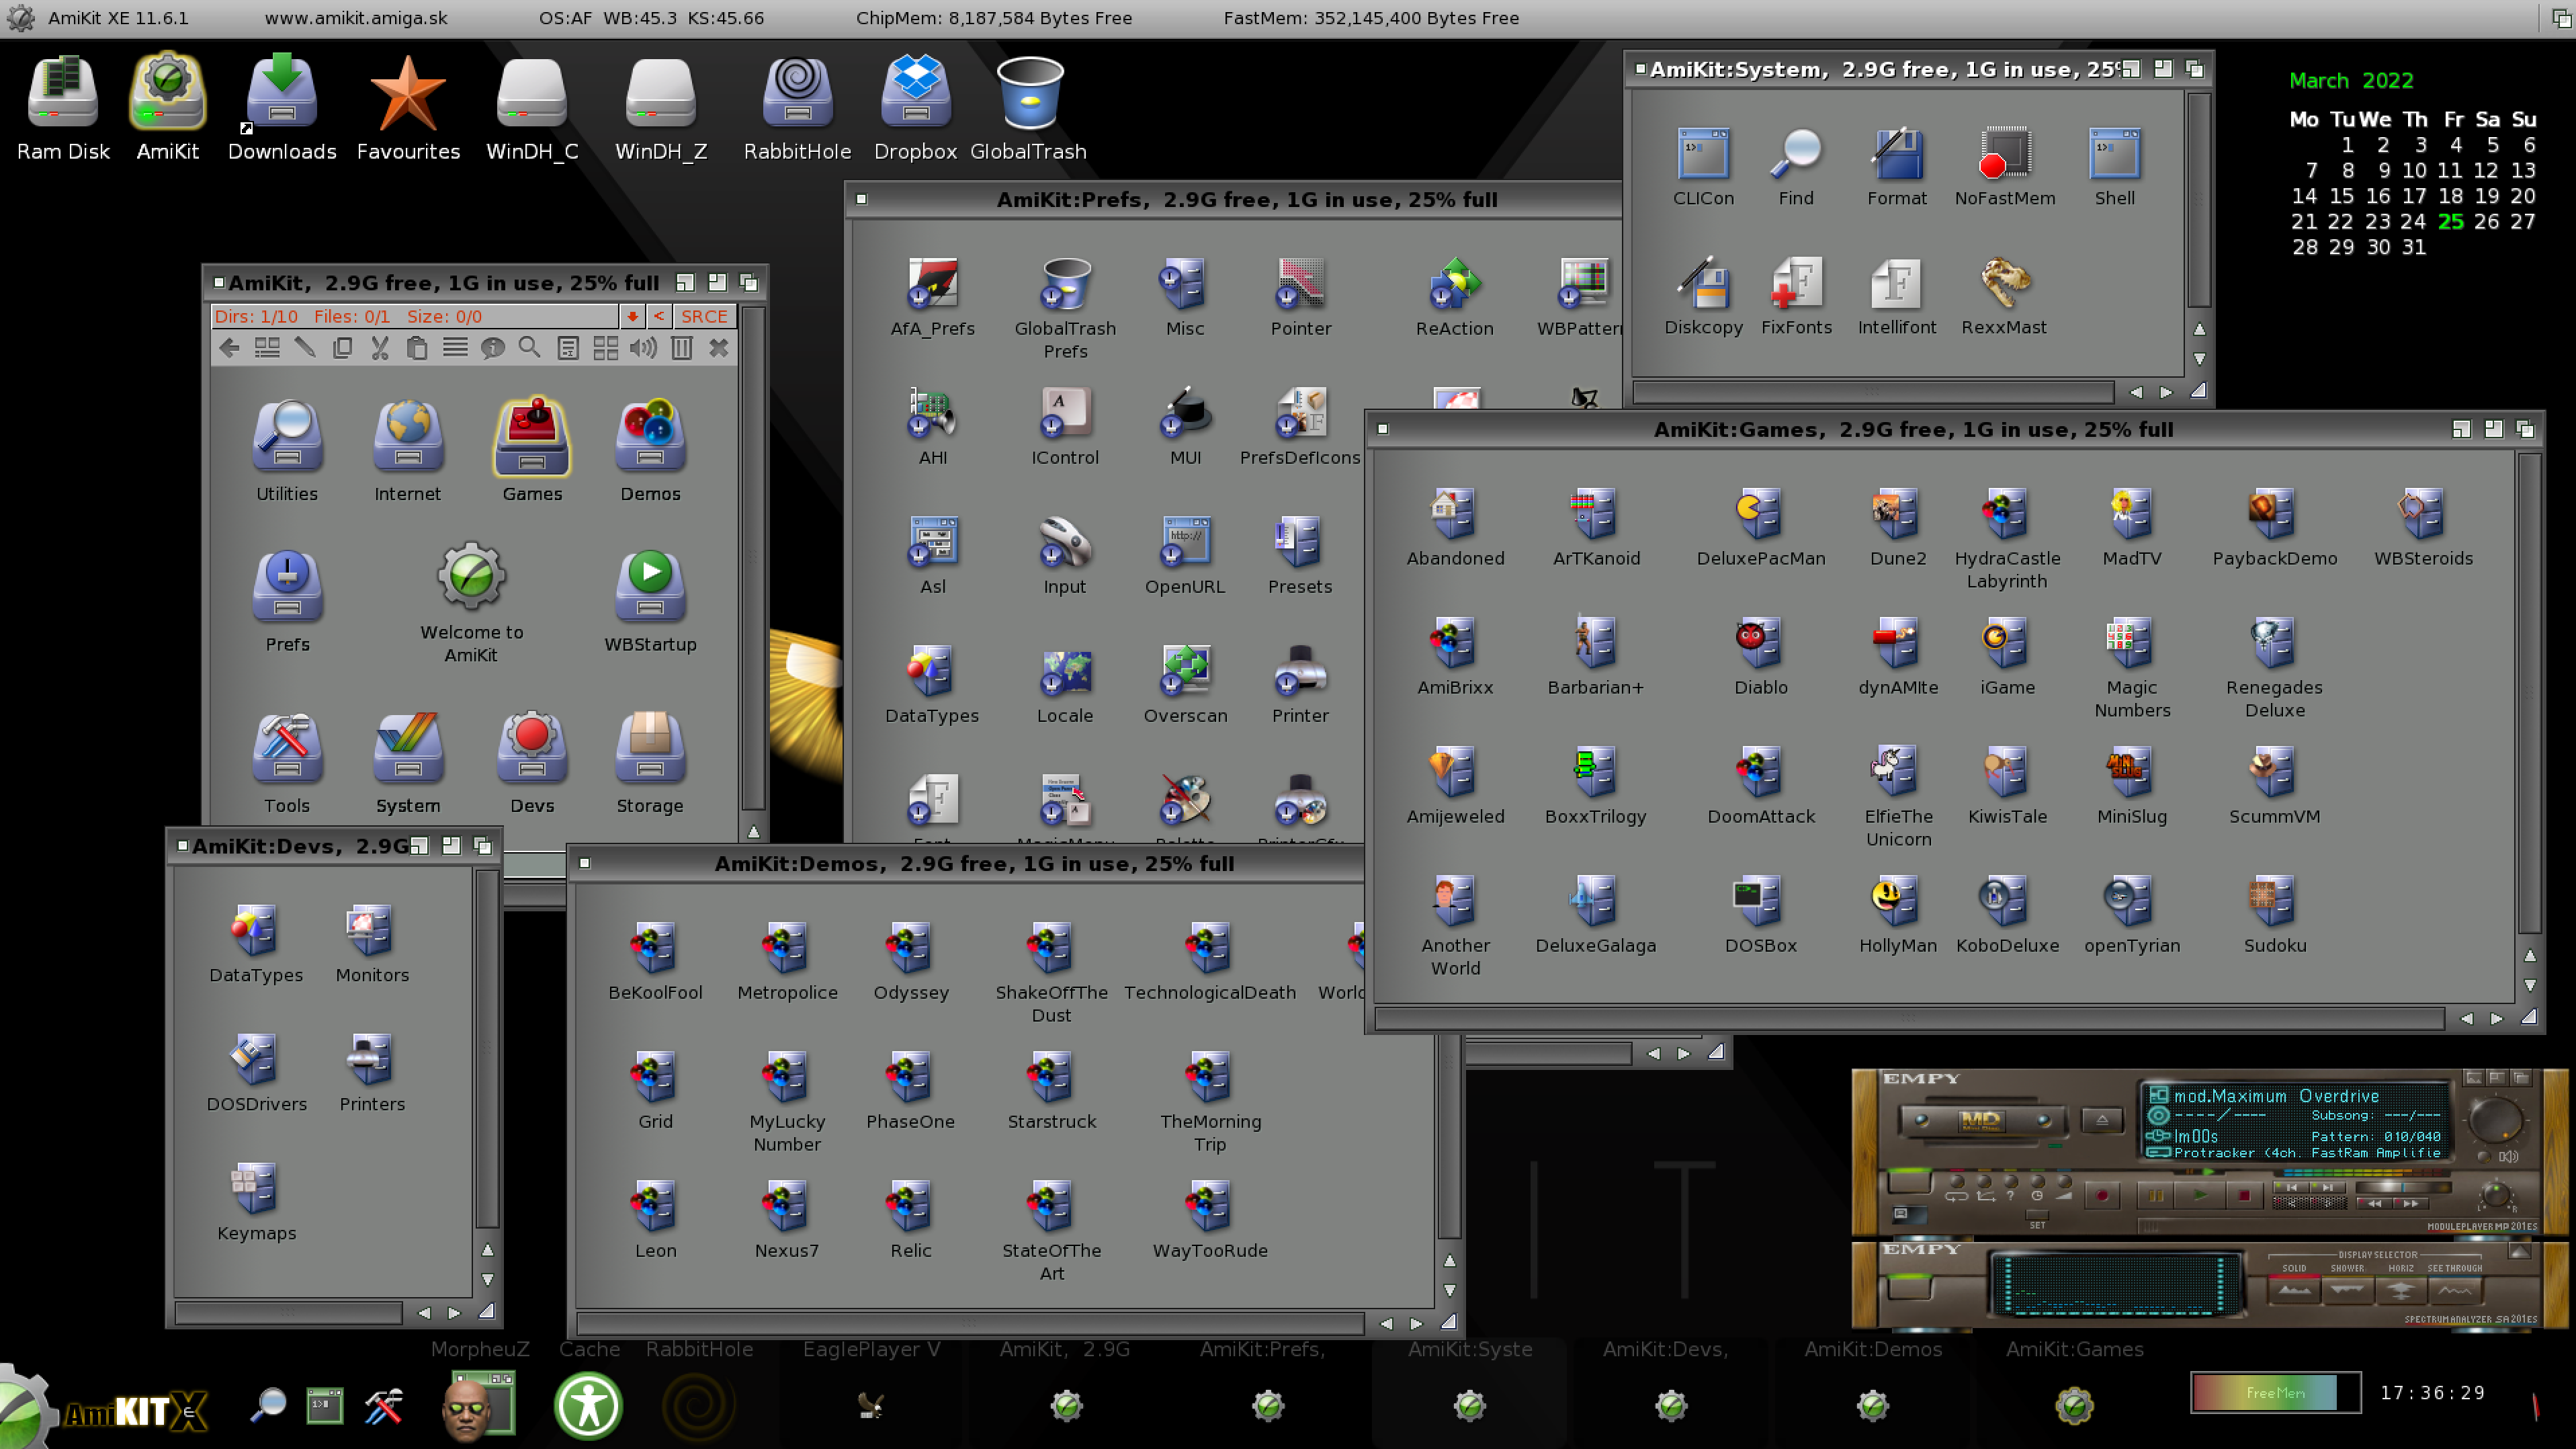
The AmiKit XE environment opens, and looks very cool. 


It is hard to express how fantastic it is to have all the hard work of customising Classic AmigaOS (to look as good as this) is all done for you, ready to use!


The dark theme in AmiKit XE looks great and gives AmigaOS a more modern appearance.


Running live update reveals the new AmiKit XE 11.6.1 update and the AmigaOS 3.2 support included in it.


As with all the AmiKit XE updates, the 11.6.1 update is painless and easy to do!


After rebooting, and booting into AmiKit XE environment again, I need to copy the AmigaOS 3.2 ADF files and the AmigaOS 3.2.1 update archive file into the RabbitHole directory in Windows. This folder is located under C:\Program Files > AmiKit XE > RabbitHole in Windows 11 on my machine. 

I add the folder to my Quick Access bar to make it quicker to access in the future, but it must be stressed you can access it from AmiKit XE environment also, so it is not technically needed to use Windows to copy the files across.


I made a mistake and copied the ADF folder from the AmigaOS 3.2 CD into the RabbitHole folder. 


Don't do this! You need to copy all the ADF files in the ADF folder directly into the RabbitHole folder.

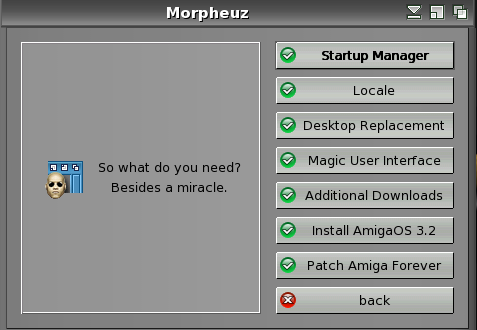
With that done, I run Morpheuz and select the Install AmigaOS 3.2 option.


As you can see, at the moment the AmiKit XE 11.6.1 environment is using the older kickstart 45.66 version:


Plenty of warnings about backing up the AmiKit XE folder first - I did do this to make sure I had a backup in case something didn't go to plan.


The installer finds the ADF files in RabbitHole and proceed with the installation:


Upgrade done, ready for restarting AmiKit XE environment:


On re-launch, AmiKit XE 11.6.1 now shows the latest AmigaOS 3.2.1 kickstart version (47.102), so we upgraded successfully!


It is nice to be using the latest AmigaOS 3.2.1 under AmiKit XE 11.6.1:


Having the newer Prefs functionality is great:


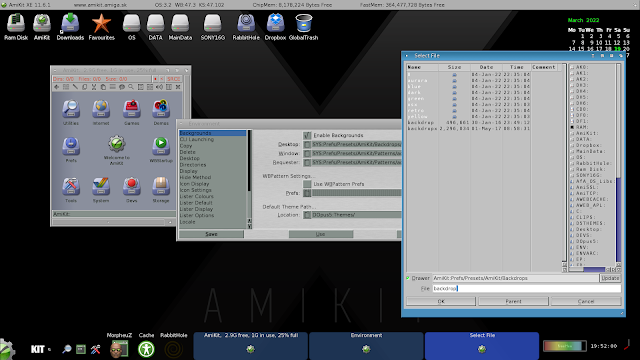
If you don't like the default dark mode theme, you can of course easily change it via Morpheuz:


A reboot is needed for the theme change to take effect:


Here are the green and blue themes:


Personally, I like the blue theme - I use it on my Amiga 4000T AmiKit Real environment, and also it is the same theme used on the Next Generation AmigaOne systems running AmigaOS 4.1 Final Edition Update 2.

You can change the backdrop to you own personal preferences via the Directory Opus Environment settings in the title bar.


In addition to Windows, the new AmiKit 11.6.1 is also available on MacOS and Linux versions. These versions utilise Wine to run WinUAE under MacOS and Linux (not tested).

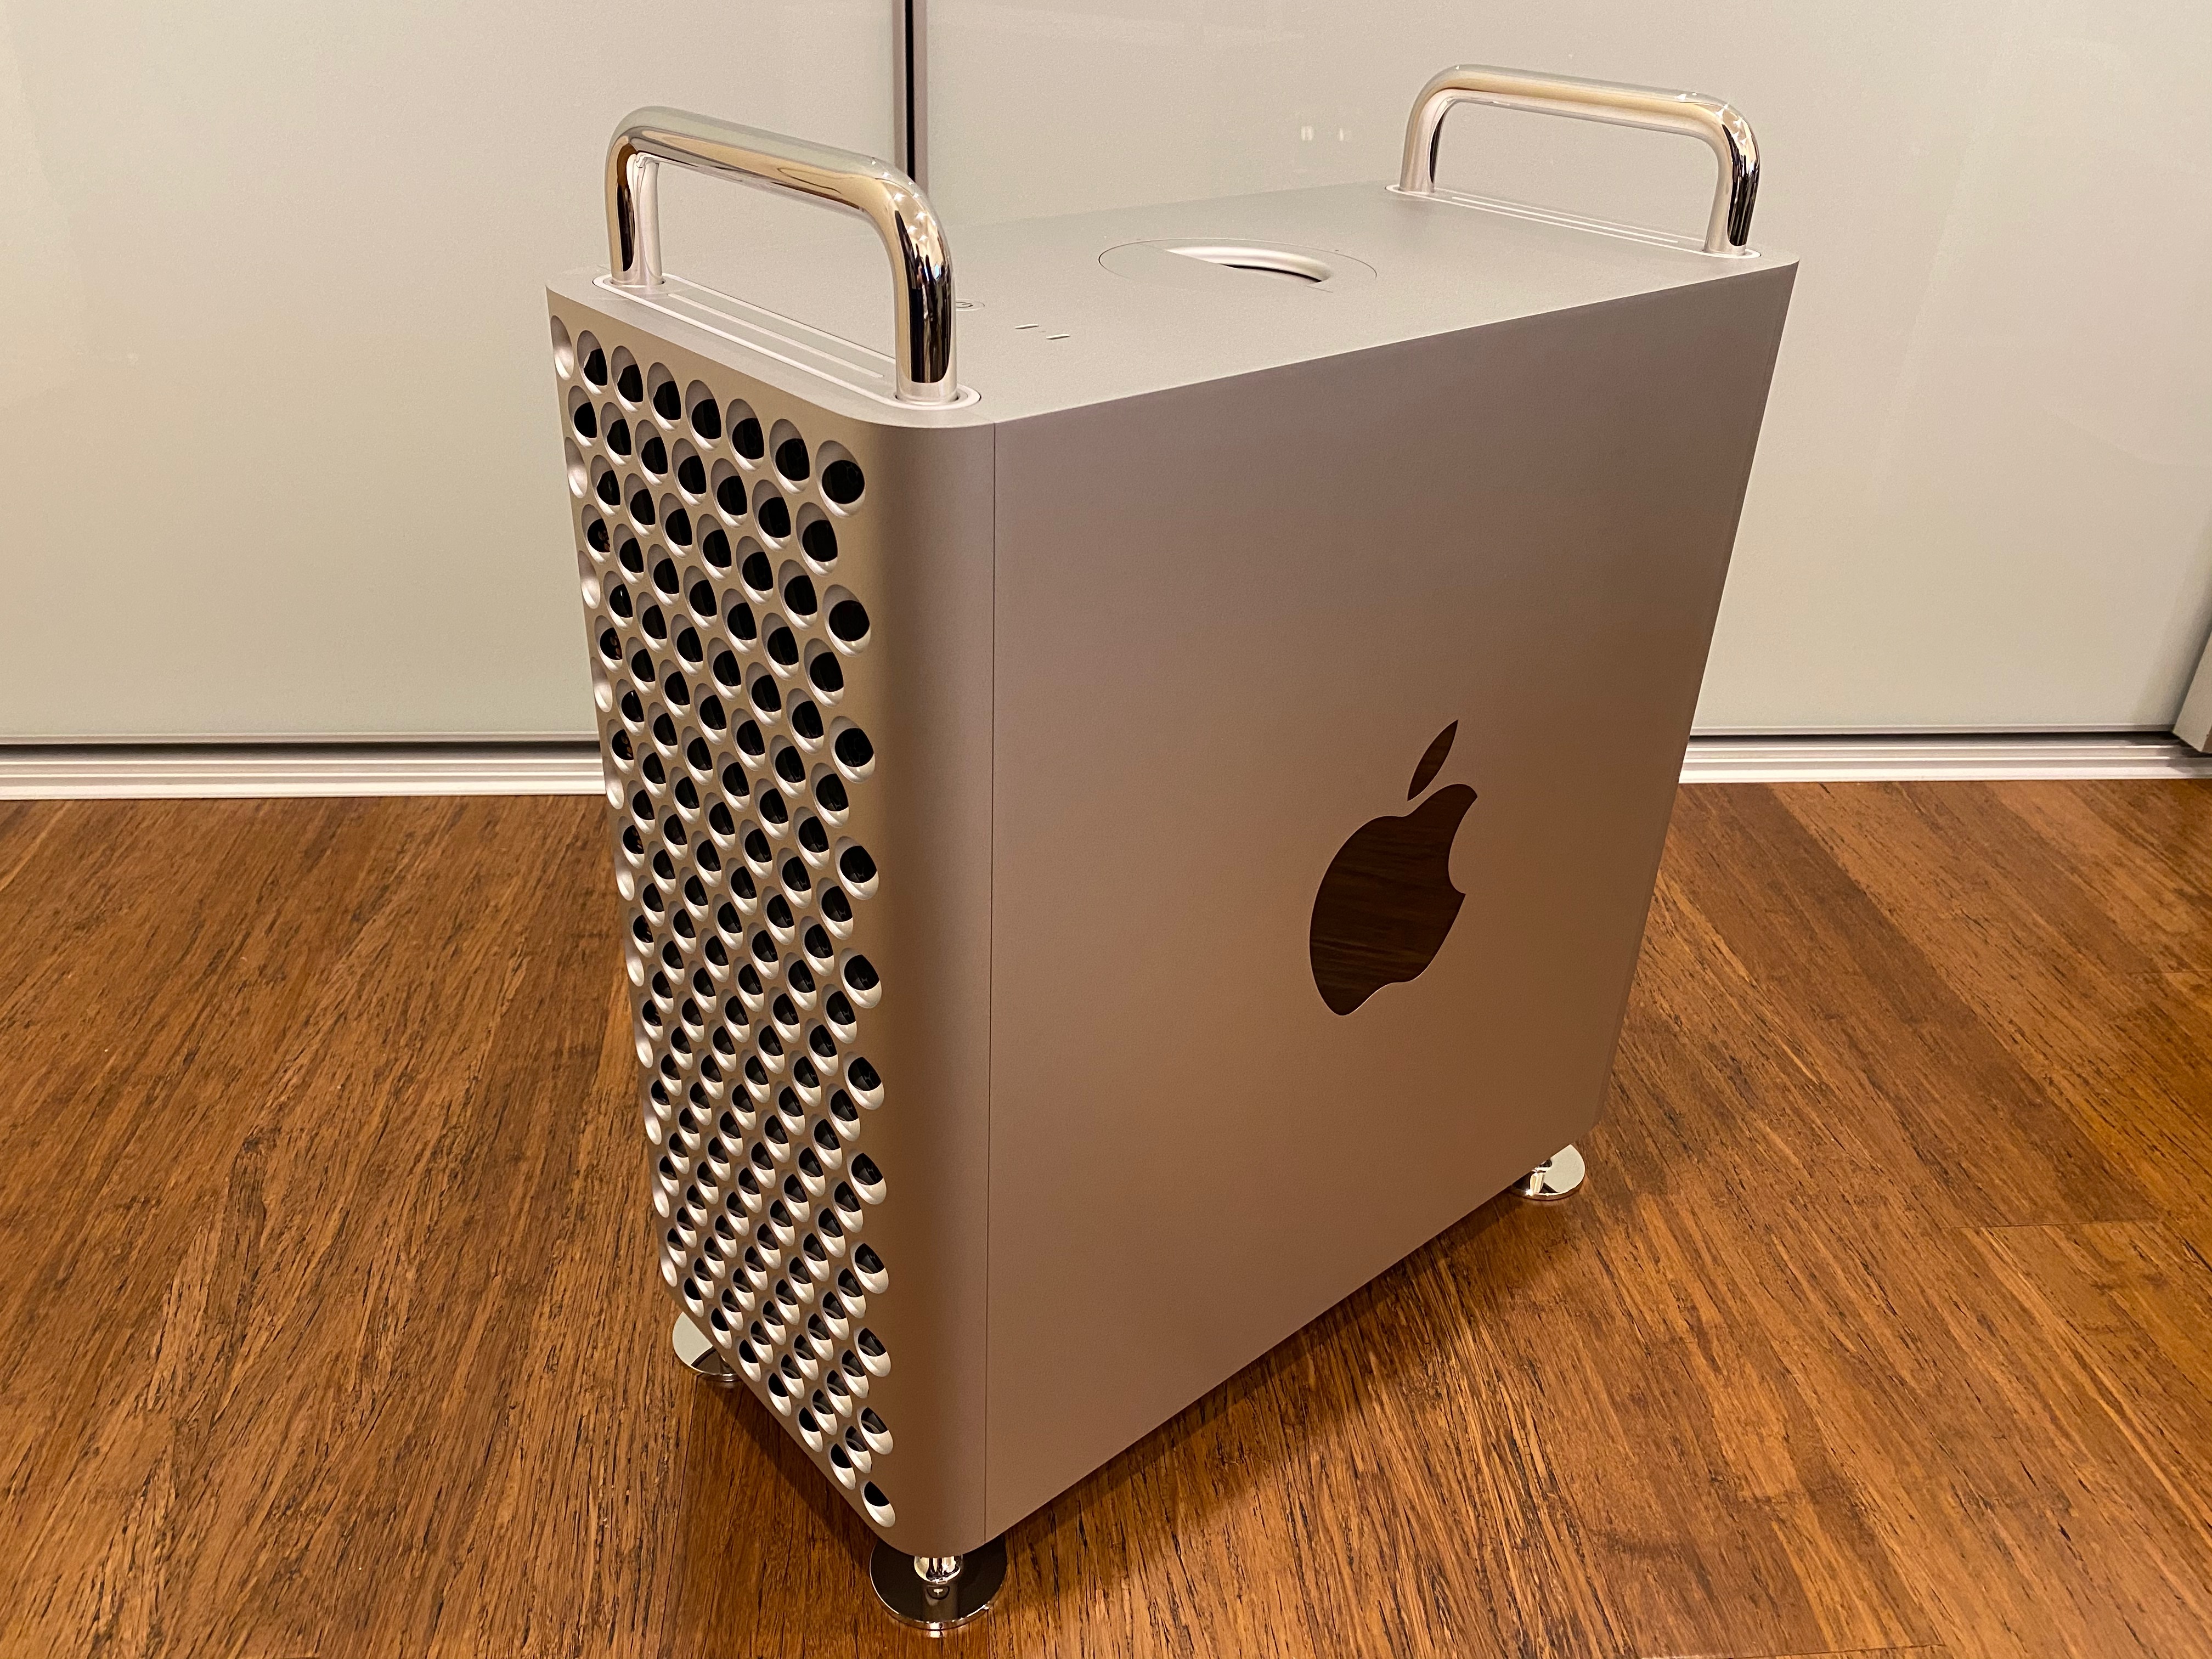
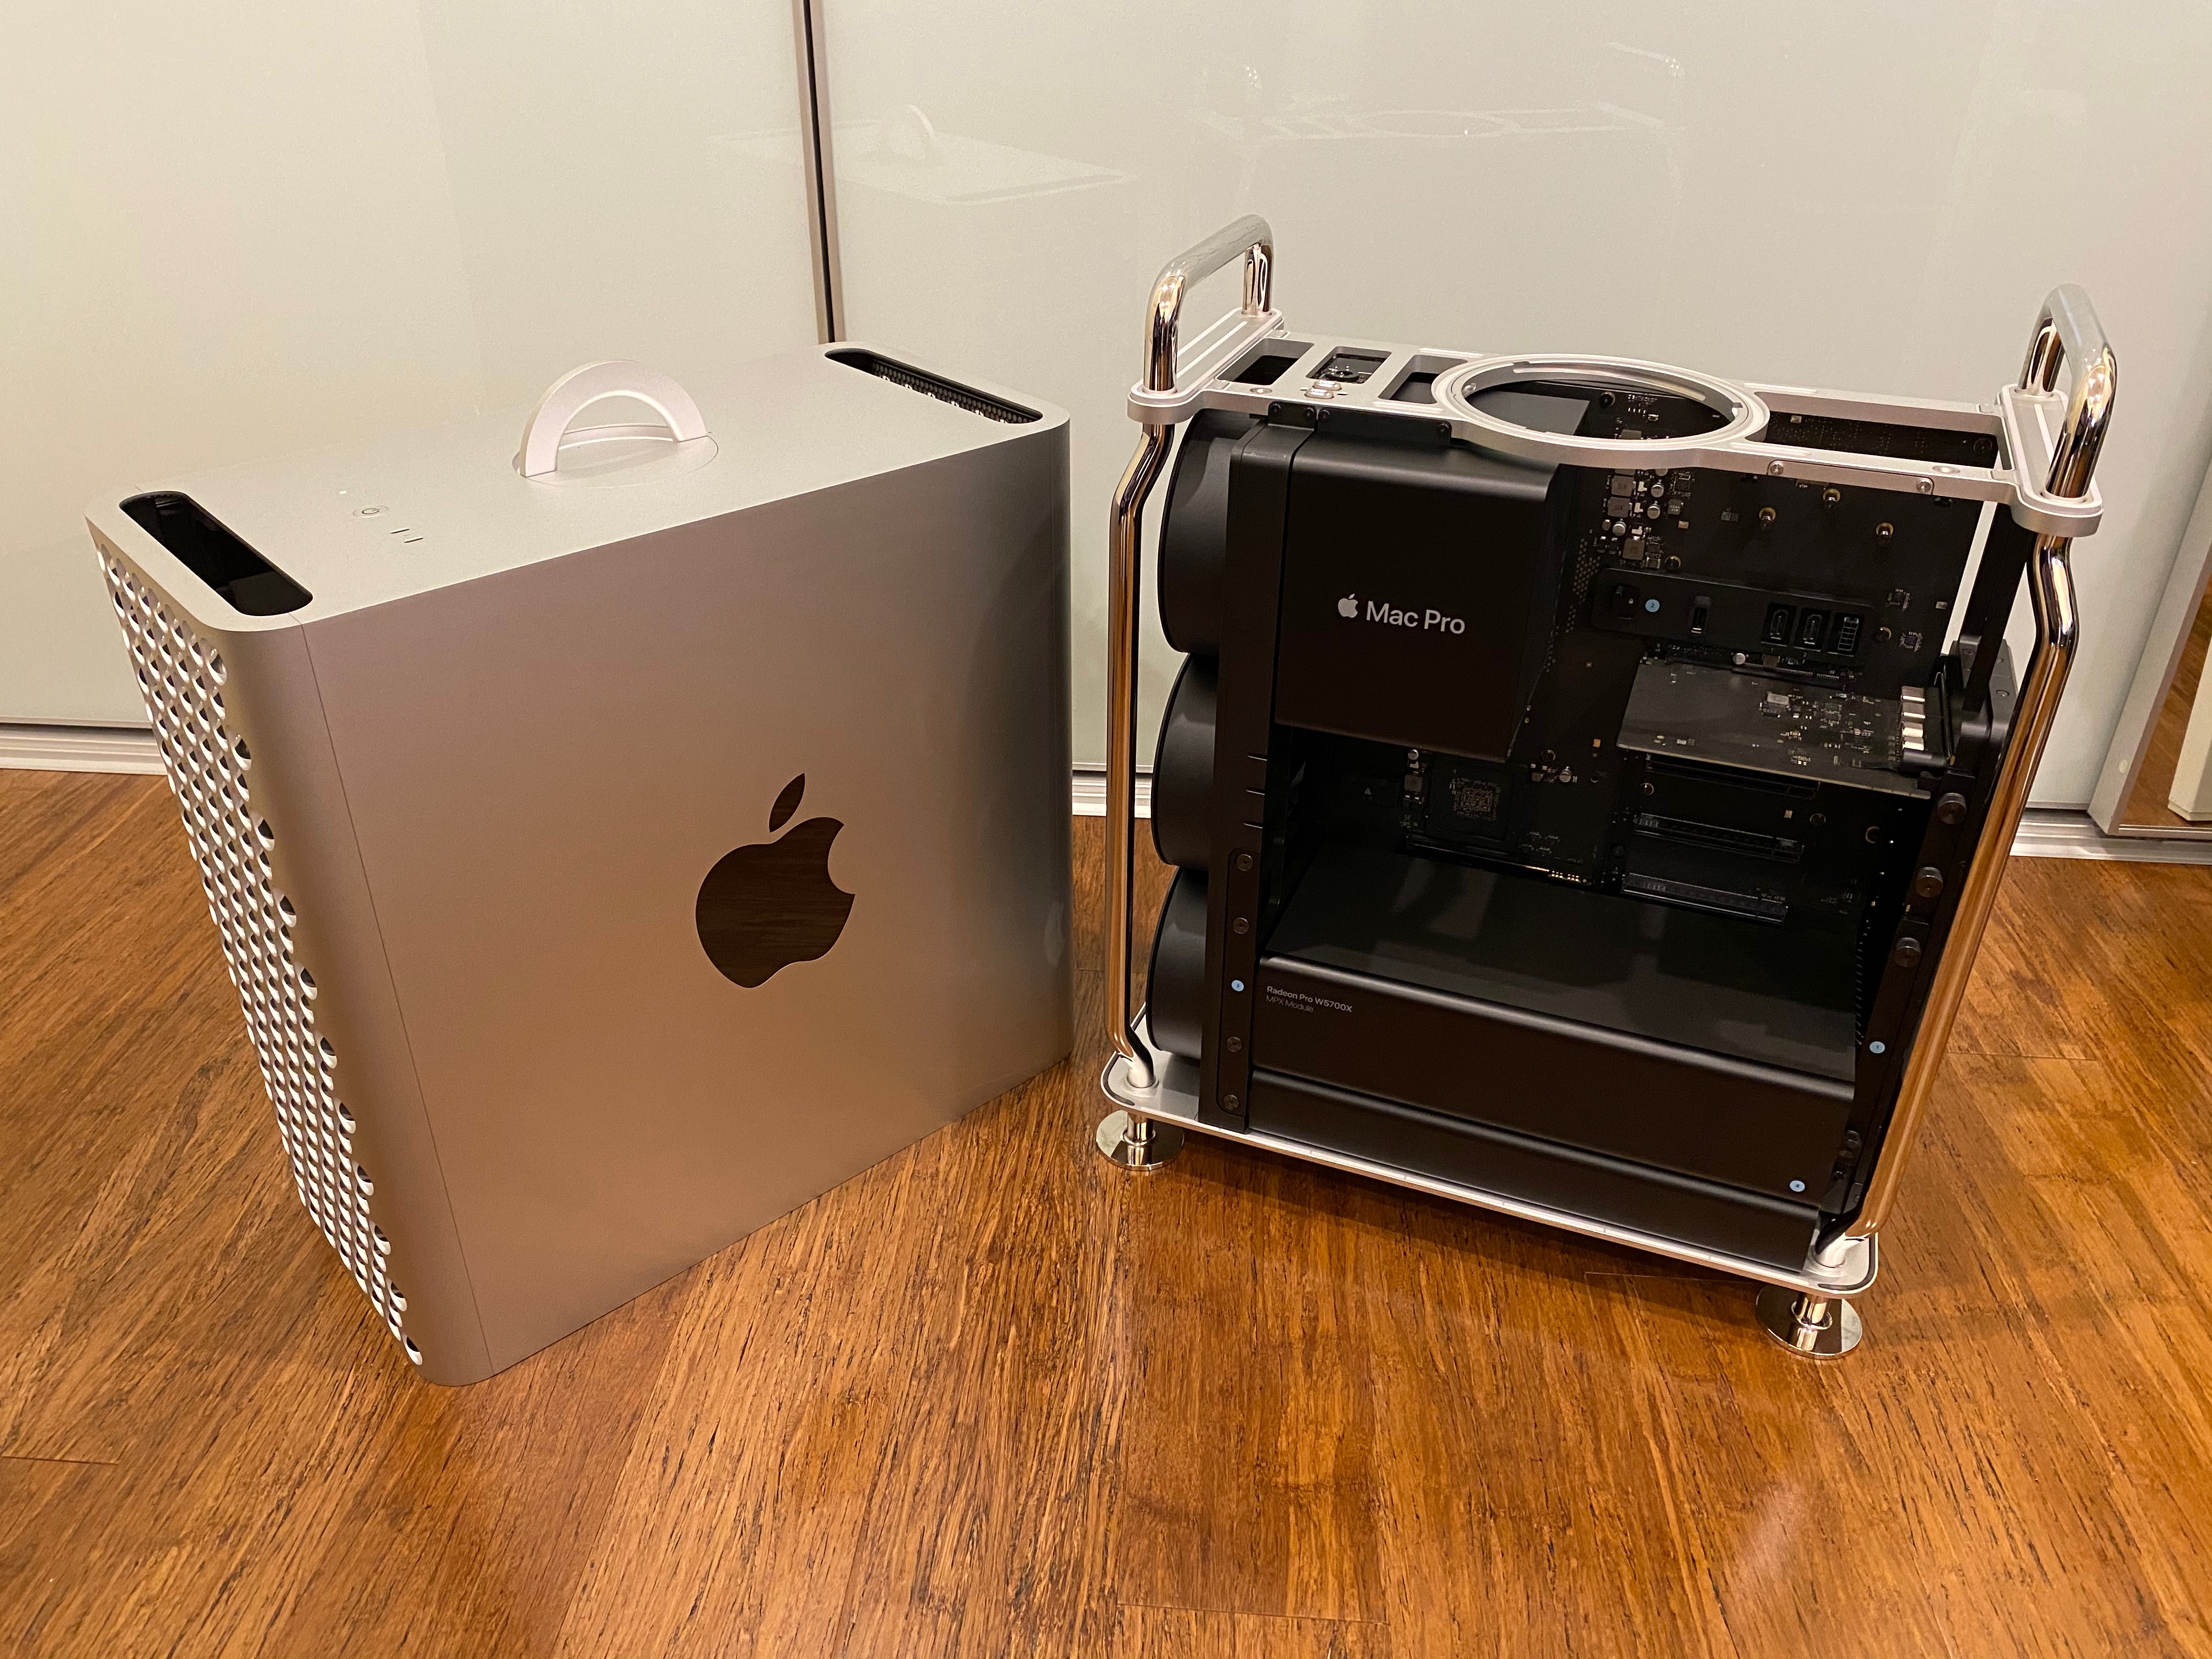
I decided to install AmiKit XE 11.6.1 on my daily workhorse Mac Pro I bought back in 2020 with my hard earned cash saved over many years and redundancy money from my previous job. This Mac Pro is running the latest MacOS Monterey as well. 


As an aside, it feels like an end of an era that the upcoming replacement Mac Pro is using Apple's M2(?) CPU in place of Intel. It means that this 2020 Mac Pro is the last and fastest Intel based Mac ever made. 

It is a shame this expensive computer is the only Mac Apple makes with this expandability.

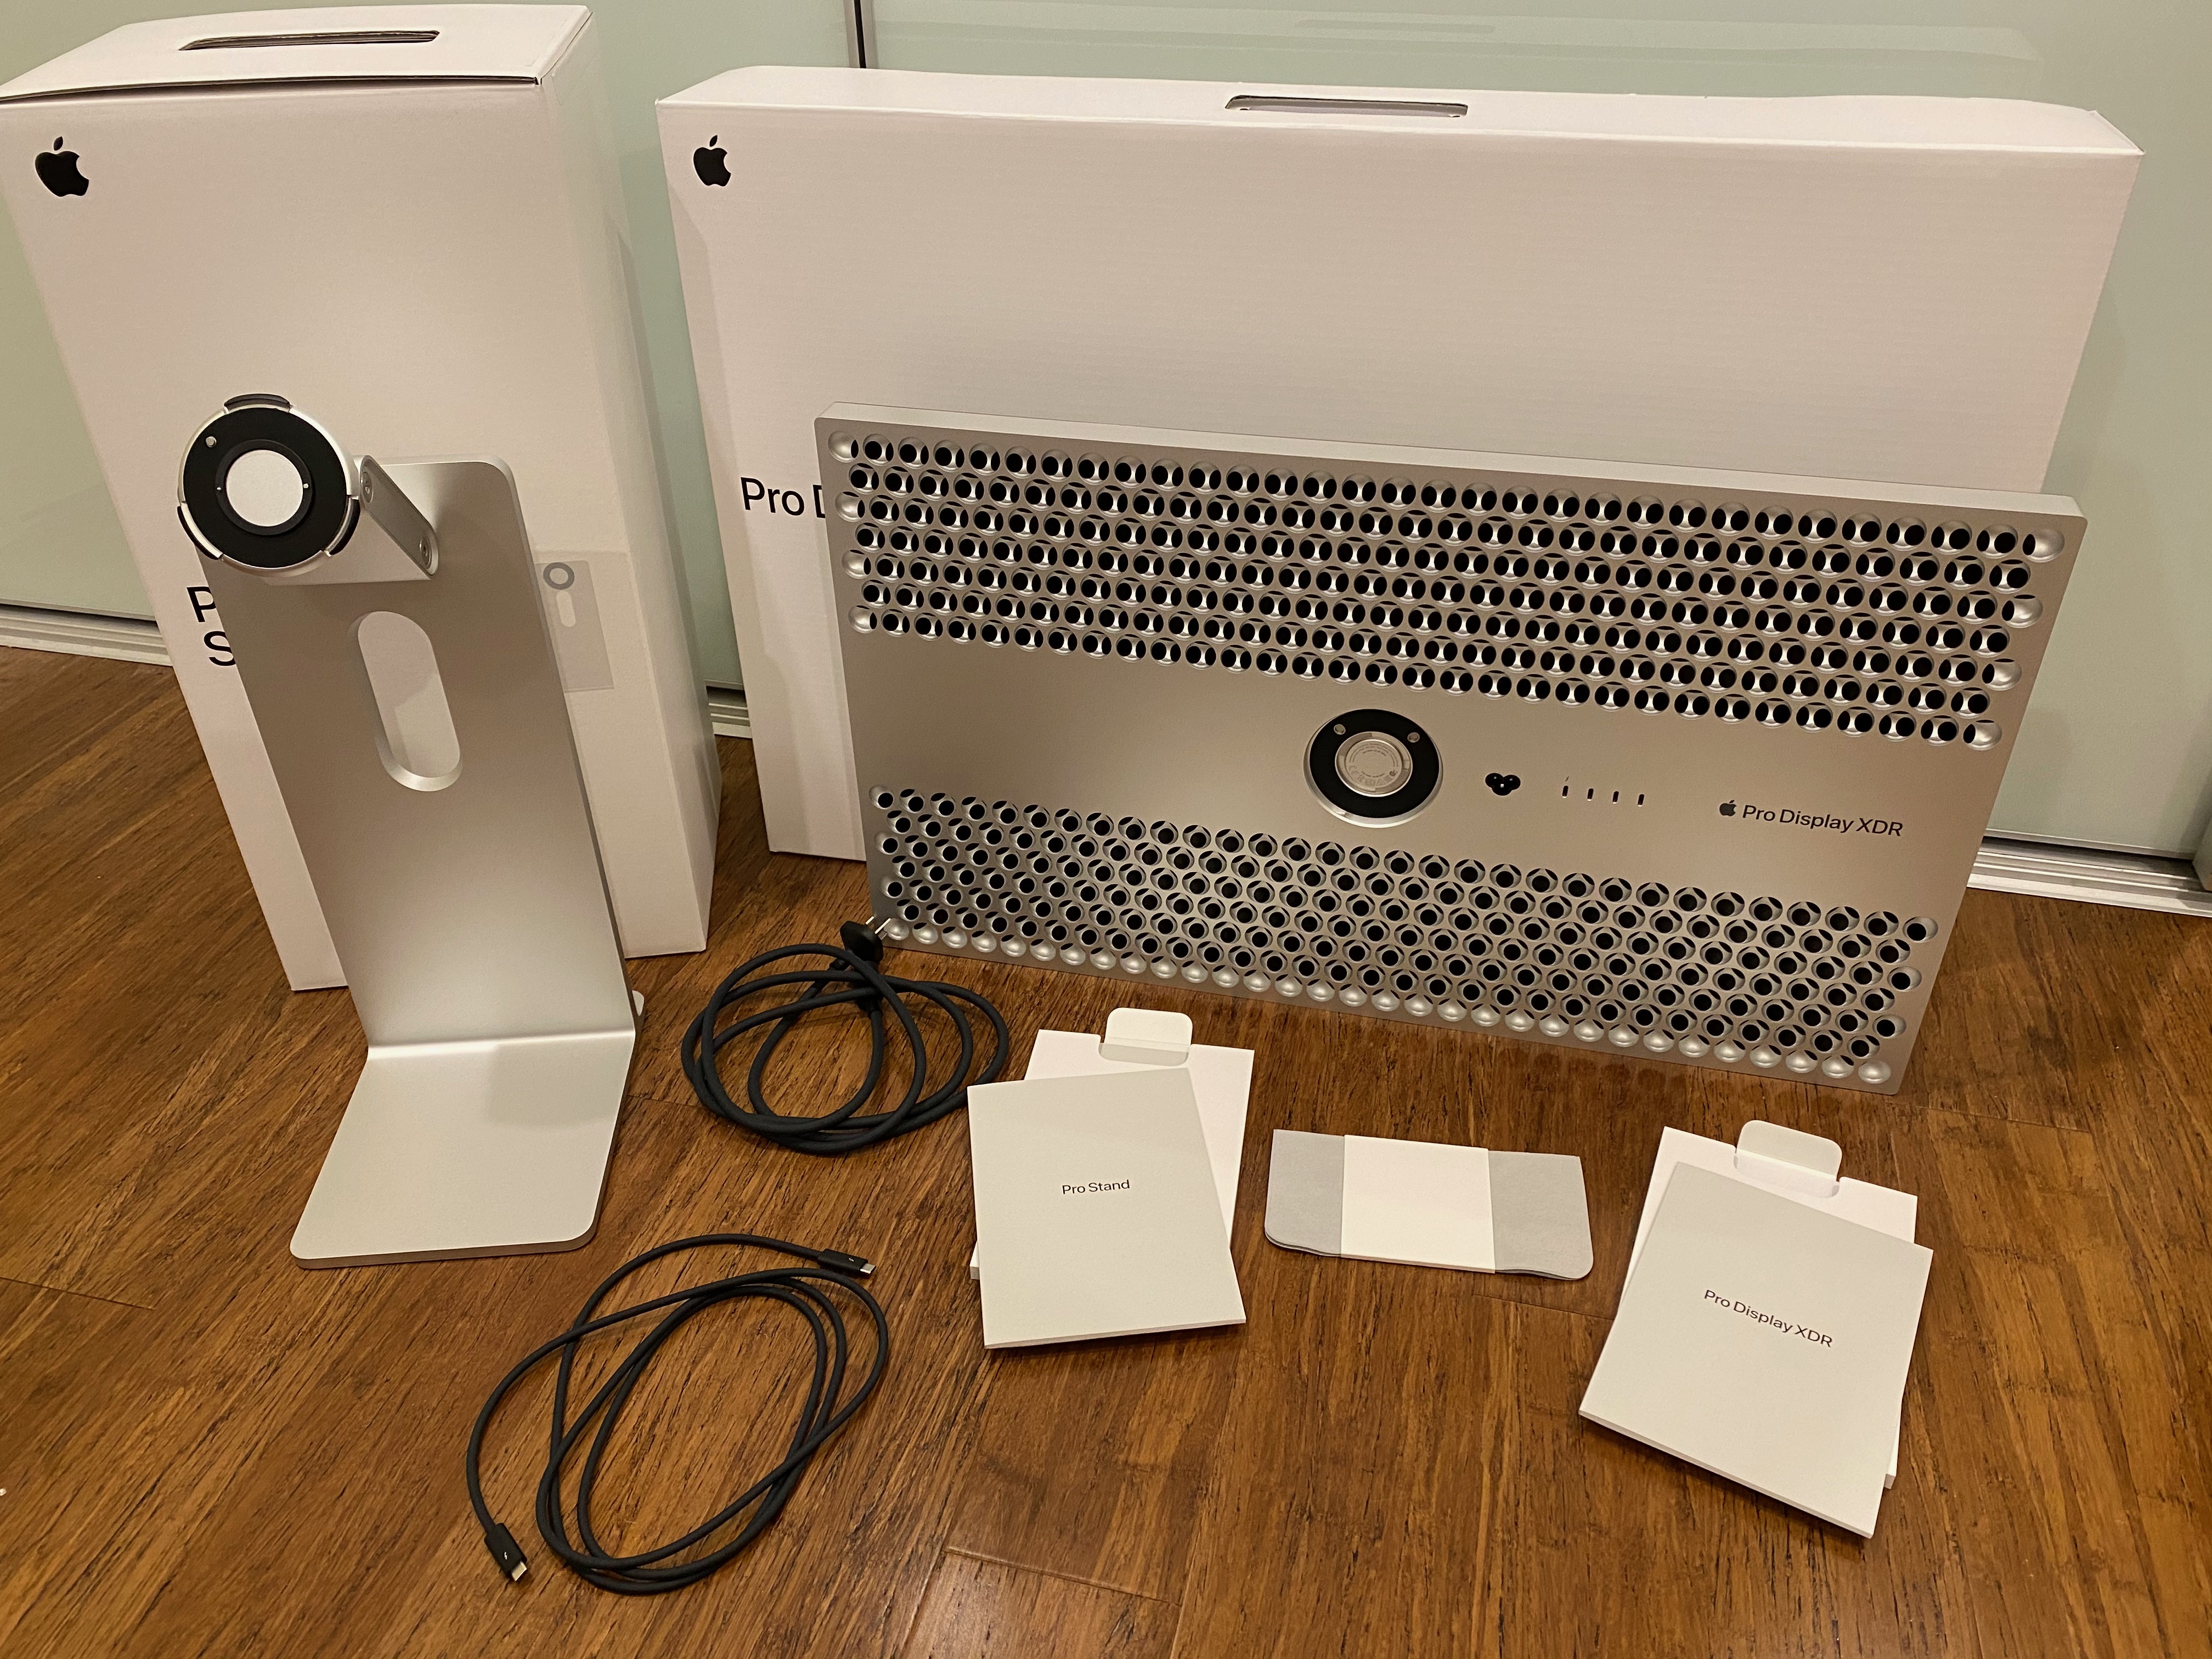
That said, I am glad to have it and the Pro Display XDR - the 2020 Mac Pro is a stunning machine and amazingly well built.


I understand this latest AmiKit XE release supports Intel and M1 Macs, but I only tested on my Intel Mac Pro as I don't have a newer M1 Mac to try it on. 


Drag and drop the program from the downloaded DMG (once mounted) into the Application folder to install - MacOS is just great for easily installing stuff compared to Windows and Linux.

Once again, a useful Quick install guide is included.


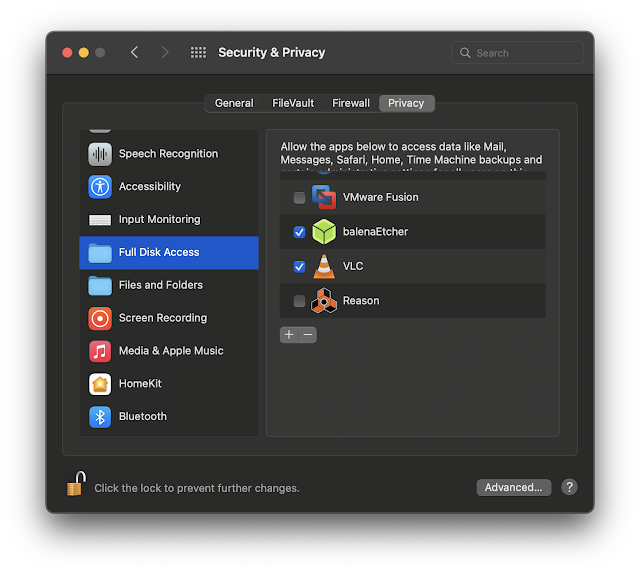
Read the Quick Install guide before installing, as it includes some troubleshooting tips for Mac specifically, as the security changes in recent MacOS mean you have to enable AmiKit XE access to your disks as below:
On initial launch you will get this prompt, as per the install guide:


Go into Security & Privacy settings and Select the Open Anyway option to open AmiKit XE


MacOS then makes sure you really want to do this - click Open to proceed.


On initial run of AmiKit XE on MacOS I had to install a Gecko package twice for it to start up - I hit install twice and it proceeded as expected:


The AmiKit launch menu then appears, the same as the Windows version:


I then hit Launch to start the setup:
At this point, following the instructions, I mounted the Amiga Forever ISO file in the WinUAE settings under CD & Hard Drives:
With that done, I could click on OK to proceed.
The installation then detects Amiga Forever and installs the required files and proceeds with the installation as per the Windows version I showed earlier:
The initial installs completes, and reboots the emulation to set the Amiga screen mode.
I set the screen mode as recommended to 1920x1080 32bit - I will probably increase it to 4K later on - I am using a Pro Display XDR screen on my Mac Pro, so 1080p is pretty small:
The install completes, and ready to restart into AmiKit XE:
The initial environment appears, the usual downloading of files and updates is then done, the 11.6.1 update being the key one.


With the updates installed, I now have AmiKit XE 11.6.1 up and running on my Mac Pro.

One thing to note is that the Mac version, like the windows version, maps the Host system hard disk onto the AmigaOS Workbench desktop for easy access within the emulation. 

If you have multiple disks on a Mac, unlike in Windows, it will only map the System drive from / as below (the other drives mapped are the host C:\ drive from Wine, and the DMG drive I mounted earlier for the installation):
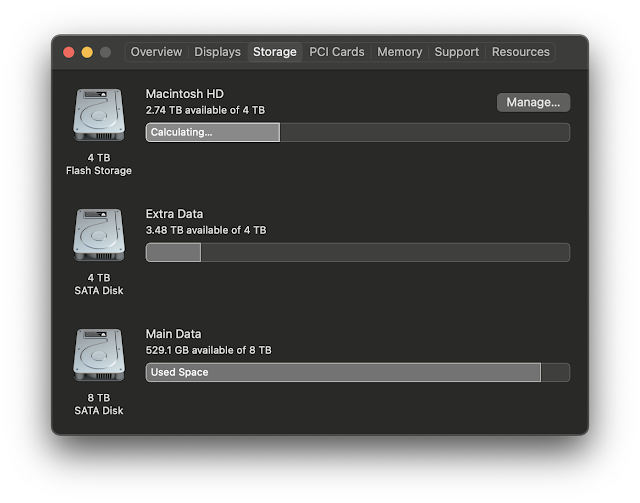
On my Mac Pro, in addition to the main System drive, I have two additional hard disks which contain my Amiga files:
I wanted to have them available on the desktop, so I navigated to the /Volumes drawer WinDH_Z under AmigaOS Workbench and then "left out" the two hard disk folders (Main Data / Extra Data) on the desktop to make it quicker to access them, as below:
Playing around with the included applications, games and demos is great, and you can easily add more thanks to the mapping of the host operating system drives into the emulation, and internet connectivity within the emulation to download files from AmiNet and other internet sites directly into the emulation.


As mentioned before, the icons in the drawers look great:


 Of course, being an emulation running on fast hardware with no speed limits applied to the default AmiKit XE setup, it runs very fast, as shown in SysInfo:

Testing it with some demos shows AmiKit XE 11.6.1 works well on my Mac Pro, even with the more taxing later TBL demos like Starstruck.

You can of course load ADF files into WinUAE to load your favourite games with a customised Amiga 500 setup in WinUAE rather than using the AmiKit XE workbench setup, or alternatively download and install WHDLoad games runnable from the AmiKit XE workbench.

If you go down the customised A500 setup in WinUAE route, it runs very well indeed in testing on my Mac Pro. Here are the settings I used if you are interested - I wanted this for running demos and games that needed the original A500 system setup to work correctly. I think including this Amiga 500 configuration in the future versions of AmiKit XE might be a good idea to consider to save users having to create it themselves:


Here is my Amiga500 customised setup running in WinUAE on the Mac Pro:
A bit of Shadow of the Beast I think :-)

As an aside on the ADF functionality, the A500 Mini is due for release soon, but from the reviews I have seen so far, it is meant for Amiga 500 fans who are predominantly interested in the specific included games, have only really used Workbench 1.3, and don't know about or want to run the later AmigaOS and upgraded system setups we all really enjoy today. 

The A500 Mini apparently can't currently even load ADF games at this time, only WHDLoad games and WHDLoad demos, which was a big surprise to me. I have ordered one, but starting to wonder if it was the right decision! AmiKit XE 11.6.1 offers so much more features and functionality than the A500 Mini, for much less money. 

Moving back to AmiKit XE, I then did some playing around with the Native display filter settings to run AmiKit in full screen on my Mac Pro. 


It can look pretty cool like this on the Mac, even with native mode having to scale so much to fill the huge Pro XDR display!


Using the filters to auto resize and keep aspect ratio is better of course, as it keeps the games and demos in the right 4:3 proportions, even if it doesn't fill the screen - here is the very excellent "Technological Death" demo by Mad Elks from 1993:


I don't think the D3D filter settings do much in my testing when run on the Mac (given it is running under Wine and Direct3D support is restricted), but under Windows of course the D3D filter settings make it look even better.

I tried playing around with using 6K uaegfx screen mode for the AmiKit XE RTG workbench screen resolution, but that didn't work.  

If you do this screenmode change yourself (like I did) and can't see AmiKit Workbench anymore after rebooting, to fix it, just hold down both mouse buttons when starting the emulation, select boot no startup in the Amiga emulation, and delete the envarc:sys/screenmode.prefs file as below: 
On the next reboot of the emulation AmiKit XE will prompt to set the screenmode again and you can then fix it!

After that, I decided to leave it at the recommended 1920x1080 screen mode, as per the instructions. Heh, I really should pay more attention to those!


AmiKit 11.6.1 is an excellent product and well worth buying for anyone who wants to experience a top spec Classic Amiga on their modern Windows 11, MacOS or Linux computer, or indeed a Raspberry Pi system. It is so much cheaper and easier than buying increasingly rare and expensive Classic Amiga hardware, Accelerator cards, RTG cards, network cards, and not forgetting of course the huge amount of work to set it all up to look this good, all ready to use! Highly recommended.


Monday, March 14, 2022

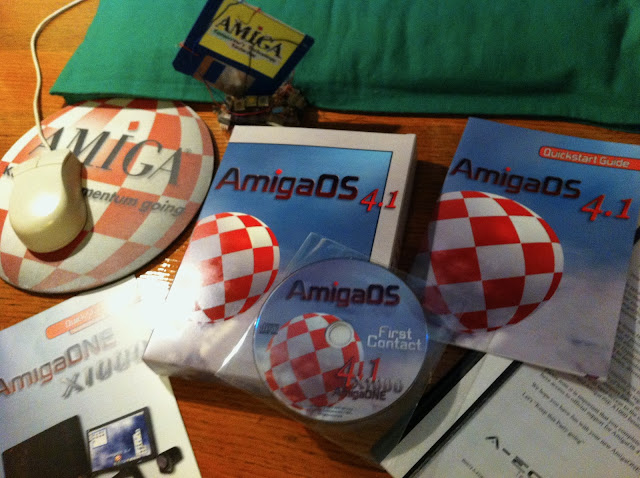
10th Anniversary of AmigaOne X1000

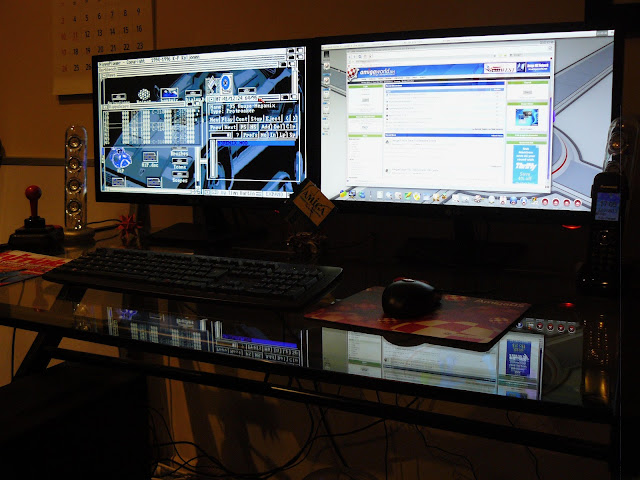
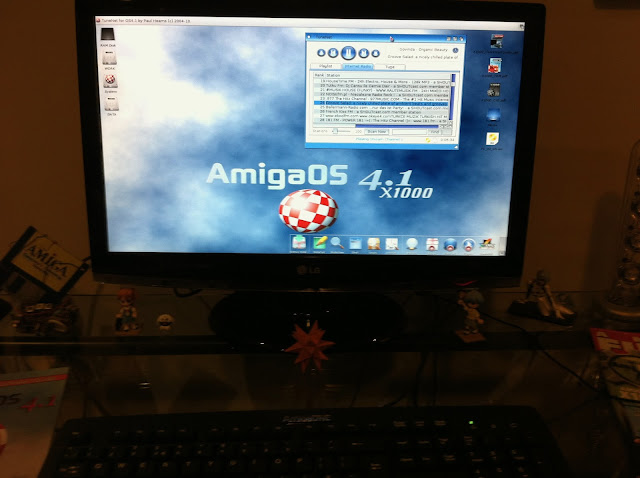
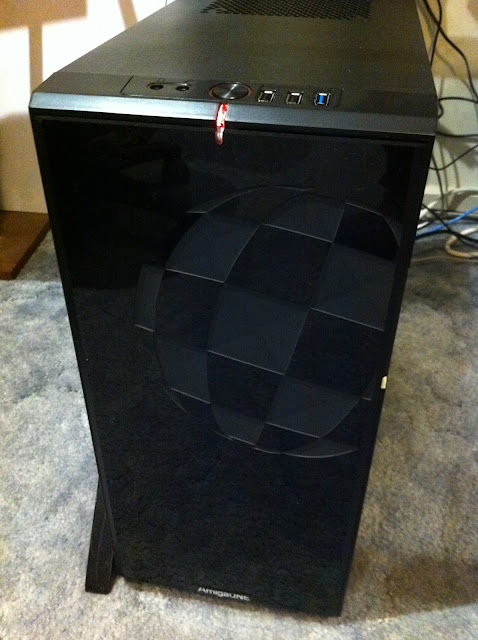
 It is amazing to think it has been 10 years since I first got my AmigaOne X1000 system, back in early 2012. I didn't want the anniversary to pass without mentioning it - even though it is not the triumph I was hoping for back in 2012!

The X1000 was the reason I started this blog originally, covering the new (at that time) AmigaOS 4.1 operating system and the new applications and games released over the following years.

I was excited by the prospect of a continuation of the classic AmigaOS into a new, much more modern next generation Amiga system, with new Amiga functionality and modern games and applications. I really enjoy using AmigaOS 4 during this early period.

For a number of years I toiled away on this blog, buying and trying out the new software, doing upgrades, and trying my best to keep interest in this system alive, to encourage developers and Amiga fans to take up this amazing new system. 


New higher end ATI PCI-e graphics card support from A-Eon also opened up new OpenGL ES functionality, 1080p video playback, iPhone and other devices photo synchronisation functionality and more. A-Eon's Enhancer software package attempted to fill the void of official OS updates in more recent years.

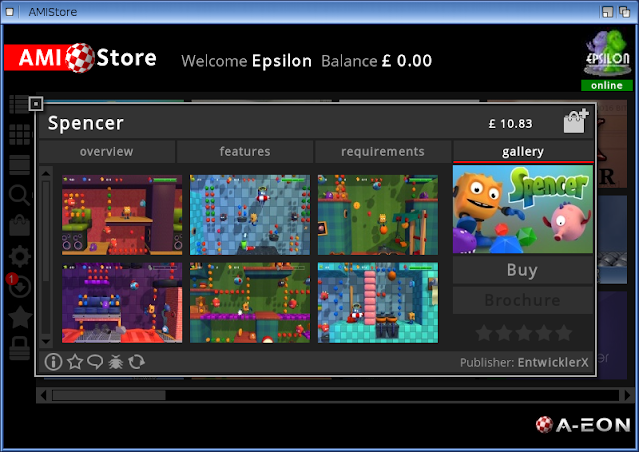
Having AmiStore developed by A-Eon as an application on AmigaOS 4 to buy games, applications and utilities online on the AmigaOne X1000 is fantastic. I wish there were new titles in 2022 to buy on it.


As the X1000 was prematurely ended due to CPU supply problems, and necessarily replaced by the (slightly cheaper) X5000 system, there was still hope for the platform, especially with a cheaper A1222 system also planned to make the next generation systems more affordable. The A1222 reminding me of the Amiga 500 and what it did for the Amiga's popularity.

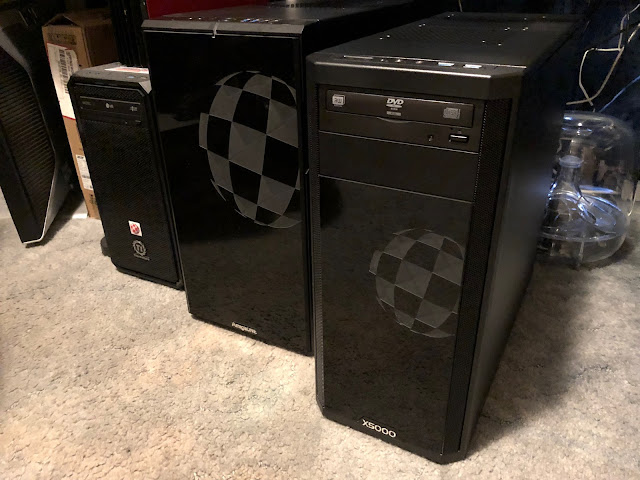
I even bought the X5000 in 2018, lured by the possibility to run AmigaOS 4 and MorphOS on the same system! I also bought the cheaper Sam 460CR system from Acube Systems, all running AmigaOS 4.1.

Sadly however, not a lot has happened for AmigaOS 4.1 in the past few years (apart from two service packs for bug fixes, the last released in 2020). 

The lack of new software releases meant my interest in it has reduced as a result. Indeed, today is the first day in 2022 I have turned on and used the X1000. Most of my Amiga attention these days (like for many others) is on the Classic Amiga systems, where there is a lot still happening.

There are a lot of reasons for this of course, especially the ongoing legal action between Hyperion Entertainment (developers of AmigaOS 4), and Cloanto over the rights to develop new versions of the AmigaOS. Also the lack of developers able to push the next gen platform forward. This has reduced progress on AmigaOS 4.1 to a trickle, and A1222 support is moving along very slowly, which after 6 years is hardly a secret!

I remember seeing a prototype of the A1222 back in 2014 at AmiWest, and have had my own A1222 as part of the beta testing program since 2016.

The X5000, released to the public back in 2016 is still running a "pre-release" version of AmigaOS 4.1 Final Edition in 2022! 

X1000 owners like myself never did see the paid in advance upgrade to AmigaOS 4.2, promised as part of the system purchase back in 2012...X1000 owners did however have to pay for AmigaOS 4.1 Final Edition, named that way presumably to avoid having to provide it to X1000 owners for free...this leaves a sour taste in the mouth for many owners.

As does the Wings Remastered software for AmigaOS 4 I pre-ordered for and never received. At least for Tower 57 I did get the game I supported via Kickstarter for a AmigaOS 4.1 version (not the boxed version I paid for though), and it was a great game by the way - a game that could simply never be run on a Classic Amiga system.

New release games using Warp3D Nova enhancements for AmigaOS 4.1 in 2018, for example Spencer for AmigaOS 4.1 on the X1000 are amazing, and I could never have believed such titles to be released for Amiga! I was so glad to buy and support the developers, looking forward to more!


The resurgence of Retro computing interest in recent years should have been a real catalyst to push forward this next generation AmigaOS 4.1 platform to nostalgic Amiga fans.

Instead though, FPGA, emulation, and old upgraded Classic Amiga systems dominate the Amiga landscape in 2022, and development of AmigaOS into a modern operating system has seemingly been pushed to one side in a wave of nostalgia. New games are mainly being released on Classic Amiga only.

Only nods to modern computing on Amiga these days are in the form of floppy drive emulators, higher end RTG graphics cards (zz9000), Vampire accelerators, Pistorm, AmigaOS 3.2 supporting larger disks and general bug fixes, and RGB2HDMI devices, all for Classic Amiga systems. 

Don't get me wrong, these developments are great, and make the classic Amiga environments more comfortable to use in 2022, and it is nice to see new software on Classic Amiga, but this does little to push the Amiga operating system platform functionality forward, the way the X1000 and AmigaOS 4.1 tried to do.

Before the MorphOS fans out there point out the obvious, I am aware that MorphOS has moved along nicely over the past few years, with a number of operating system upgrades, and indeed I run the latest MorphOS on my AmigaOne X5000 in place of AmigaOS 4.1 Final Edition. The development in recent times for MorphOS applications like Iris (Email client) and a new modern Wayfarer web browser are great, but the operating system itself has not changed a great deal in terms of modern hardware support. AROS is in a similar situation, although I admit I have not followed it so closely recently.

The AmigaOne X1000 is great, I love the machine, and what it can do on AmigaOS 4.1 is amazing for the time is was released back in 2012. I got the most out of it during the last 10 years, and I am glad to have it still, as it is still the best machine to run the AmigaOS 4.1 platform on (in my opinion).

I would love to see more love and new stuff for AmigaOS 4.1 and my AmigaOne X1000 in 2022! 


Sunday, February 27, 2022

New Aurora R12 Gaming PC

First and foremost, I must apologise for the long gap between my last blog post in December to now. I hope your 2022 is going well, and that you and your families are doing well.

I have been so busy with work commitments this year due to a promotion into a global role, and that has left little time for me to do justice to any significant blog entry.
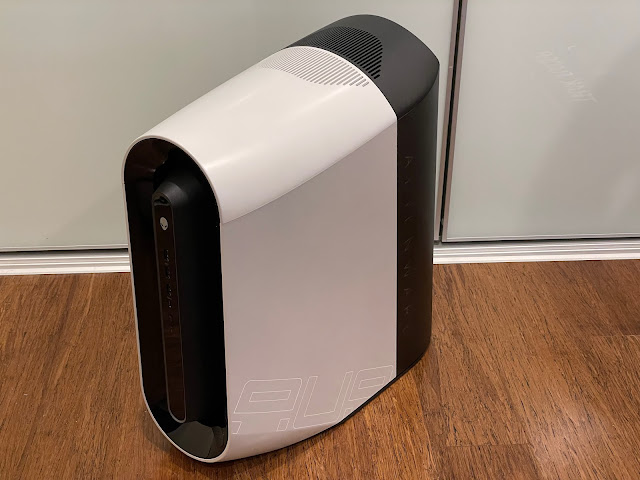
I have been providing pictures for the brief times I have had with my computers via my Instagram page when I got the chance.

This weekend I managed to squeeze a few hours in to do a new blog entry, my first for 2022. 

I wanted to cover building my replacement AlienWare Aurora R12 Core i9 Gaming PC, which I received shortly before Xmas. 

This machine is Intel Core i9 8 core CPU running up to 5.3Ghz, 64GB memory, Nvidia Geforce 3090 RTX graphics card, 2TB SSD boot + 2TB SATA Disk + 8TB Main Data SSD, running Windows 11 Pro. 

I previously had a Alienware 15 R3 laptop I bought back in April 2017, so it has been a long time since my last PC upgrade! 


I was lucky enough to get my father's old Alienware Aurora R7 last year, which I did a partial upgrade on and this helped me to play some games and demos that wouldn't run at all on my older Alienware 15 R3 laptop. This was always a stop-gap though.

I was waiting for the prices of the graphics cards to get low enough to make the system upgrade financially possible. Fortunately Dell did a heavy discount cycle during November last year for the R12 Aurora system, as it was being replaced with the new R13 model in December.

This enabled me to afford it finally, and so I finally took the plunge to upgrade my PC gaming rig. :-)


I have to admit, I liked the box it came in - very nice.


The Aurora R12 PC design is quite a departure from the older Aurora R7 I had been using, looking very modern.


That said, the back looked quite similar!


How similar? Well, here is the side by side photos of the old Aurora R7 and new Aurora R12. At the front, they look very different indeed.


At the back, the layout is almost identical, albeit with less cool vents at the top for some reason.


Opening up the Aurora R12 case, the similarities to the R7 layout continue, with the swing arm power supply mount to get to the motherboard underneath.


You can see the rather nice looking CPU cooler and Geforce 3090 RTX card installed:


Close up of the CPU cooler:


The Aurora R12 also comes with a completely rubbish keyboard and mouse. Dell clearly expect people to purchase the optional mechanical light up keyboards with the system, and the included keyboard and mouse is clearly an obligation only, same as it was on the Aurora R7 too.

I decided to purchase the Alienware 510K Lunar light mechanical keyboard (with Cherry MX switches) and fancier mouse that sold separately but are designed for the system, as they were also heavily discounted at the time.


You can do an awful lot of cool RGB lighting effects with the keyboard. For now I left it as one colour. The keyboard itself feels nice enough, but I do find myself hitting the wrong keys from time to time as the key labels are small and are top right located on each key, rather than centered on each key. 

This is shown well below, comparing my existing Steelseries mechanical keyboard to it.


As mentioned, I also picked up the Alienware 610M wireless mouse. Actually, I like the mouse a lot more than the keyboard.


Here's what you get in the box:


The mouse is rechargeable via the usb cable and has a USB wireless dongle ejectable from underneath the mouse to attach to the PC.


I removed the large 8TB SSD hard disk I installed last year in the Aurora R7, and put it in the new R12. This made data transfer much easier too as I just put everything on it first!


As with the R7, the new R12 has two easy no screw mounts for the hard disks to be put in the system. I did need a SATA cable for it though, which I took from the R7.


With everything I needed installed, I connected it up and fired up:

After walking through the Windows 11 setup, I was presented with the initial desktop, delightfully minimalistic.

The new explorer folder icon colouring in Windows 11 is not really to my taste to be honest, but I guess I'll get used to it.

Seems a strange choice with the initial MyAlienware screen to show images of older Alienware computers like the Area51 model, which Dell has not sold for a number of years..

I ran Alienware Update, which unsurprisingly had a bunch of updates to install straight up. Seriously, Dell, update the system picture to match the computer - it is not an Area 51 system! 


I also got a new 4K UltraSharp 32" Dell screen to use with it, freeing up my older Dell 4K display to put onto my Trak Racer TR8 racing sim rig. Finally, true 4K gaming is a reality for me in the simulator, and one of the reasons to finally upgrade! 

I set to work installing Steam and other gaming platforms, migrating my game library from hard disk to avoid having to redownload the whole lot again, and setting up some initial applications.

The Alienware Command centre application include with the Windows 11 build on the system is an improvement on the old one. I came in here because the default Aqua colour lighting was hard to read on the keyboard and I wanted to change it.


The ease of creating and activating profile based lighting and effects settings for the PC system, keyboard and mouse is great.


It is pretty granular, with colour settings able to set for multiple elements on the front of the case, for example.


If you really want to, you can apply the profiles for specific games you have installed! My F1 bias is somewhat apparent...


Being able to save to profiles is great, as it allows for easy experimentation and reverting back easily to your preferred settings.


It seems these days that nothing can be unboxed and used without firmware updates, and so it is here too, with the keyboard and mouse both needing them.


You can also go in and adjust the overclock settings for the system to maximise the speed of the computer. If I need to use this I will be back for sure, but for now I will leave it standard.


You can also adjust the audio settings in the Alienware Control Centre.


The new system looks and runs pretty good now, and I am glad to be finally able to enjoy the latest PC demos and games in 4K screen resolution!


Being able to run the RTX enabled games is great, as it was not possible previously. Being able to game in 4K, especially on my Trak Racer TR8 gaming rig is awesome - it looks so much better with F1 2021 for example.

One thing I did find out quickly is the need to ensure nothing is above the Aurora R12 - ie. not positioned under a desk, but next to it. That is because it pumps out a lot of heat through the top vent hole while gaming, and it seriously heats up the glass desk I have! Once I put it between desks so it vented into the room rather than the underside of my desk, it was fine.

The streaming technology on the Elgato HD60 S+ is a bit behind for this system's 4K gaming capability, limited to 1080p for streaming content. Not sure if there is a USB-C 4K streaming capture device as yet. Changing resolutions down to 1080p to be able to stream from this machine kinda sucks. When I have some more time I plan to look into it.

For now though, I am happy with my new system.


I hope to blog more about the newly released AmiKit XE 11.5 for Windows (using this computer) and Mac soon, and resume my Amiga and C64 stuff I have been trying to make some time for!