Following on from my previous blog entry about my new Amiga 500 build, I have done a lot more with the Amiga 500 build since then, and wanted to cover it, along with looking at the new Tank mouse which arrived this week!
When I left the Amiga 500 build
last time, I was waiting on the plexi-glass custom case solution for the ACA500 plus to arrive from Germany.
The ACA500 and accelerator being uncovered is a safety hazard and having to use the a500 expansion slot cover to prop up the accelerator to prevent bending is clearly not a long term solution!
Ordering this case from
Plexi Laser was a little challenging as the website is 100% in german and I can't read German at all. I used Google translate for the whole site and managed to work through the order process without a problem.
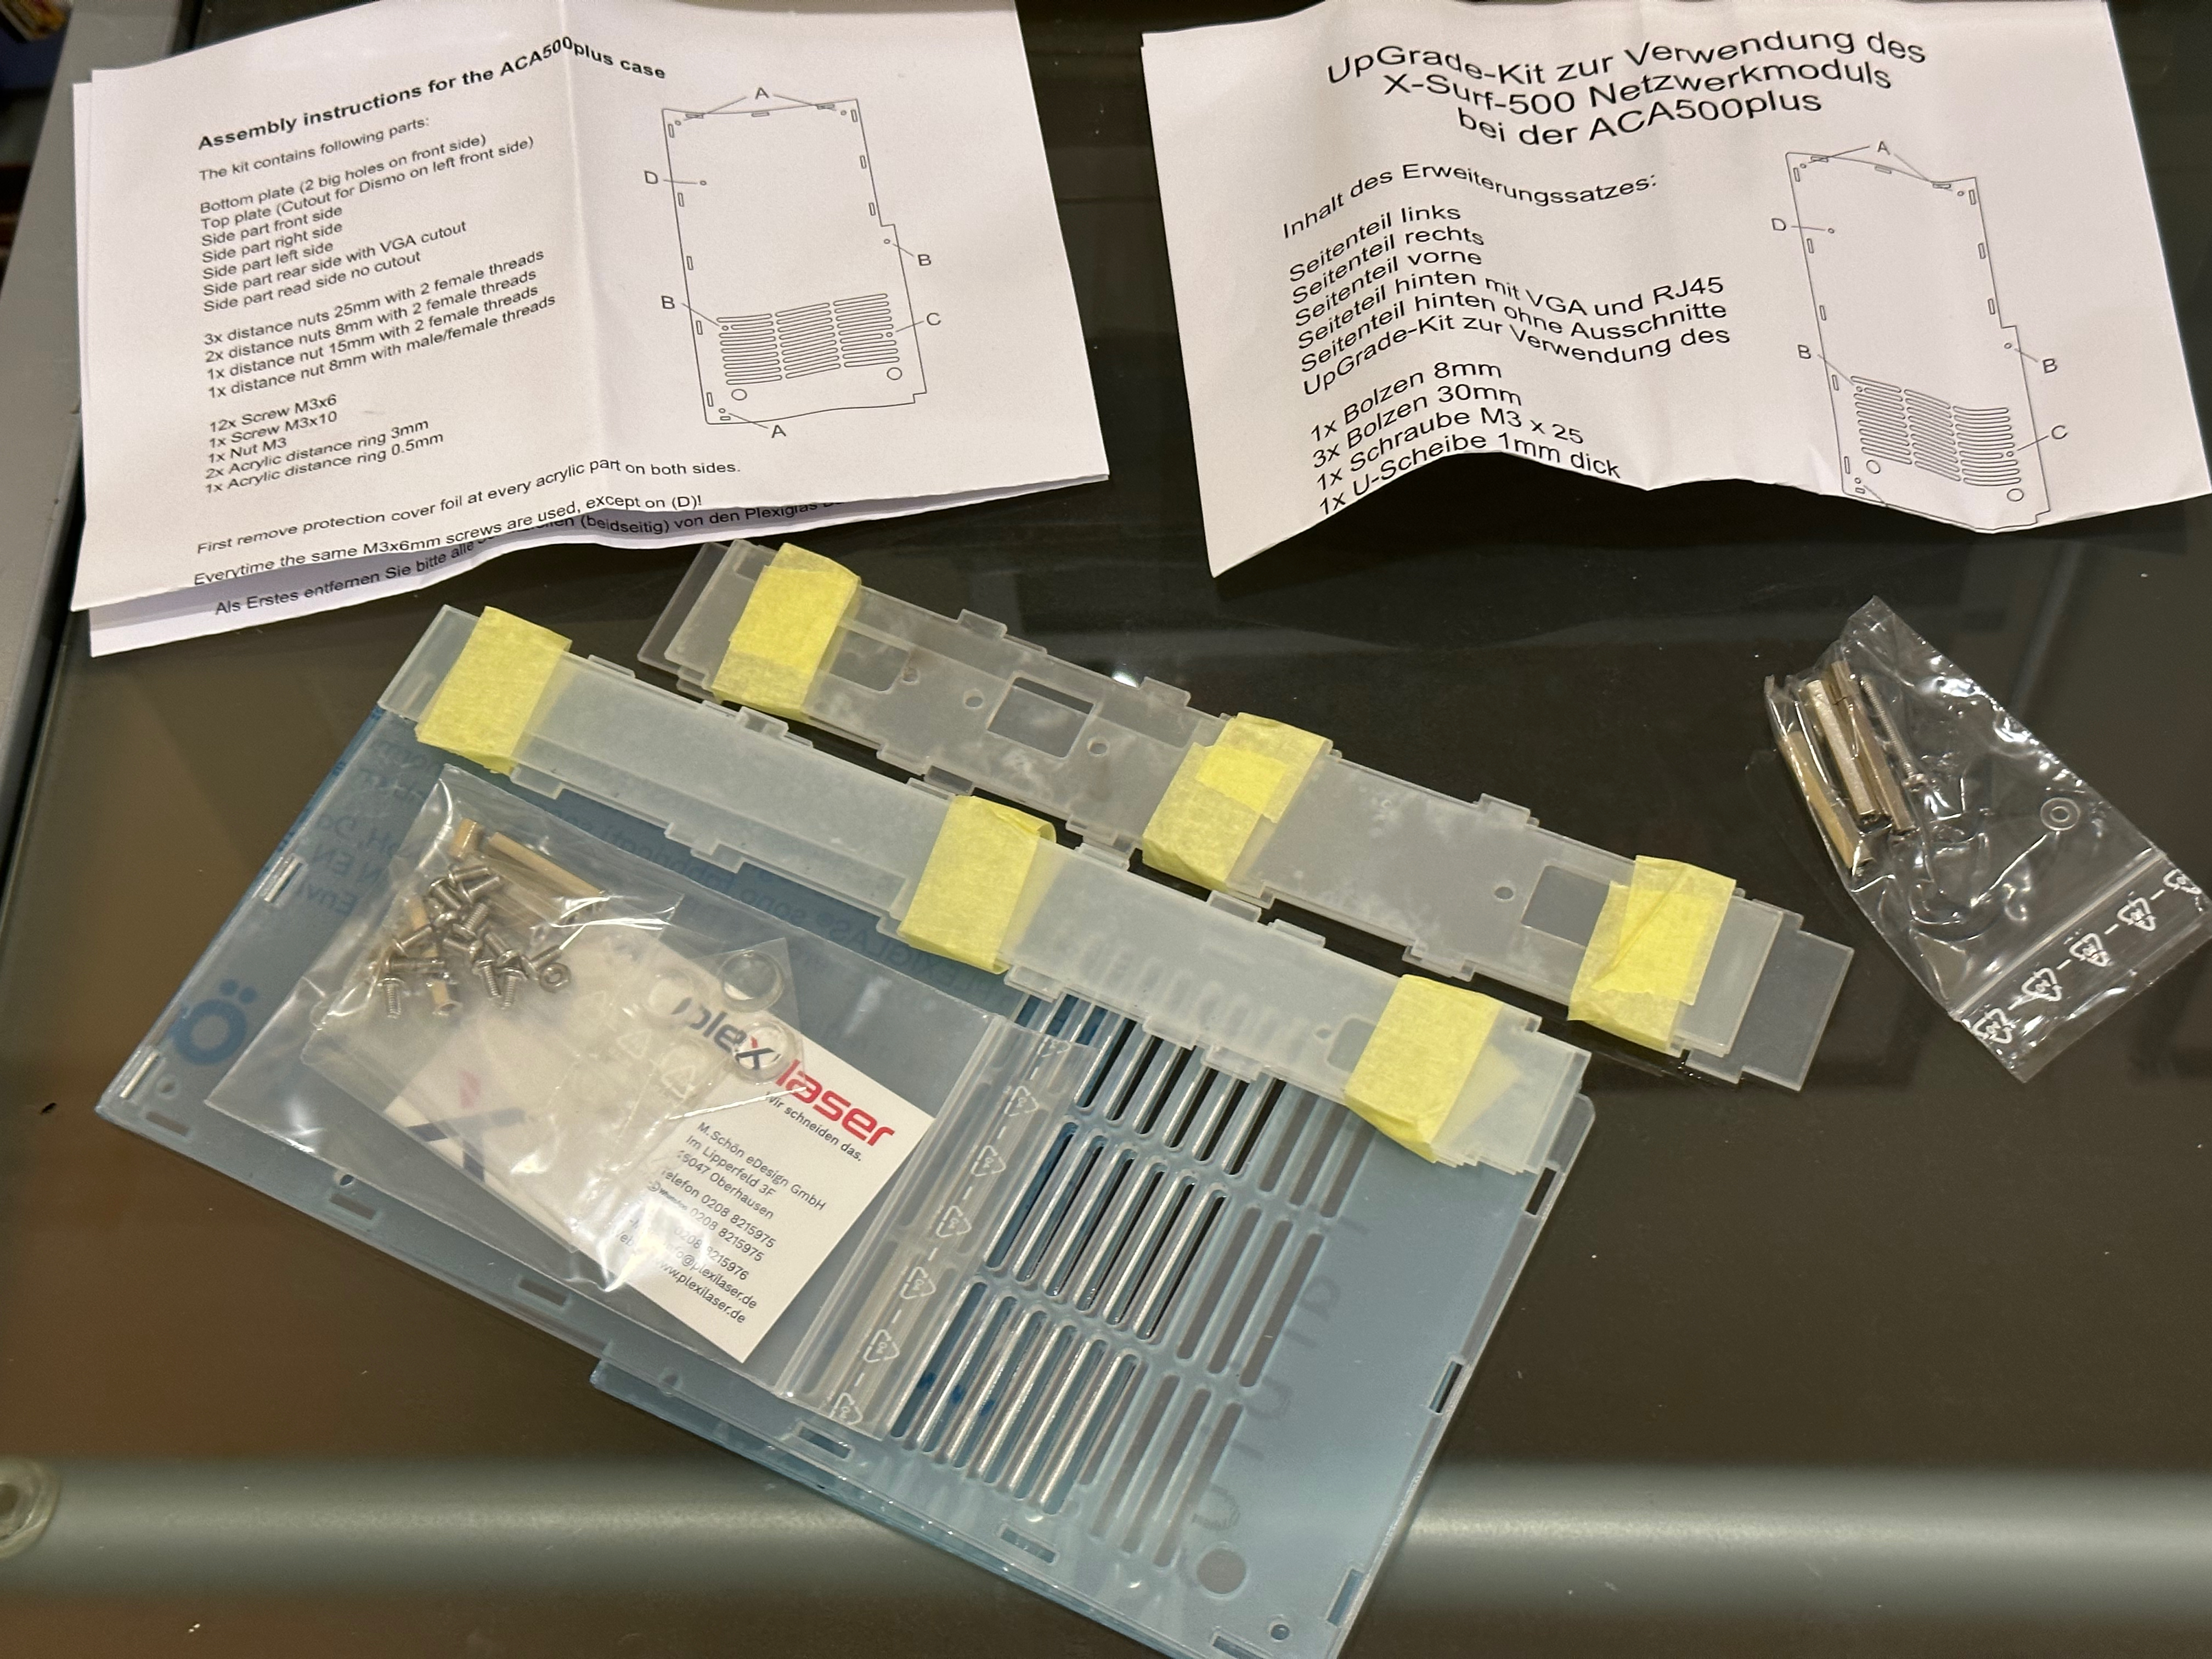
Here they are as delivered:
The instructions for the main case were in German and English versions. The ACA500 ethernet module instructions were only in German though..
I got to work peeling off the protective labels on all the parts (both sides) - It takes a while to do that!
I laid the ACA500 and accelerator on top of the base sheet, and confirmed it fits easily, as expected.
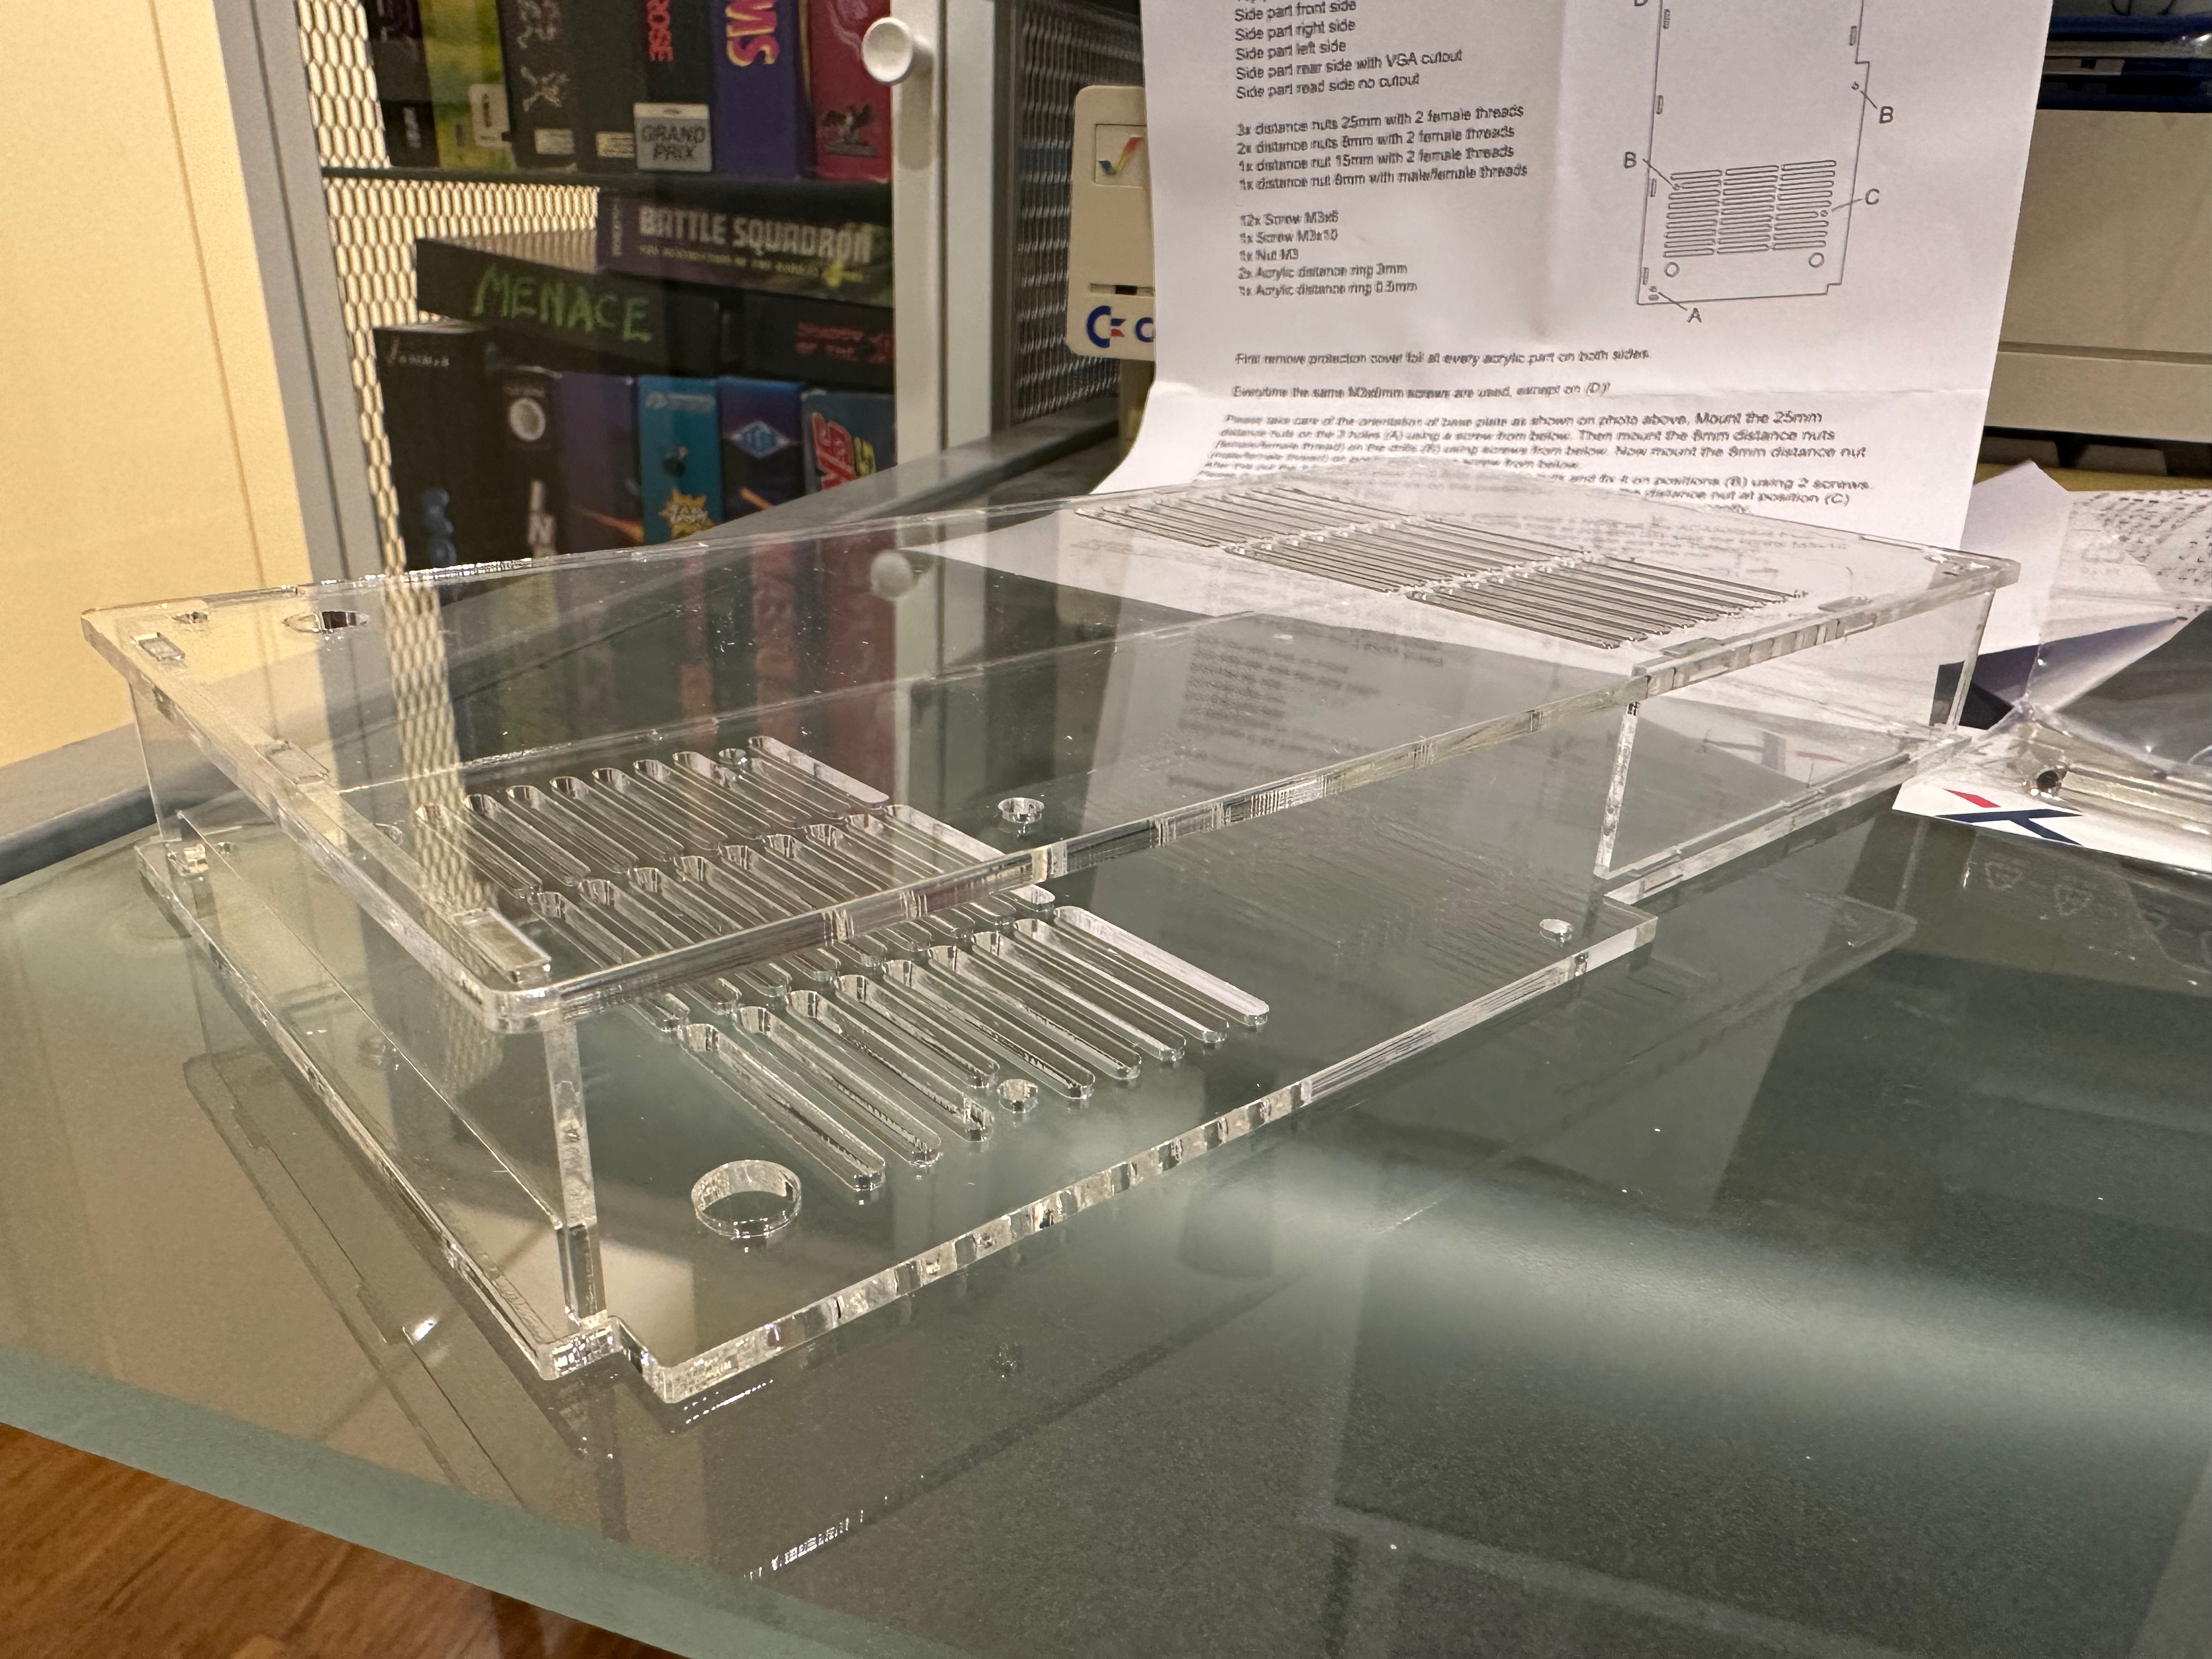
I then loosely connected the parts to make sure they fit together well before I get started on the main assembly. All looks good.
Some more views at different angles.
Note that this is the standard case, not the extended one needed for the ethernet module.
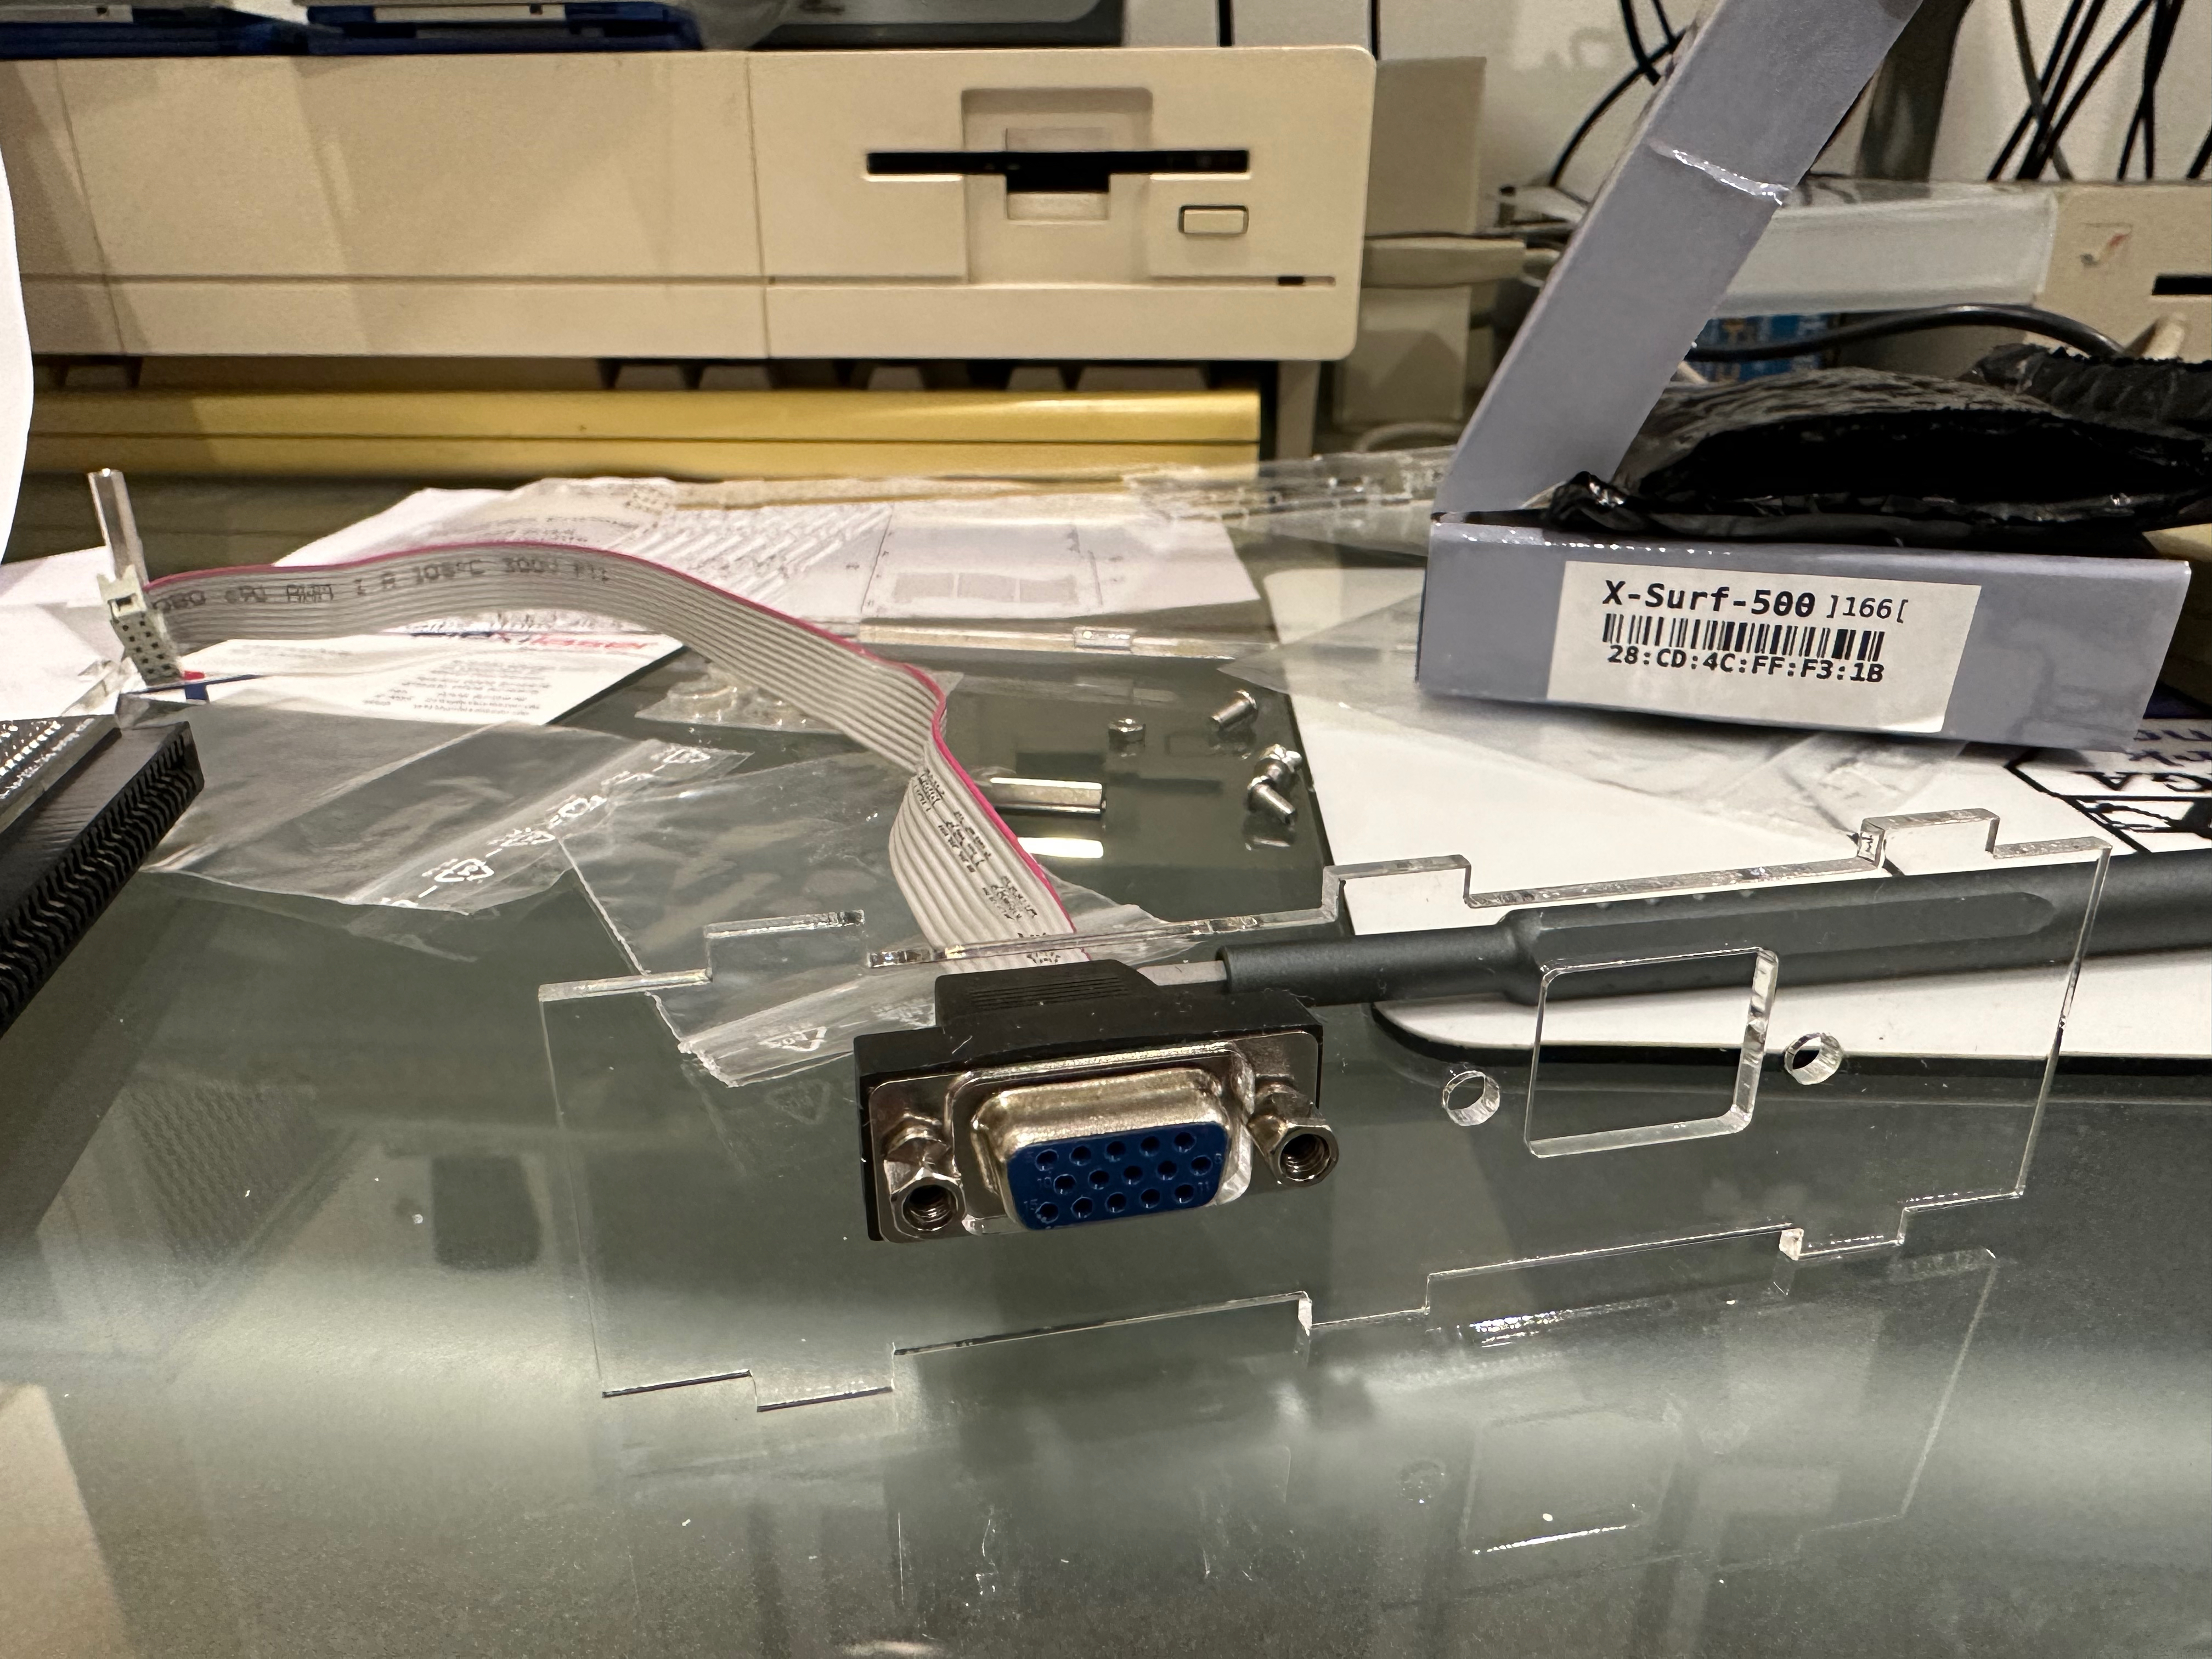
Two different rear pieces are included in the standard case, one that is just one piece with no holes in it, and one with a VGA port cutout in it.
This is great, as it means I can connect the Indivision ECS V3 VGA cable from inside through the case and mount to the rear of the ACA500 case.
This should provide a clean end solution, albeit one that is annoying to remove as the A500 needs to be disassembled to remove the vga connector from the inside...I would love a simpler solution to disconnect externally. Any suggestions?
Anyway, let's start assembly!
The instructions were straight forward enough to follow:
I separated the accelerator from the ACA 500 and it sits perfectly at the designated locations of the screw in points I installed in the pre-drilled holes.
I then applied the screws to secure the ACA500 to the case bottom:
For the accelerator, Plexi laser have put another small hole towards the rear of the case in the right position for Individual Computers ACA1233 accelerators. Other accelerators may work also, but I didn't try them as I don't have any spares to try.
Put in the screw from the bottom with a plexiglass-glass "nut" which you screw into, leaving room at the top for the screw to poke through the accelerator.
I then installed the ACA1233n accelerator and it fits perfectly, supported by the screw and nut installed.
I then use the second "nut" to secure the top of the accelerator. Using these plexiglass "nuts" I guess gives flexibility on different accelerator combinations and board thickness/height.
As I prepared the sides of the plexiglass case, it was about here that I realised I made a mistake in not checking the ACA500 ethernet module case parts first!
I took a look and realised that the plexiglass heights were different, not just the back plate to support the ethernet port.
I put the pieces side by side to realise the extra parts are much higher all around the case, not just the back part. I thought I would assemble without the Ethernet and add it later, but it is clear I would need to do it now.
Having instructions for the extra parts for the ethernet module that were in English and not just german only would have helped here...anyway.
So, I unwrapped the labels on the extra plexiglass for the Ethernet module I got to work installing the ACA500 ethernet module onto the ACA500 - I needed to remove the existing screws supplied with the module:
I then installed the Ethernet module on the ACA500.
I quickly hit a problem when I saw that the screw that holds the accelerator in place (that is in the same place as the whole for the ACA500 ethernet module), is not long enough to pass through both.
I got distracted from that problem, and finished mounting the Indivision ECS V3 VGA cable and port to the rear plexiglass part. I needed to remove the screws from the port itself:
I then mounted the VGA port on the rear plexiglass part, and screwed the screws back into the port.
Looks good:
I quickly realised with the higher plexiglass I needed to replace the original screws to affix it to as they are too short.
The longer ones are included in the parts with the ACA500 ethernet module kit from Plexi laser. I should have noticed that earlier but I had no manual to work from for this extra bits!
I removed the ACA500 and accelerator as I needed to install the longer parts, and also find a solution for the screw (too short) that needs to hold the ACA500 and Ethernet module on one side.
Without english instructions I could read, I eventually worked out that I needed to swap the original screw plus nut integrated part with a nut:
The longer screw comes from a hole on the top of the case, and screws through a long nut into the ethernet module hole, the ACA500 hole to the base nut below!
Was a little fiddly but I got it, and its looks good and properly secured now. For plexi laser if you are reading this, please include english instructions with the ethernet module parts - it would have saved me a lot of guesswork. Hopefully this information helps anyone else trying to assemble one of these in the future.
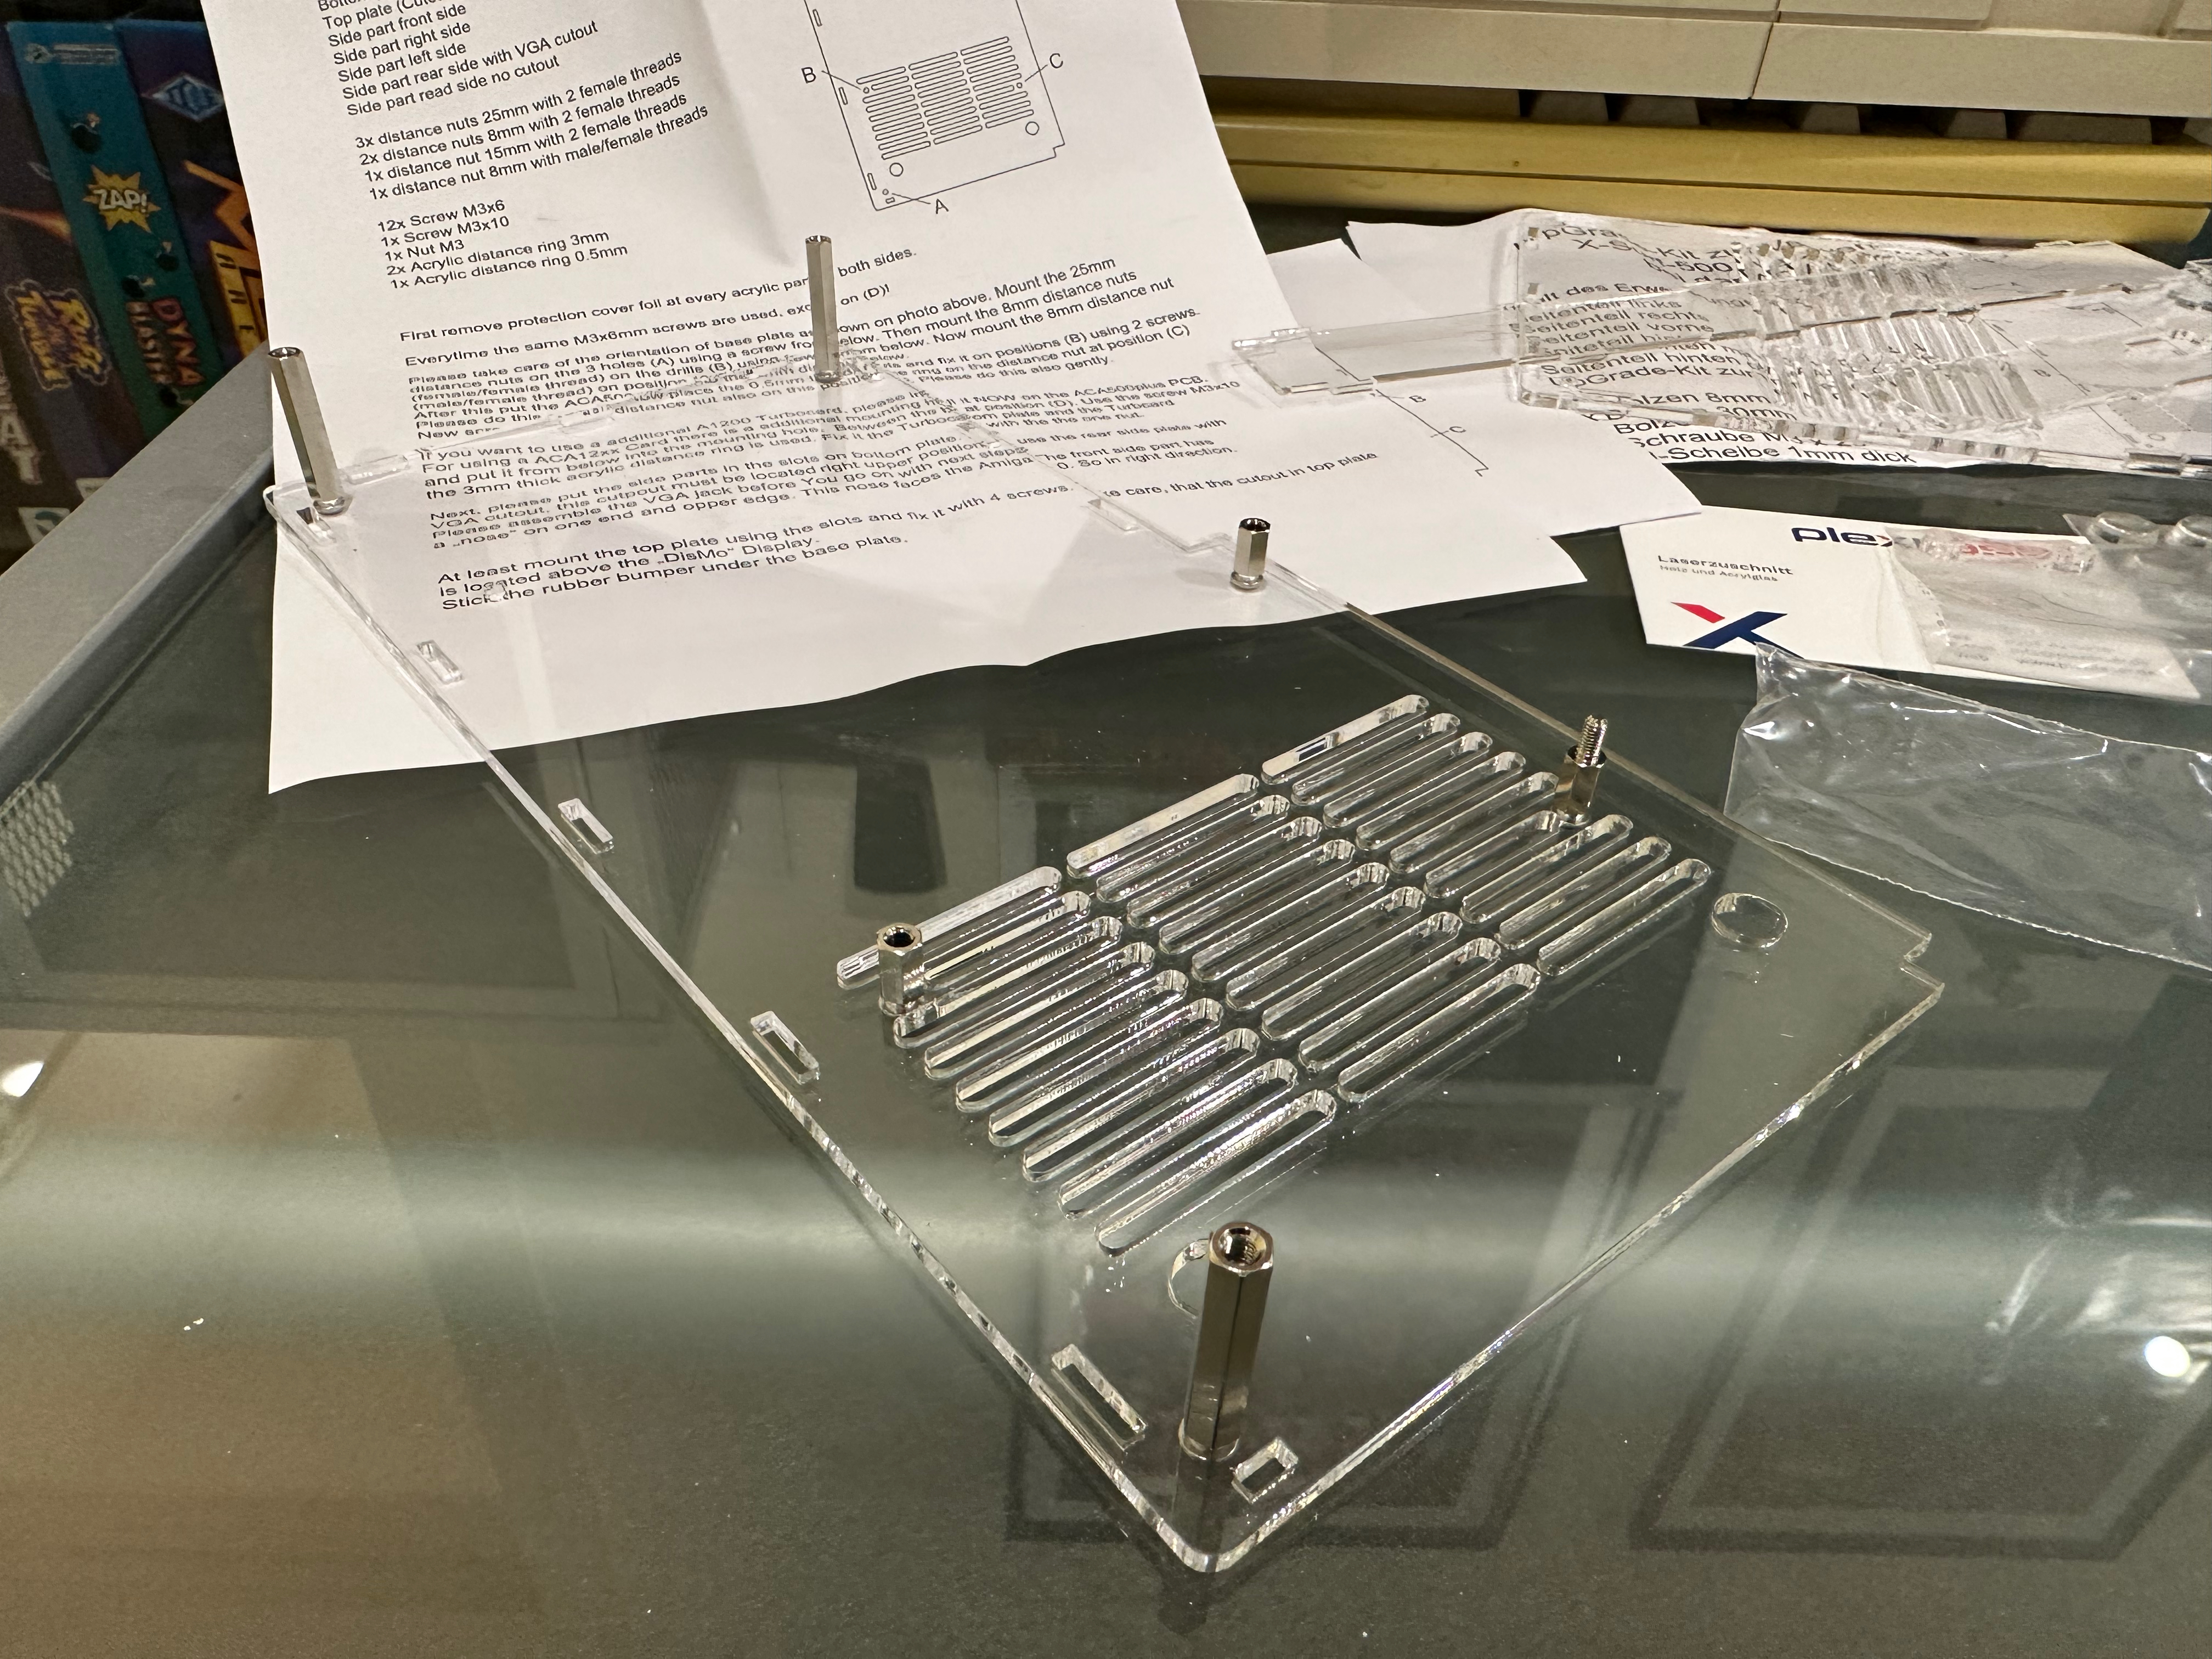
With the assembly almost done, I added the feet on the bottom.
I have an ethernet port extender on order. When it gets here I will install it into the ethernet port hole on the rear of the case.
For now though, the case is assembled and looks very nice indeed..
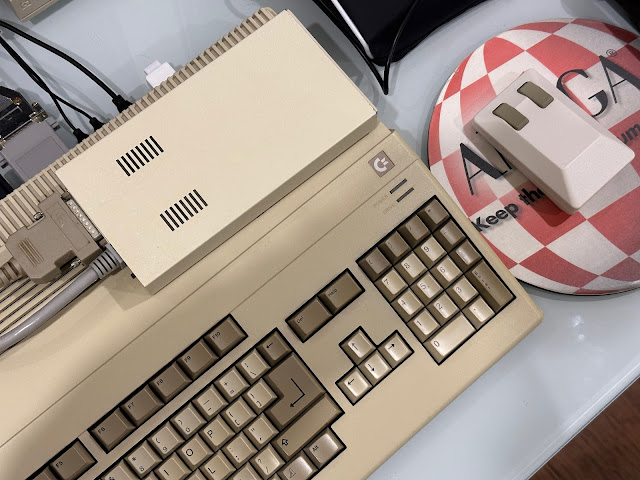
I moved it to the Amiga 500, connected it up to the left side connector, and threaded the VGA cable through the slot gap to the Indivision ECS V3.
There is not much room to play with, but it fits nicely.
I routed it vertically as it fitted better:
With that done, I reassembled the Amiga 500, which is a bit trickier now as I have to hold the plexiglass case in place with the vga cable running between them.
The end result looks really good:
I imagine if I put the rapid road usb in here, it would be nice to have another plexiglass rear plate with ports for USB as well as ethernet. I suppose I could get a usb port solution vertically stacked, and use the ethernet port for USB instead, but I really wanted the network and internet connectivity. Problem for another day I guess.
I powered on the Amiga 500 and confirmed all is still well with the ACA500 and accelerator.
Let's move onto the very excellent Tank Mouse, recently released officially for
sale to the general public following the kickstarter shipped units completed, which I missed out on.
I ordered two from vendor
Sordan.ie and they arrived quite quickly. They are not cheap mice, but in my view totally worth it.
They also came with the required 9 pin to USB adapters to connect them to the Amiga (or ST or C64). They support bluetooth so you can use them directly with your modern computer without the adapters - great if you want to use them on a Raspberry Pi or similar emulated Amiga setup.
For me though, I want to use them on my actual Amiga systems. These two units are both "Amiga Beige" colour - there is a black version too which I might order later on:
Here is a closer look at the unit:
The mouse takes two AAA batteries, and being modern and wireless, no annoying ball, and not a single cable in sight!
Inside the battery cover is the USB wireless connector, which needs to be plugged into the 9 pin to USB converter to use on the Amiga.
Here is a comparison of my Amiga 1000 original wired mouse and the new tank mouse. My mouse is heavily yellowed, but the dimensions and design are pretty much spot on.
The slightly thinner mouse buttons on the new tank mouse is so the scroller function between the mouse buttons can operate.
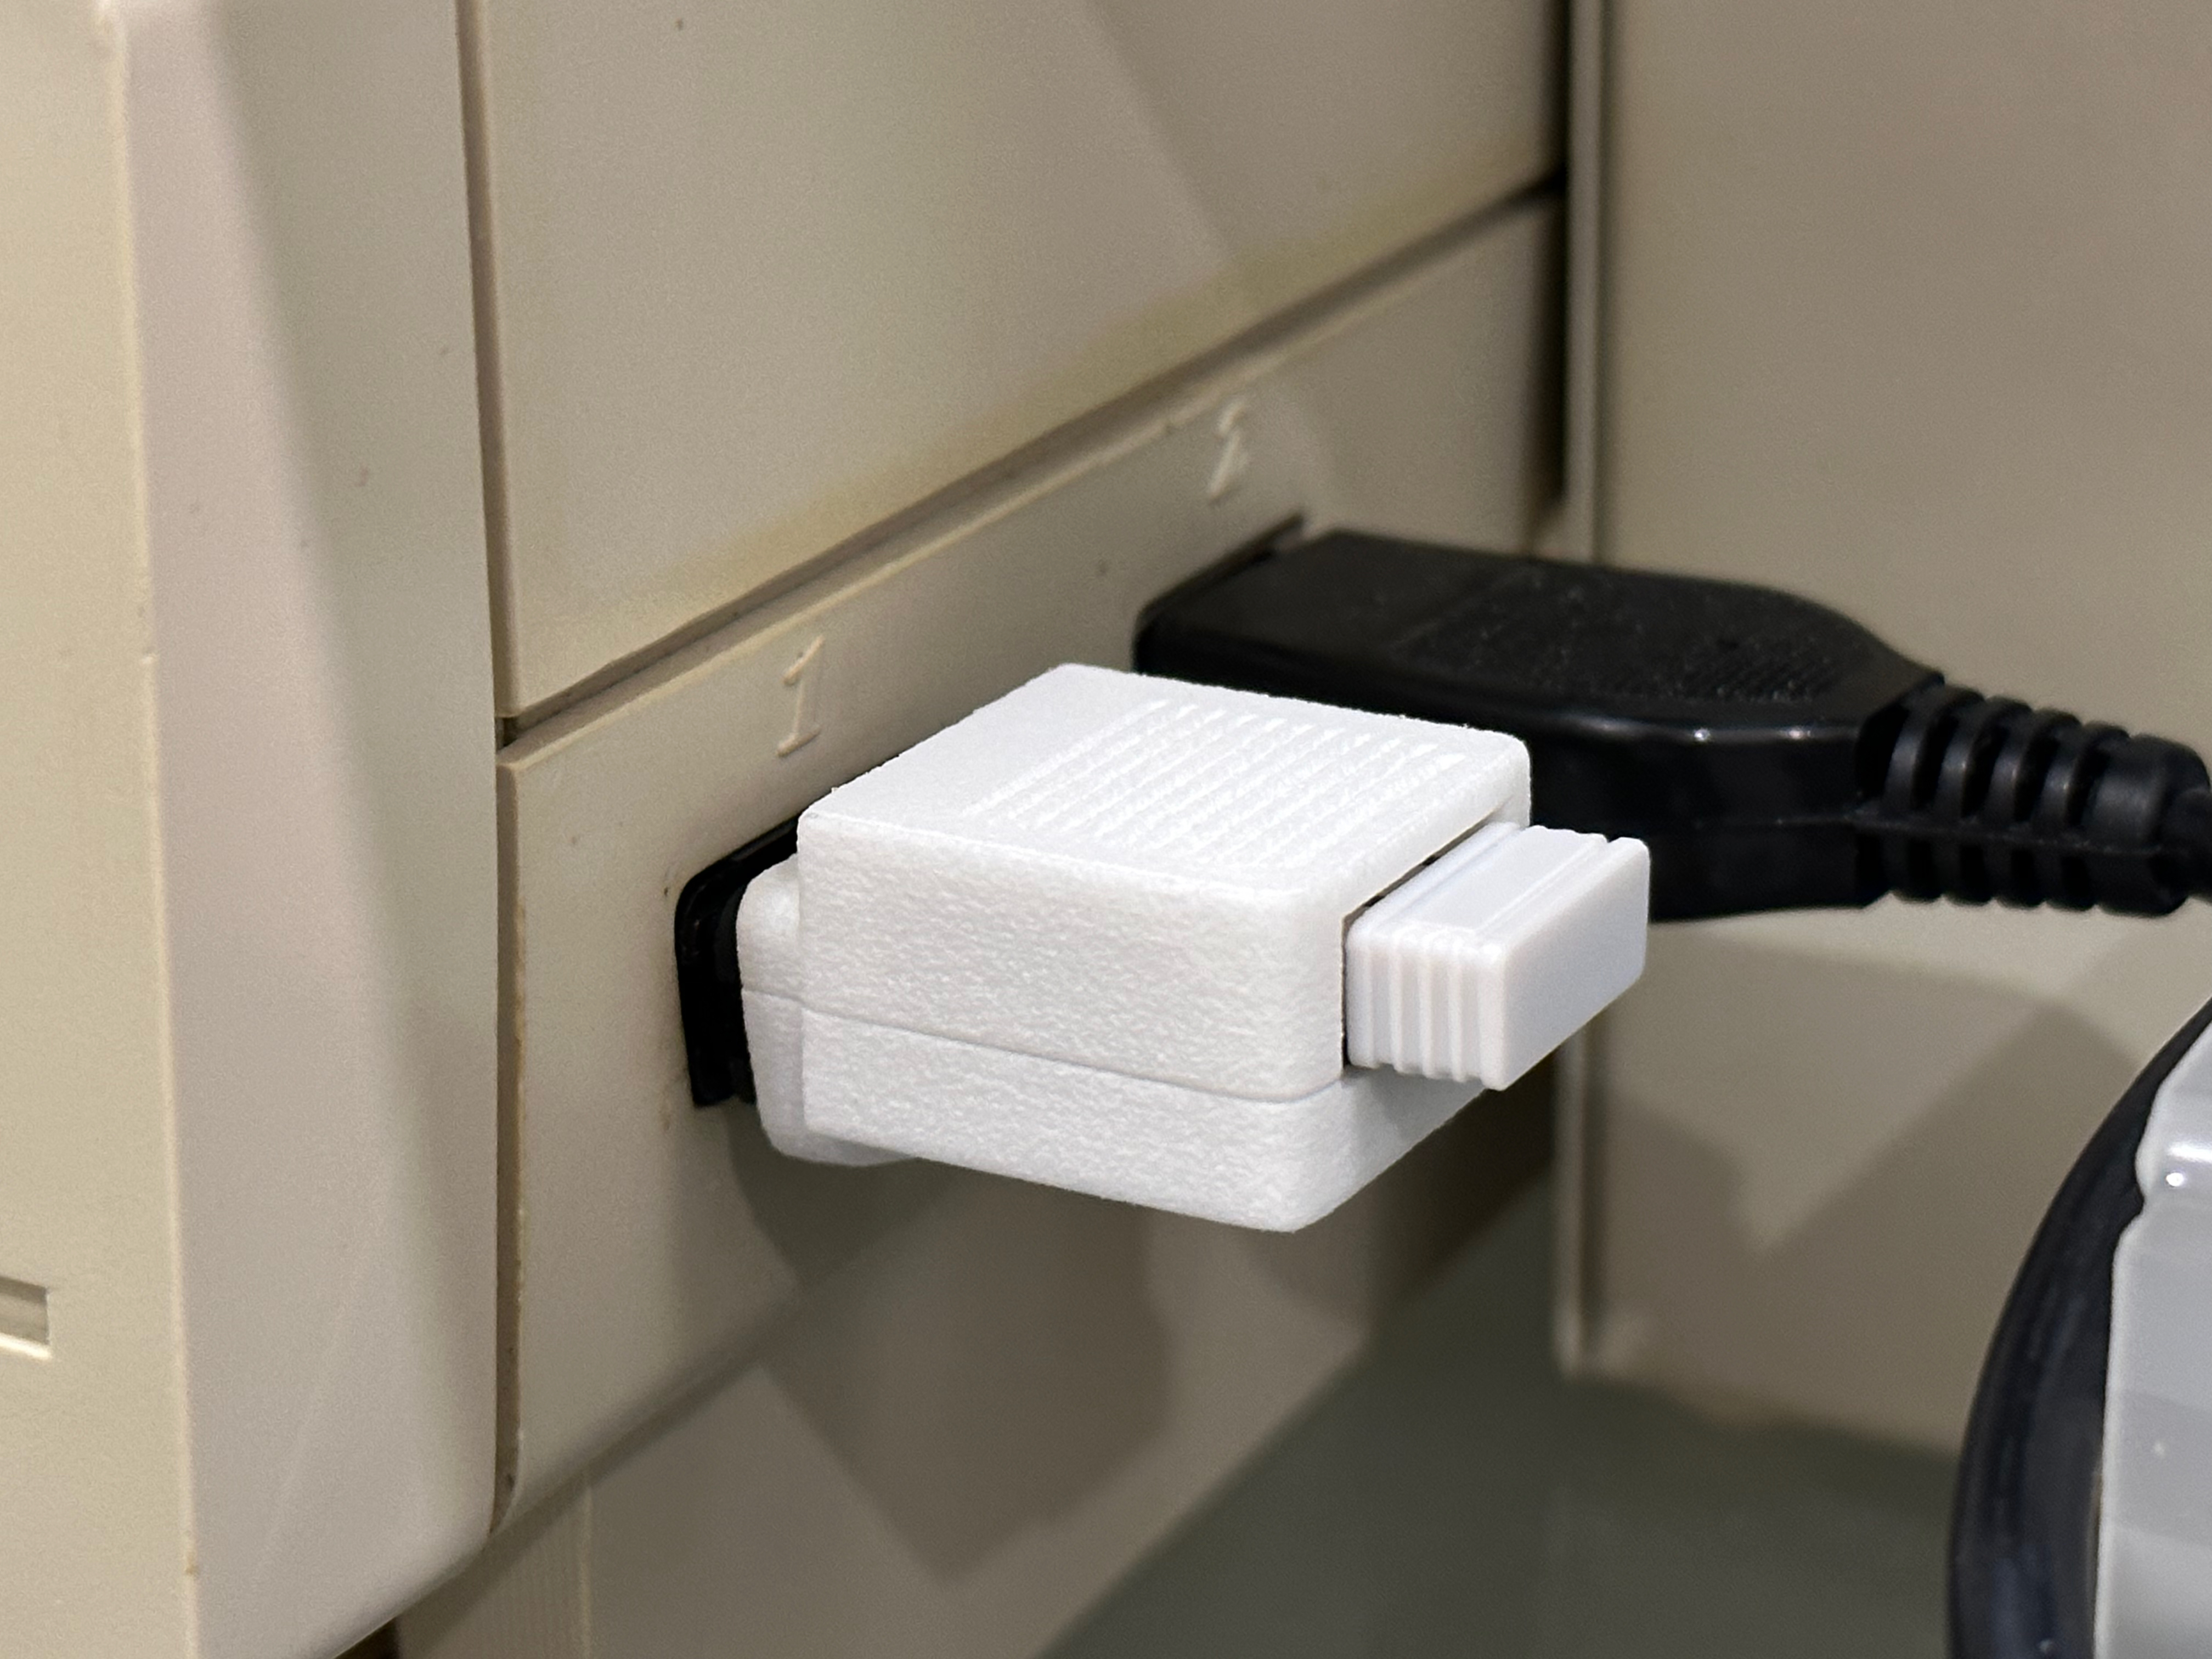
Here is the 9pin to USB converter plugged into my Amiga 1000, the first test.
Closer view the 9 pin casing looks 3D printed and I would have liked it to be a bit closer to beige or just black would have been fine too given most joysticks use black cables anyway and would fit in nicer, but that is nitpicking:
I am pleased to report the mouse works perfectly on the Amiga 1000.
It is so nice not to have to fight with the recalcitrant ball based mouse to move around the Workbench anymore.
I installed the other Tank mouse on the Amiga 500 I am building in this blog post next, and it works perfectly on the A500 too.
So, at this point I am very happy to have the Tank Mouse on my Amiga 500 build! I know there is a 3rd "button" scroll mouse function I should explore (assuming it works on AmigaOS), but I have run out of time to try it!
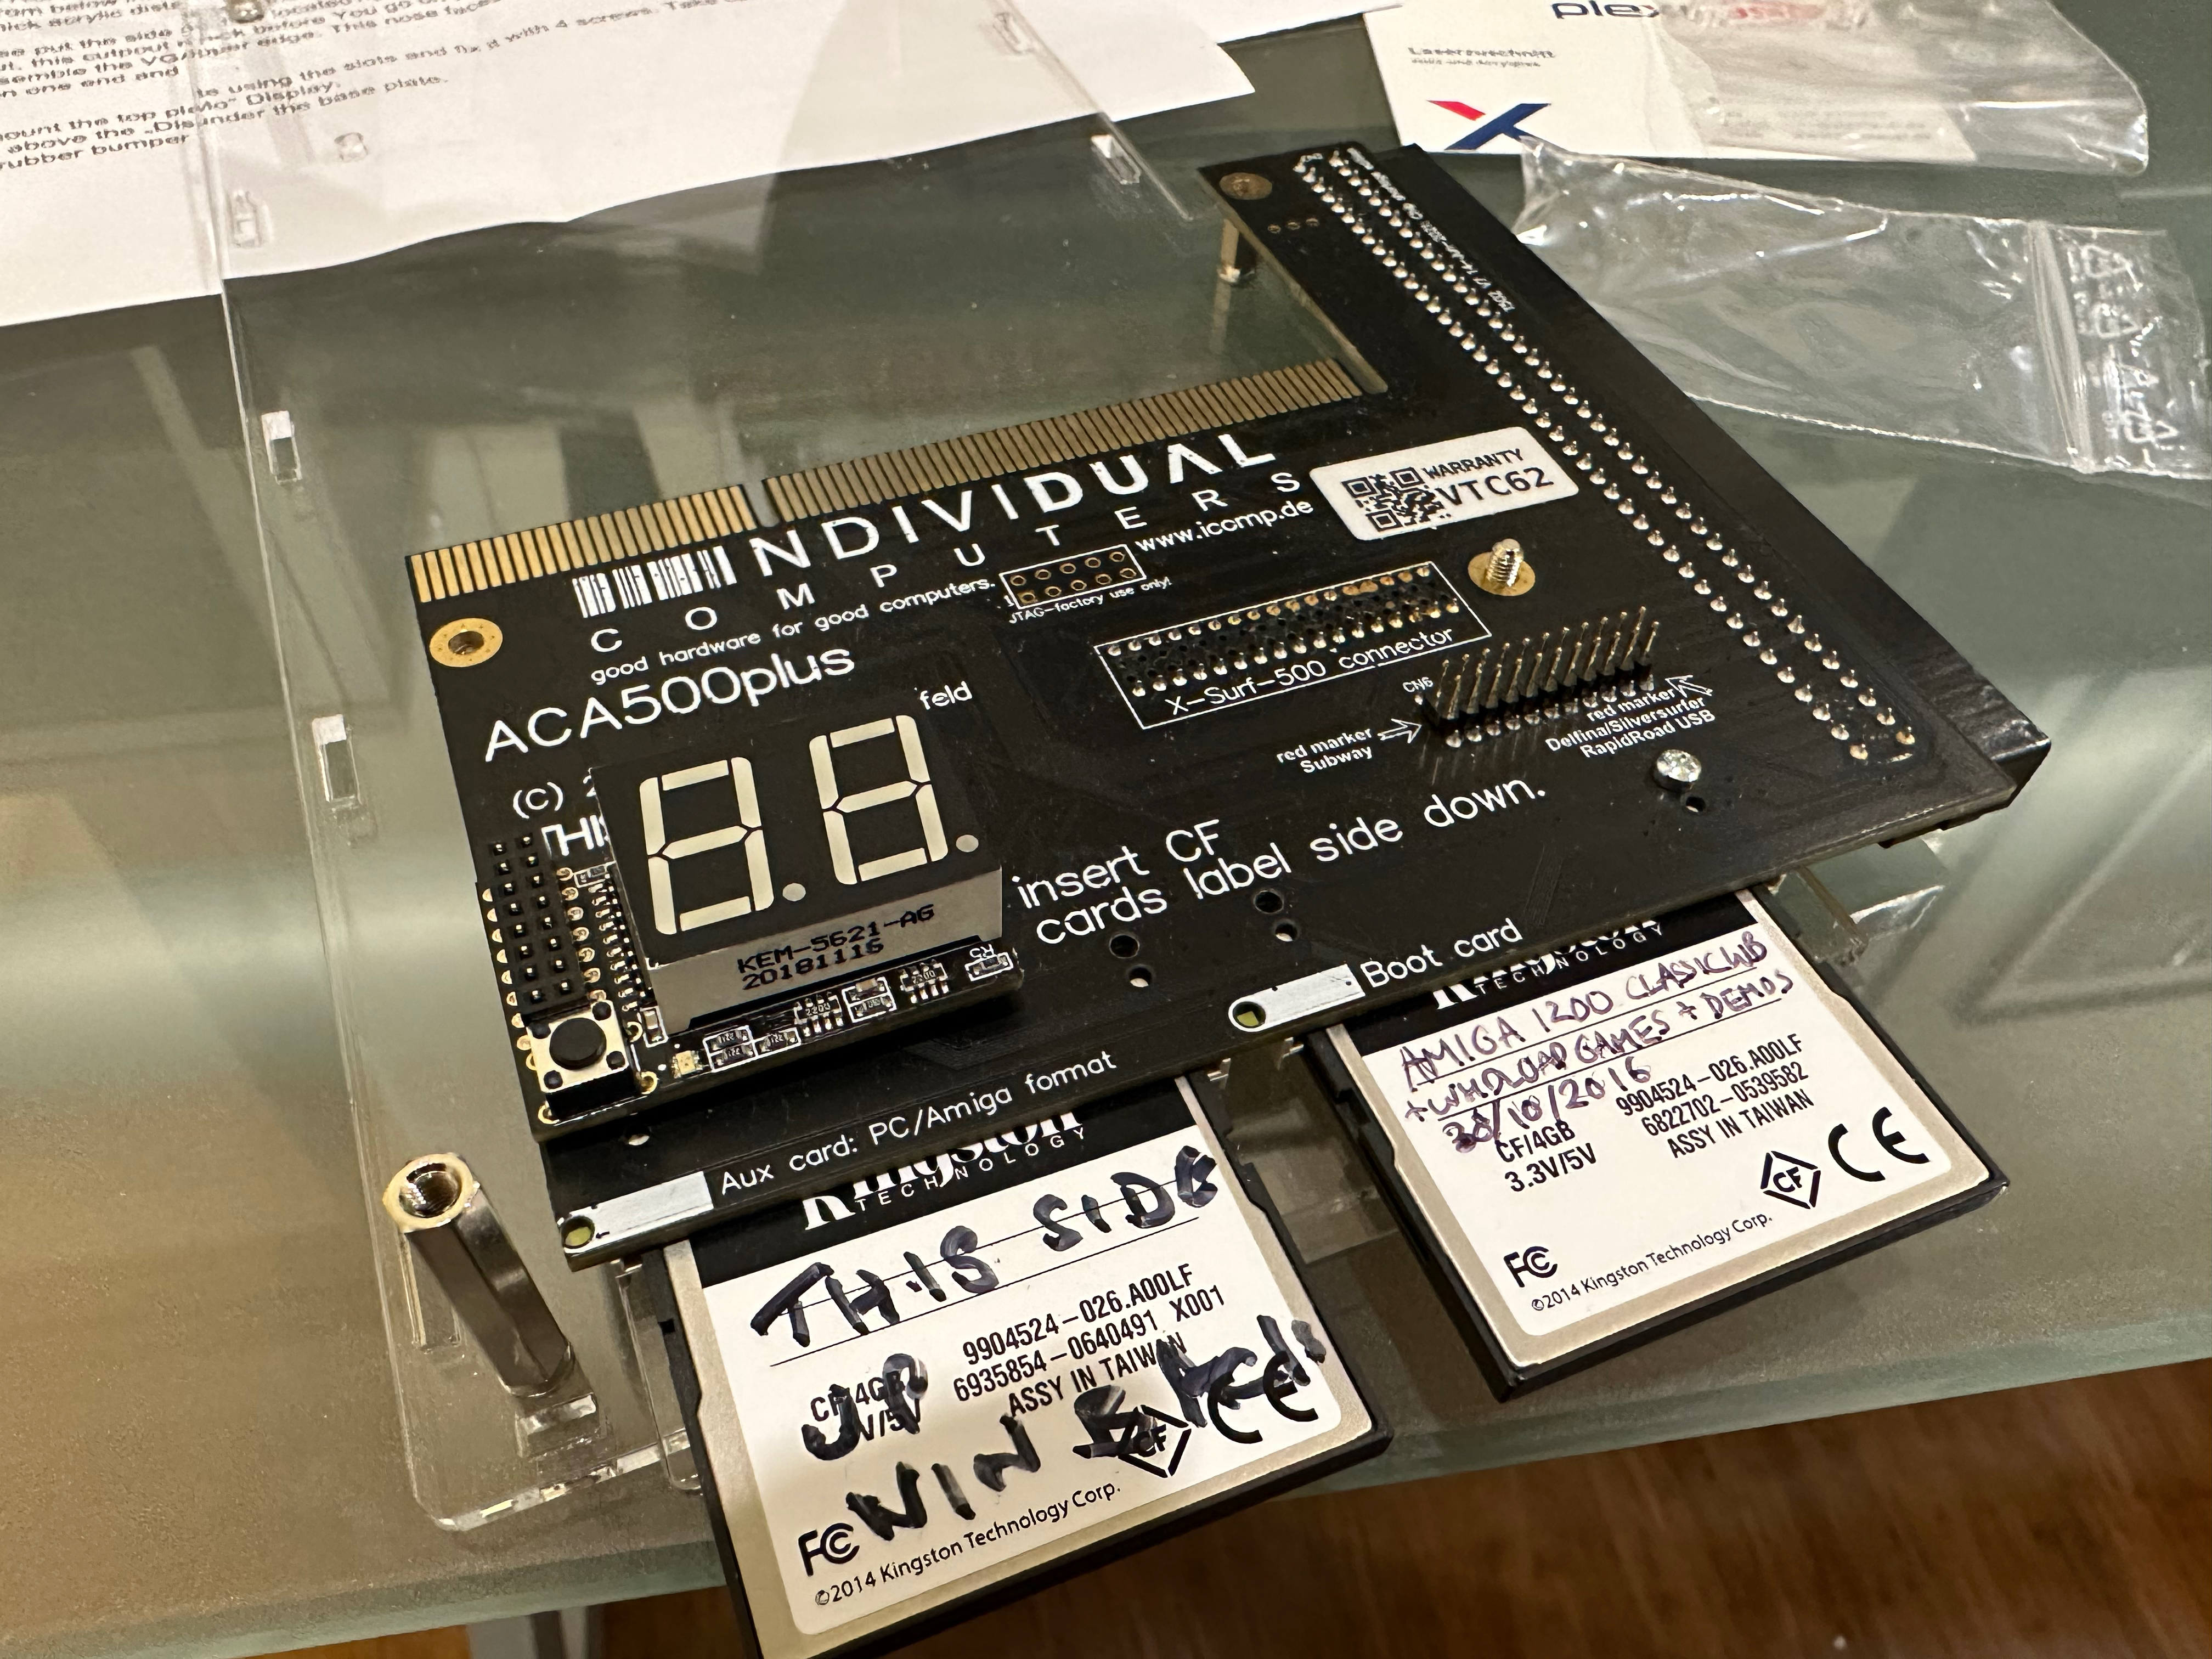
I plan to work in the next part of this Amiga 500 build on the triple CF card OS boot setup for this machine, as I want to utilise the ACA500 Plus profile features to allow me to boot into AmigaOS 1.3, AmigaOS 3.1 and AmigaOS 3.2.2, which is the latest 2023 AmigaOS version.
Very timely since I have just received the AmigaOS 3.2.2 physical roms from Amigastore.eu this week, along with some new joysticks, CF mount and prepped CF card for the A4000T and a Furia to try on the Amiga 600 when I get time.
The latest 2023 release AmigaOS 3.2.2 roms are to install in this Amiga 500, and also my Amiga 600, Amiga 4000T, Amiga 1200 and Amiga 2000! It will be wonderful not to have to worry about 2GB partition sizes and 4GB disk sizes ever again. The new support to boot older AmigaOS 3.1-3.9 hard disks with this rom is also welcome, and one of the main reasons to get the roms.
I already had older 2022 AmigaOS 3.2 physical roms installed for some of my Amigas but having to soft kick 3.2.2 roms every power on to get older OS 3.X boot support when the system won't boot with 3.2 rom is kinda like the chicken and the egg argument..I want to remove the problem entirely so I can boot from any existing older OS3.x hd without worrying about the rom inside.
I bought the Amiga 3000 3.2.2 roms too, but it is unlikely I will swap the very cool Superkickstart v1.4 ROM setup it has (see
Part 1 Part 2 and
Part 3 build details for more info). But just in case I change my mind, I now have the roms...
Also I plan to do the networking setup on this Amiga 500 with the ACA500 Ethernet, which has a cool installer function from the ACA500 itself I am keen to try out.
For now though, I hope you enjoyed the build so far - more to come soon!


Funny how you purchased the Tank Mouse from a retailer and received them quickly yet I backed it on Kickstarter and I'm still waiting for mine.
ReplyDelete